Finishing the Porcelain Sculpture Designing
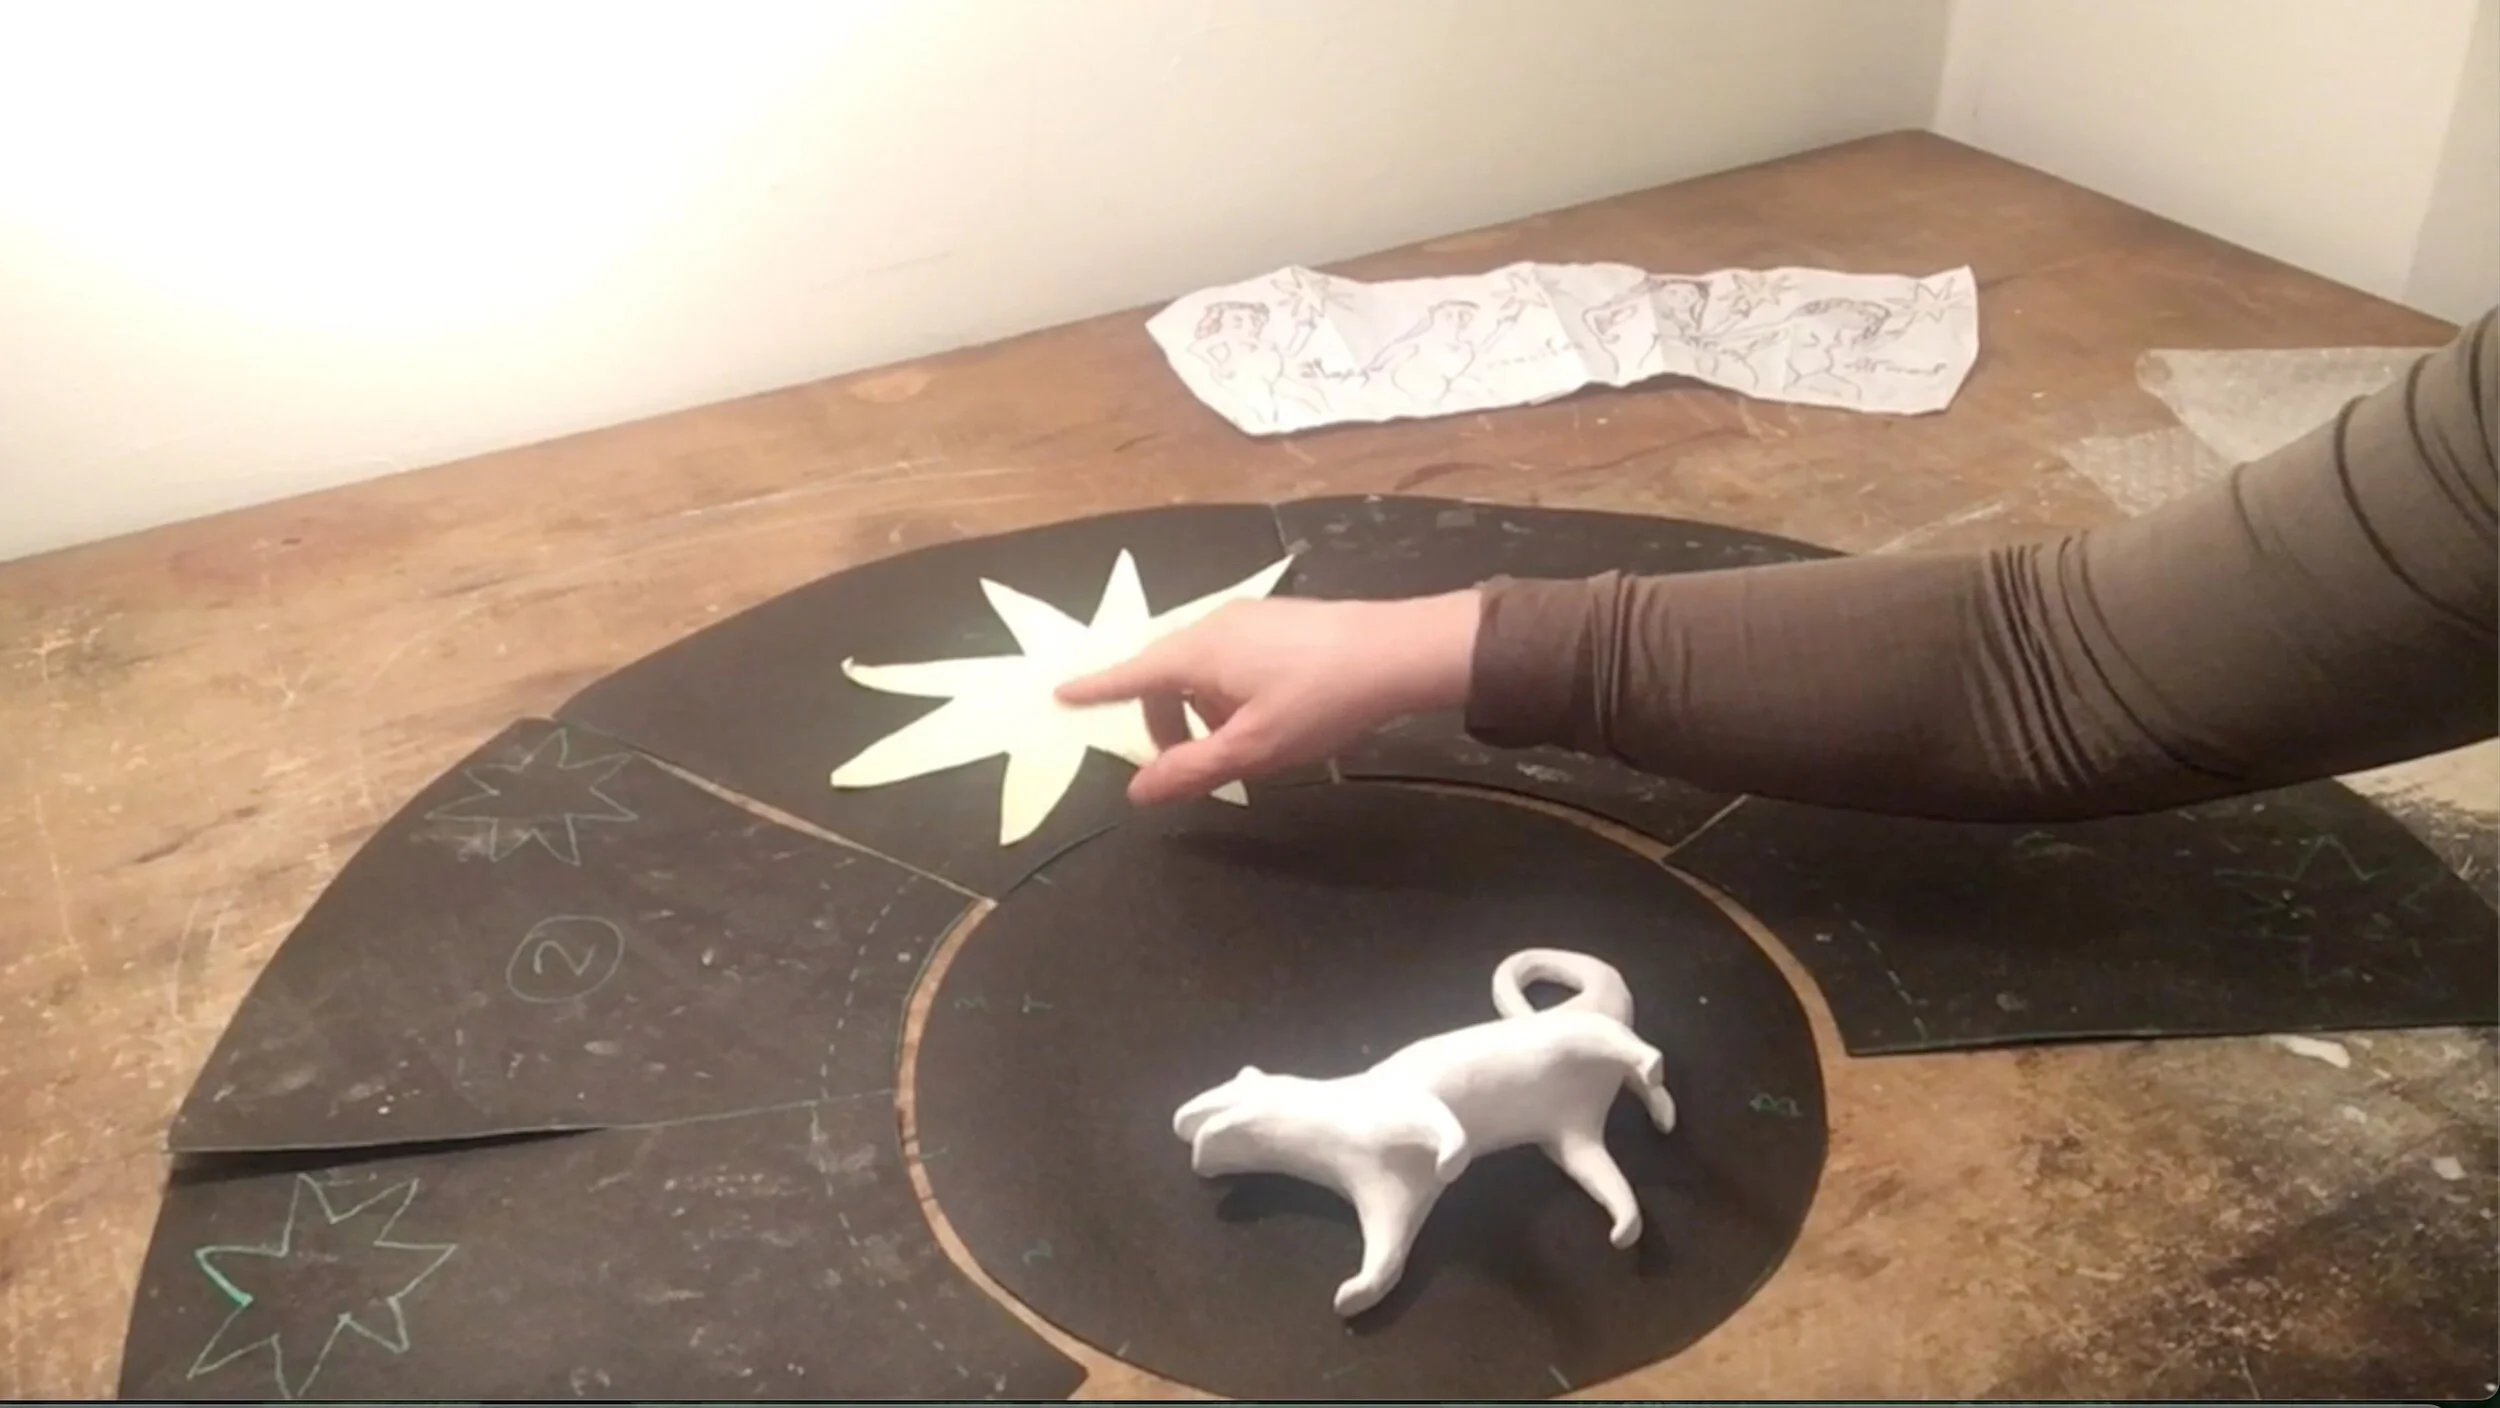
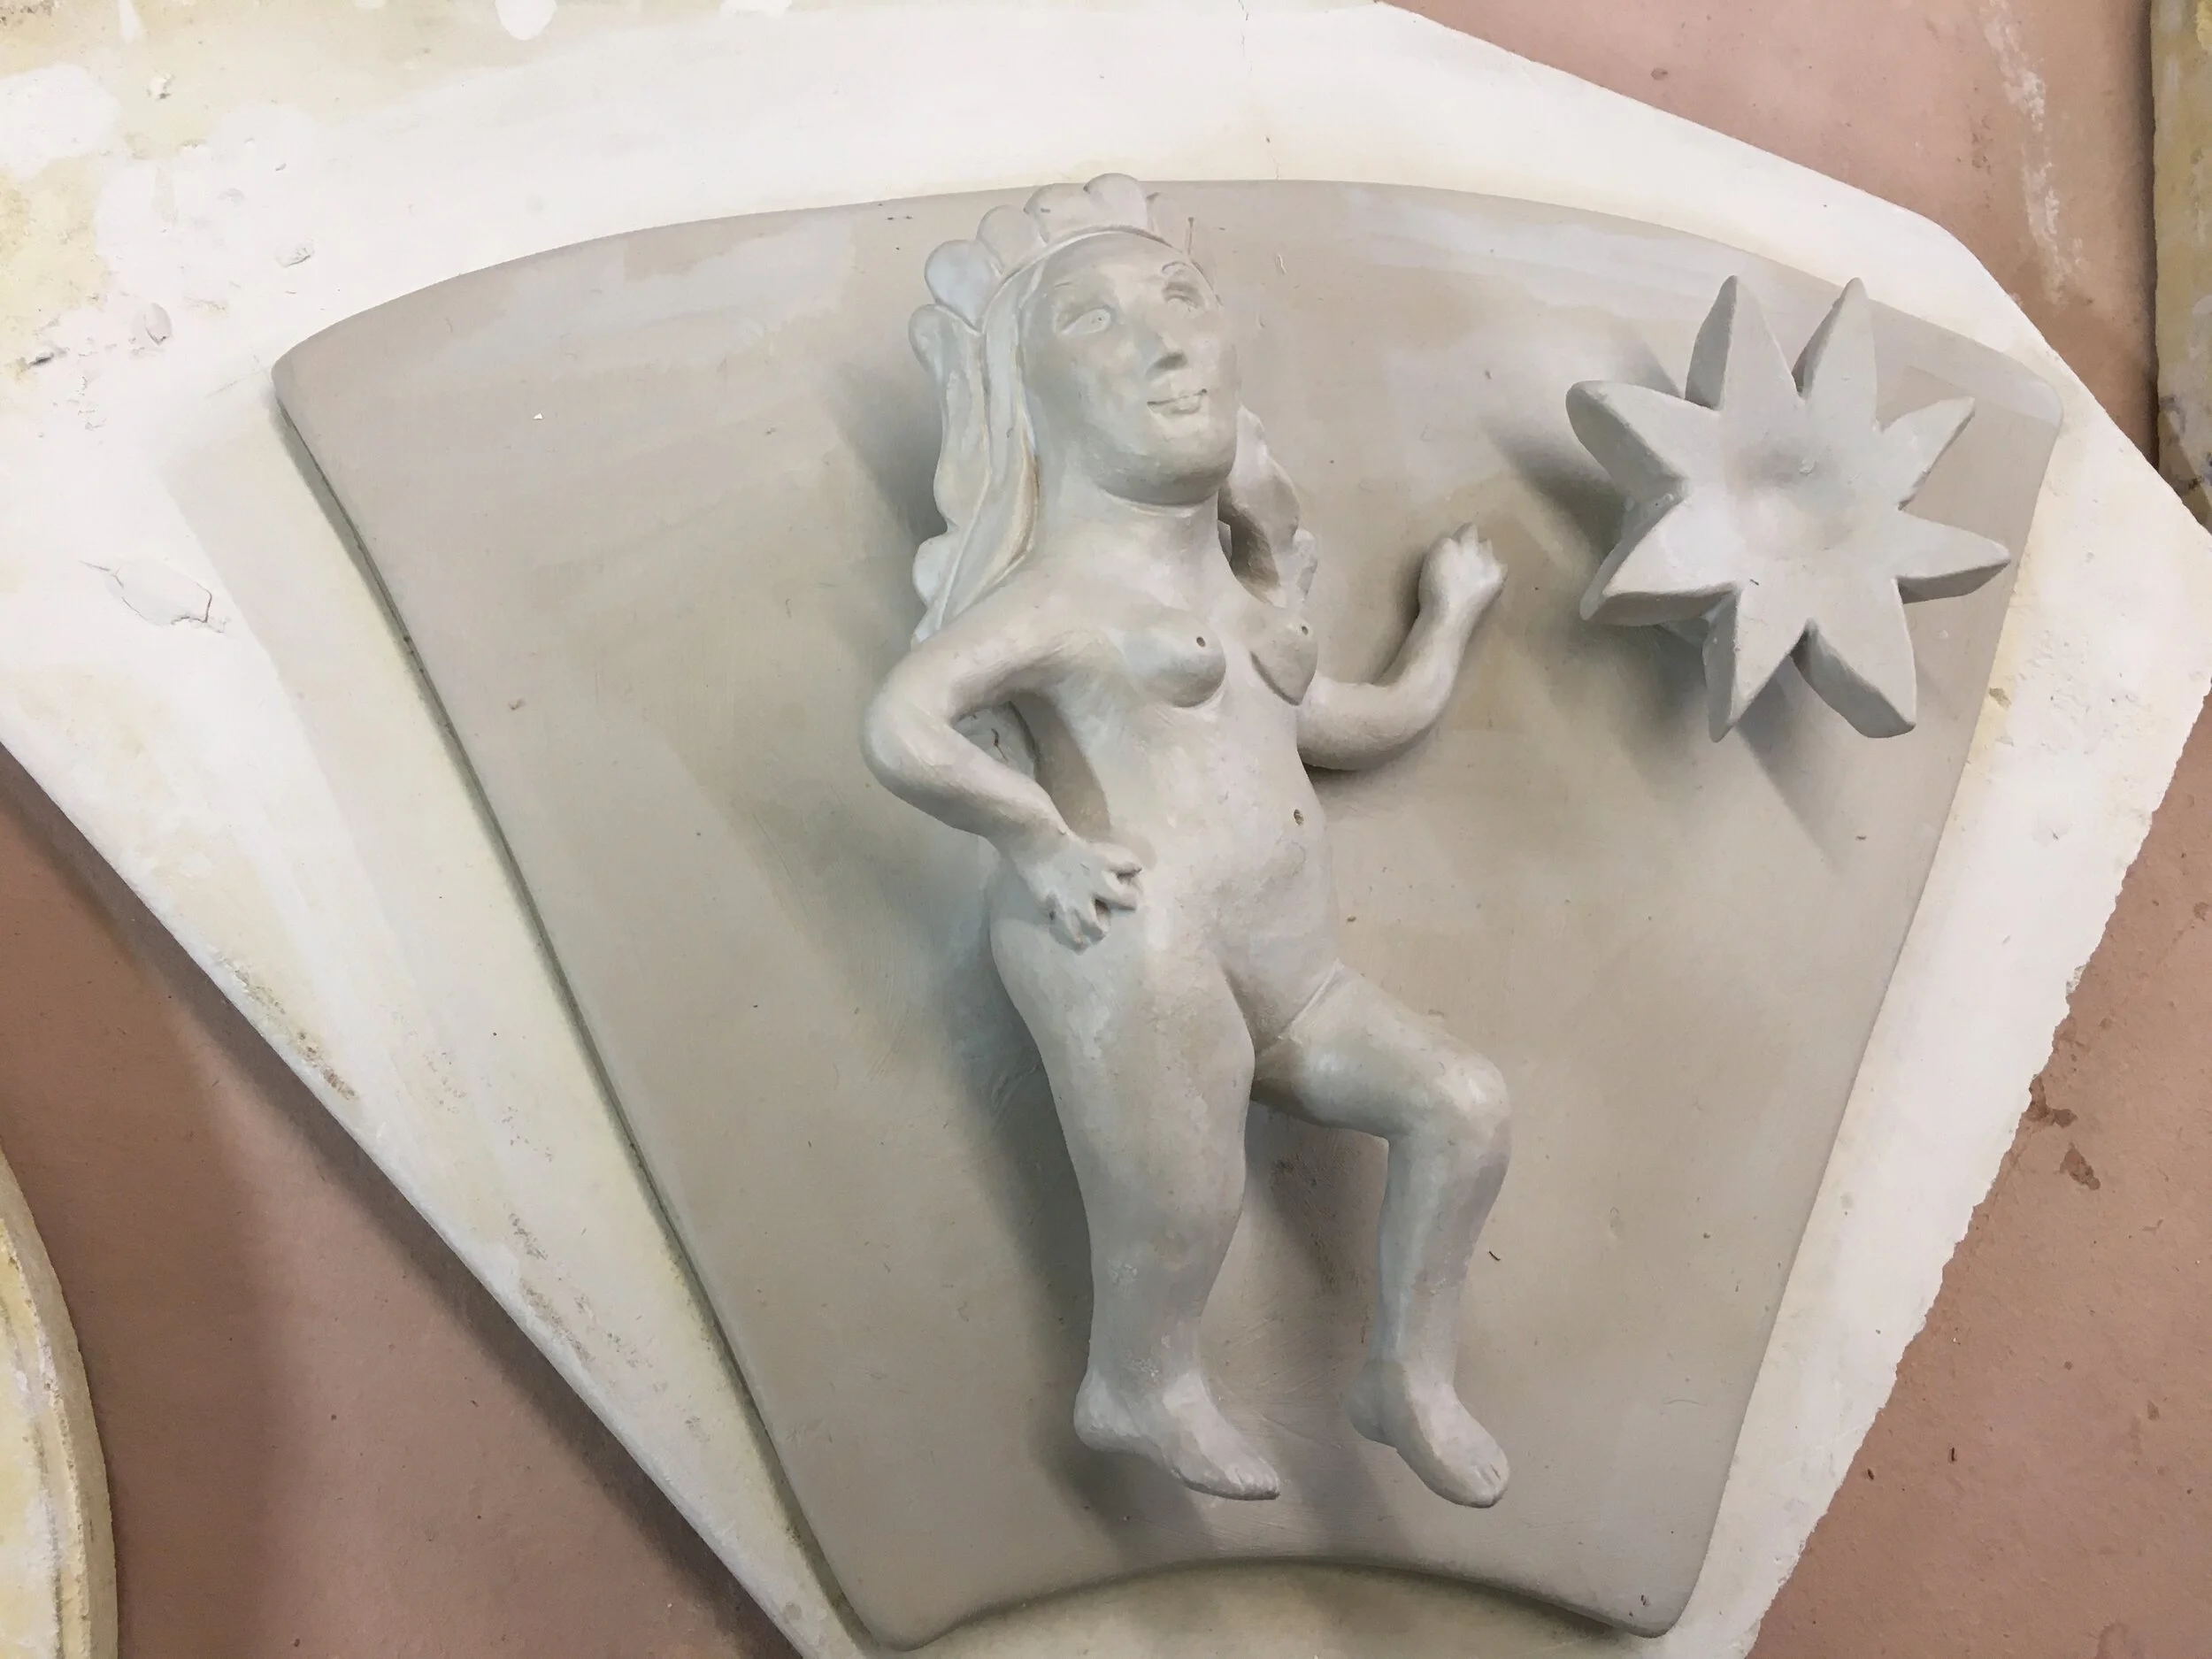
The next part of this project will involve some glassworking, but first I had several parts of the porcelain structure to finish. As I showed in the last post I already finished sculpting the four “Voynich manuscript nymphs” that are each attached to a separate panel of porcelain to support the back. Those four panels will fit around a circular shape in the middle, which will support the “critter,” and a fifth panel, directly in the center, will support a lighted glass star.
Using these paper templates as a size guide, I made these remaining porcelain parts to the correct size so that everything will fit together when it’s finished:
paper templates
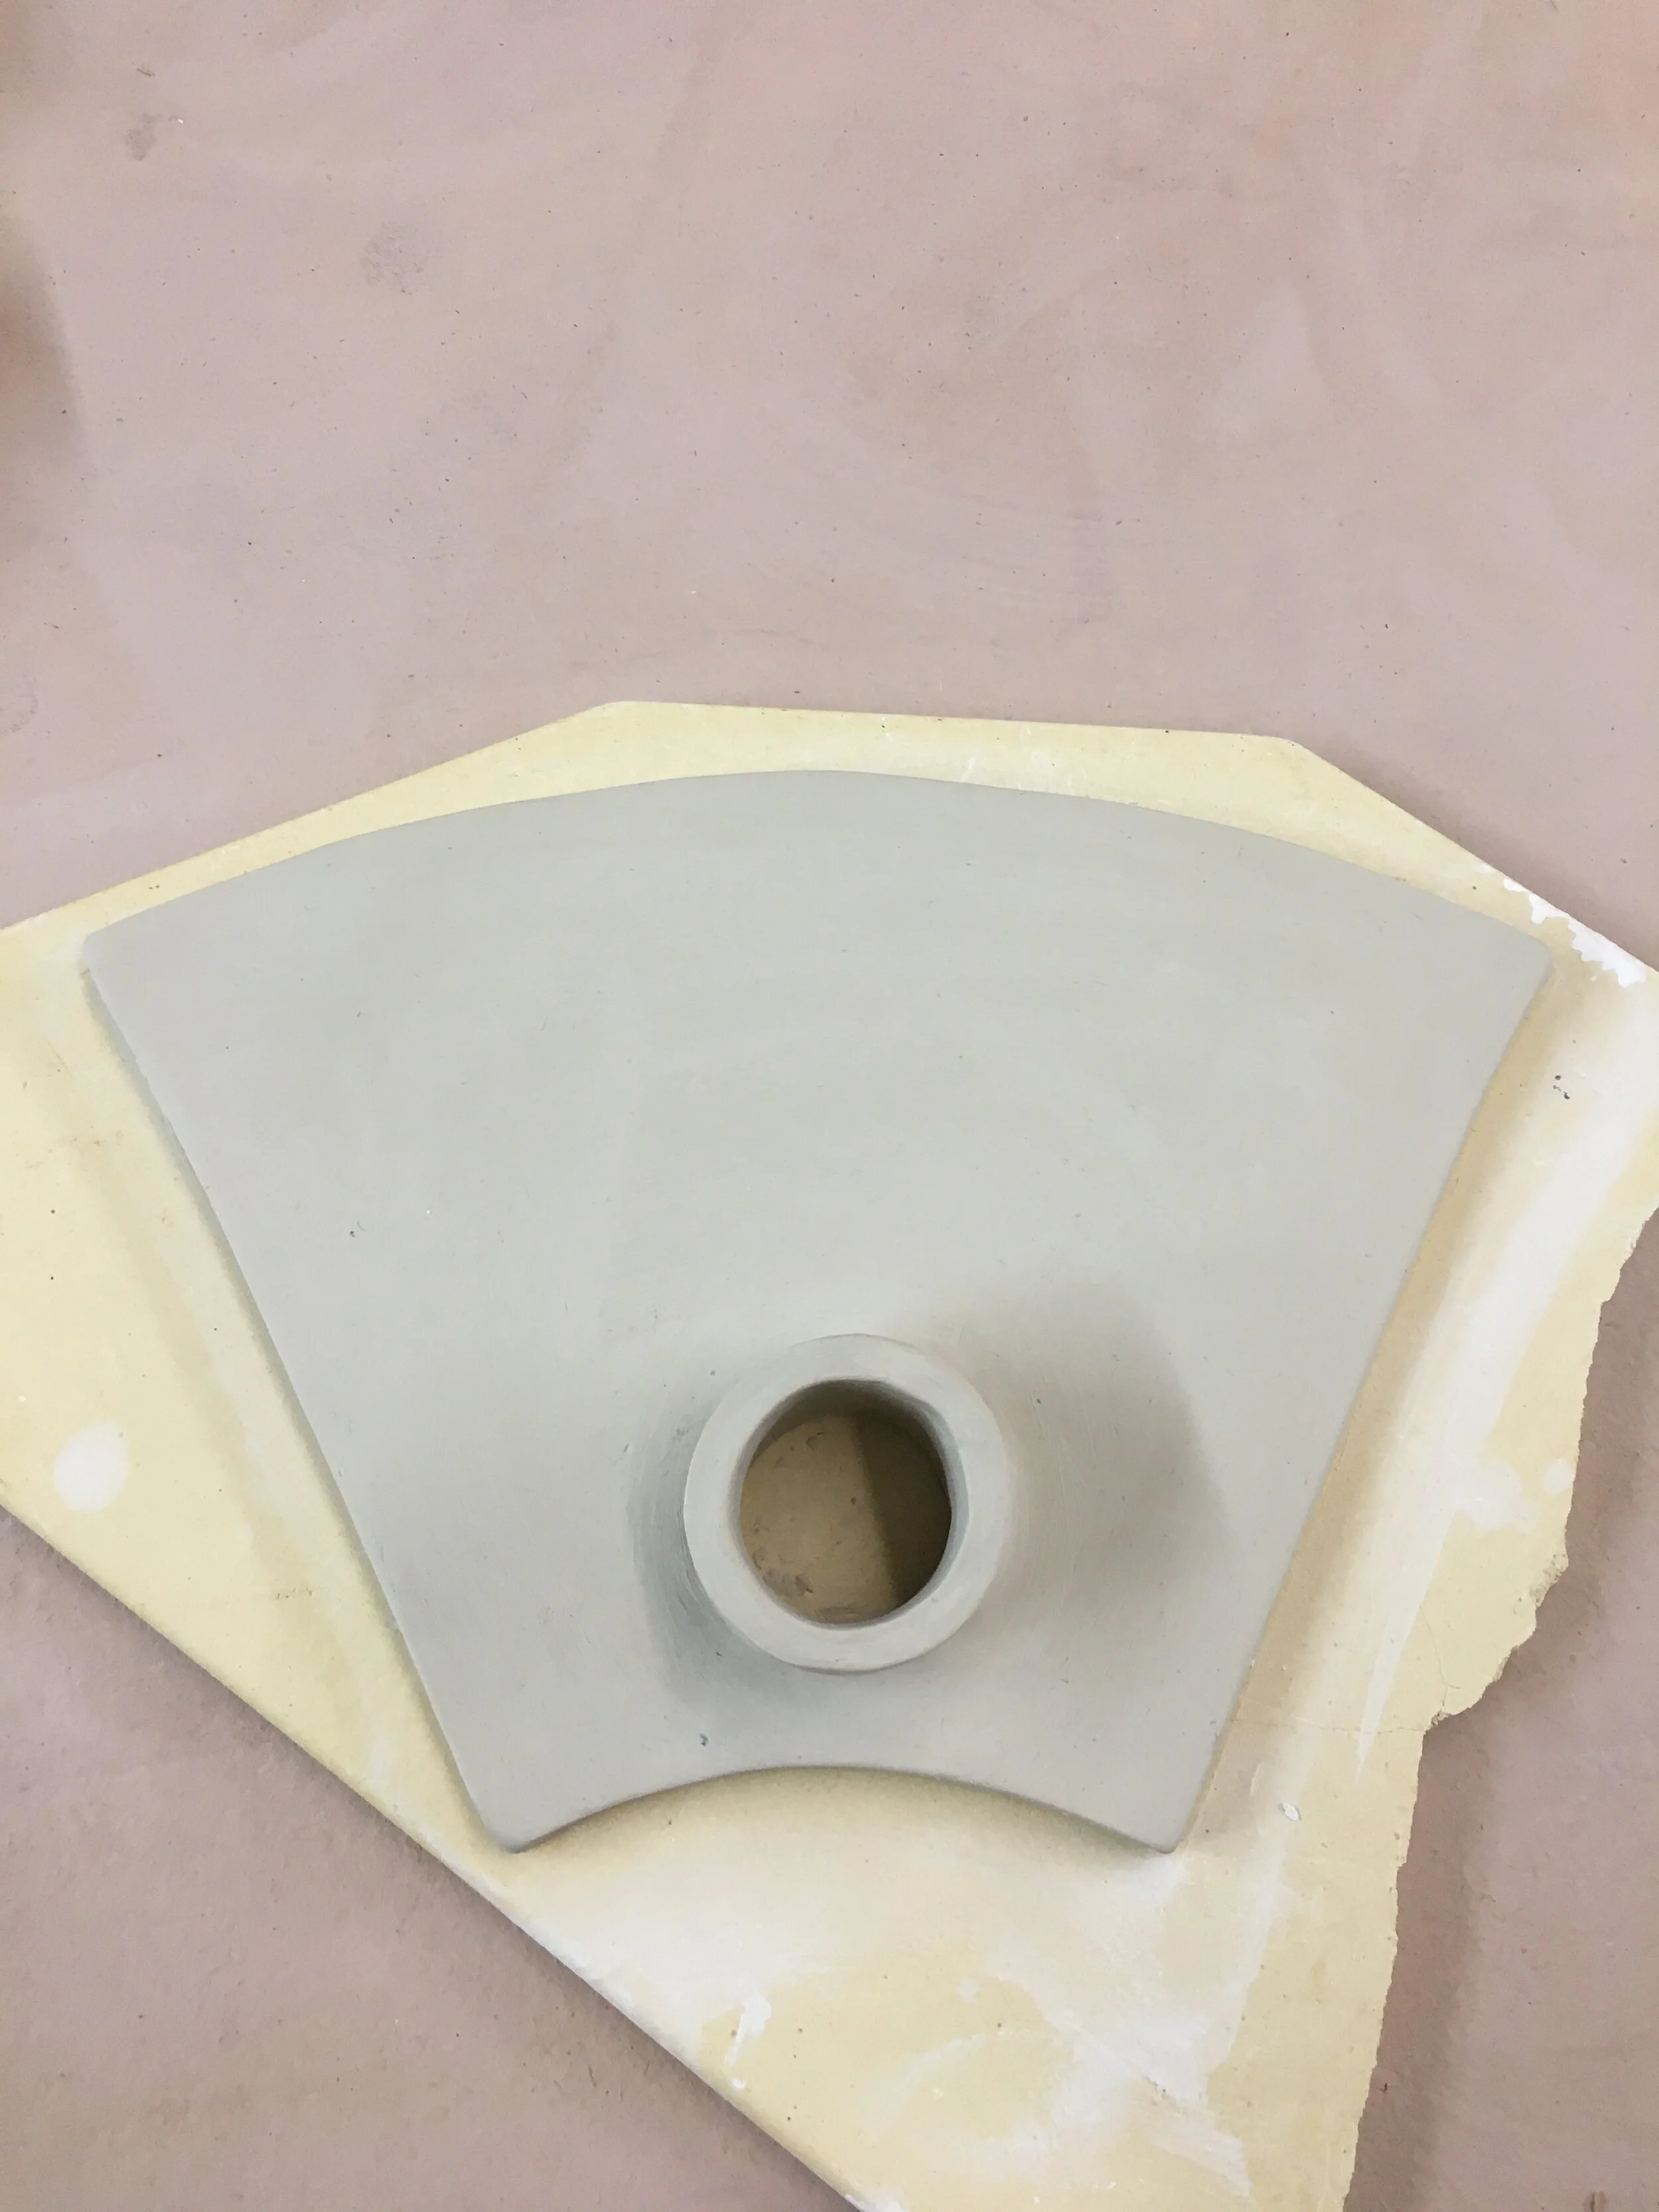
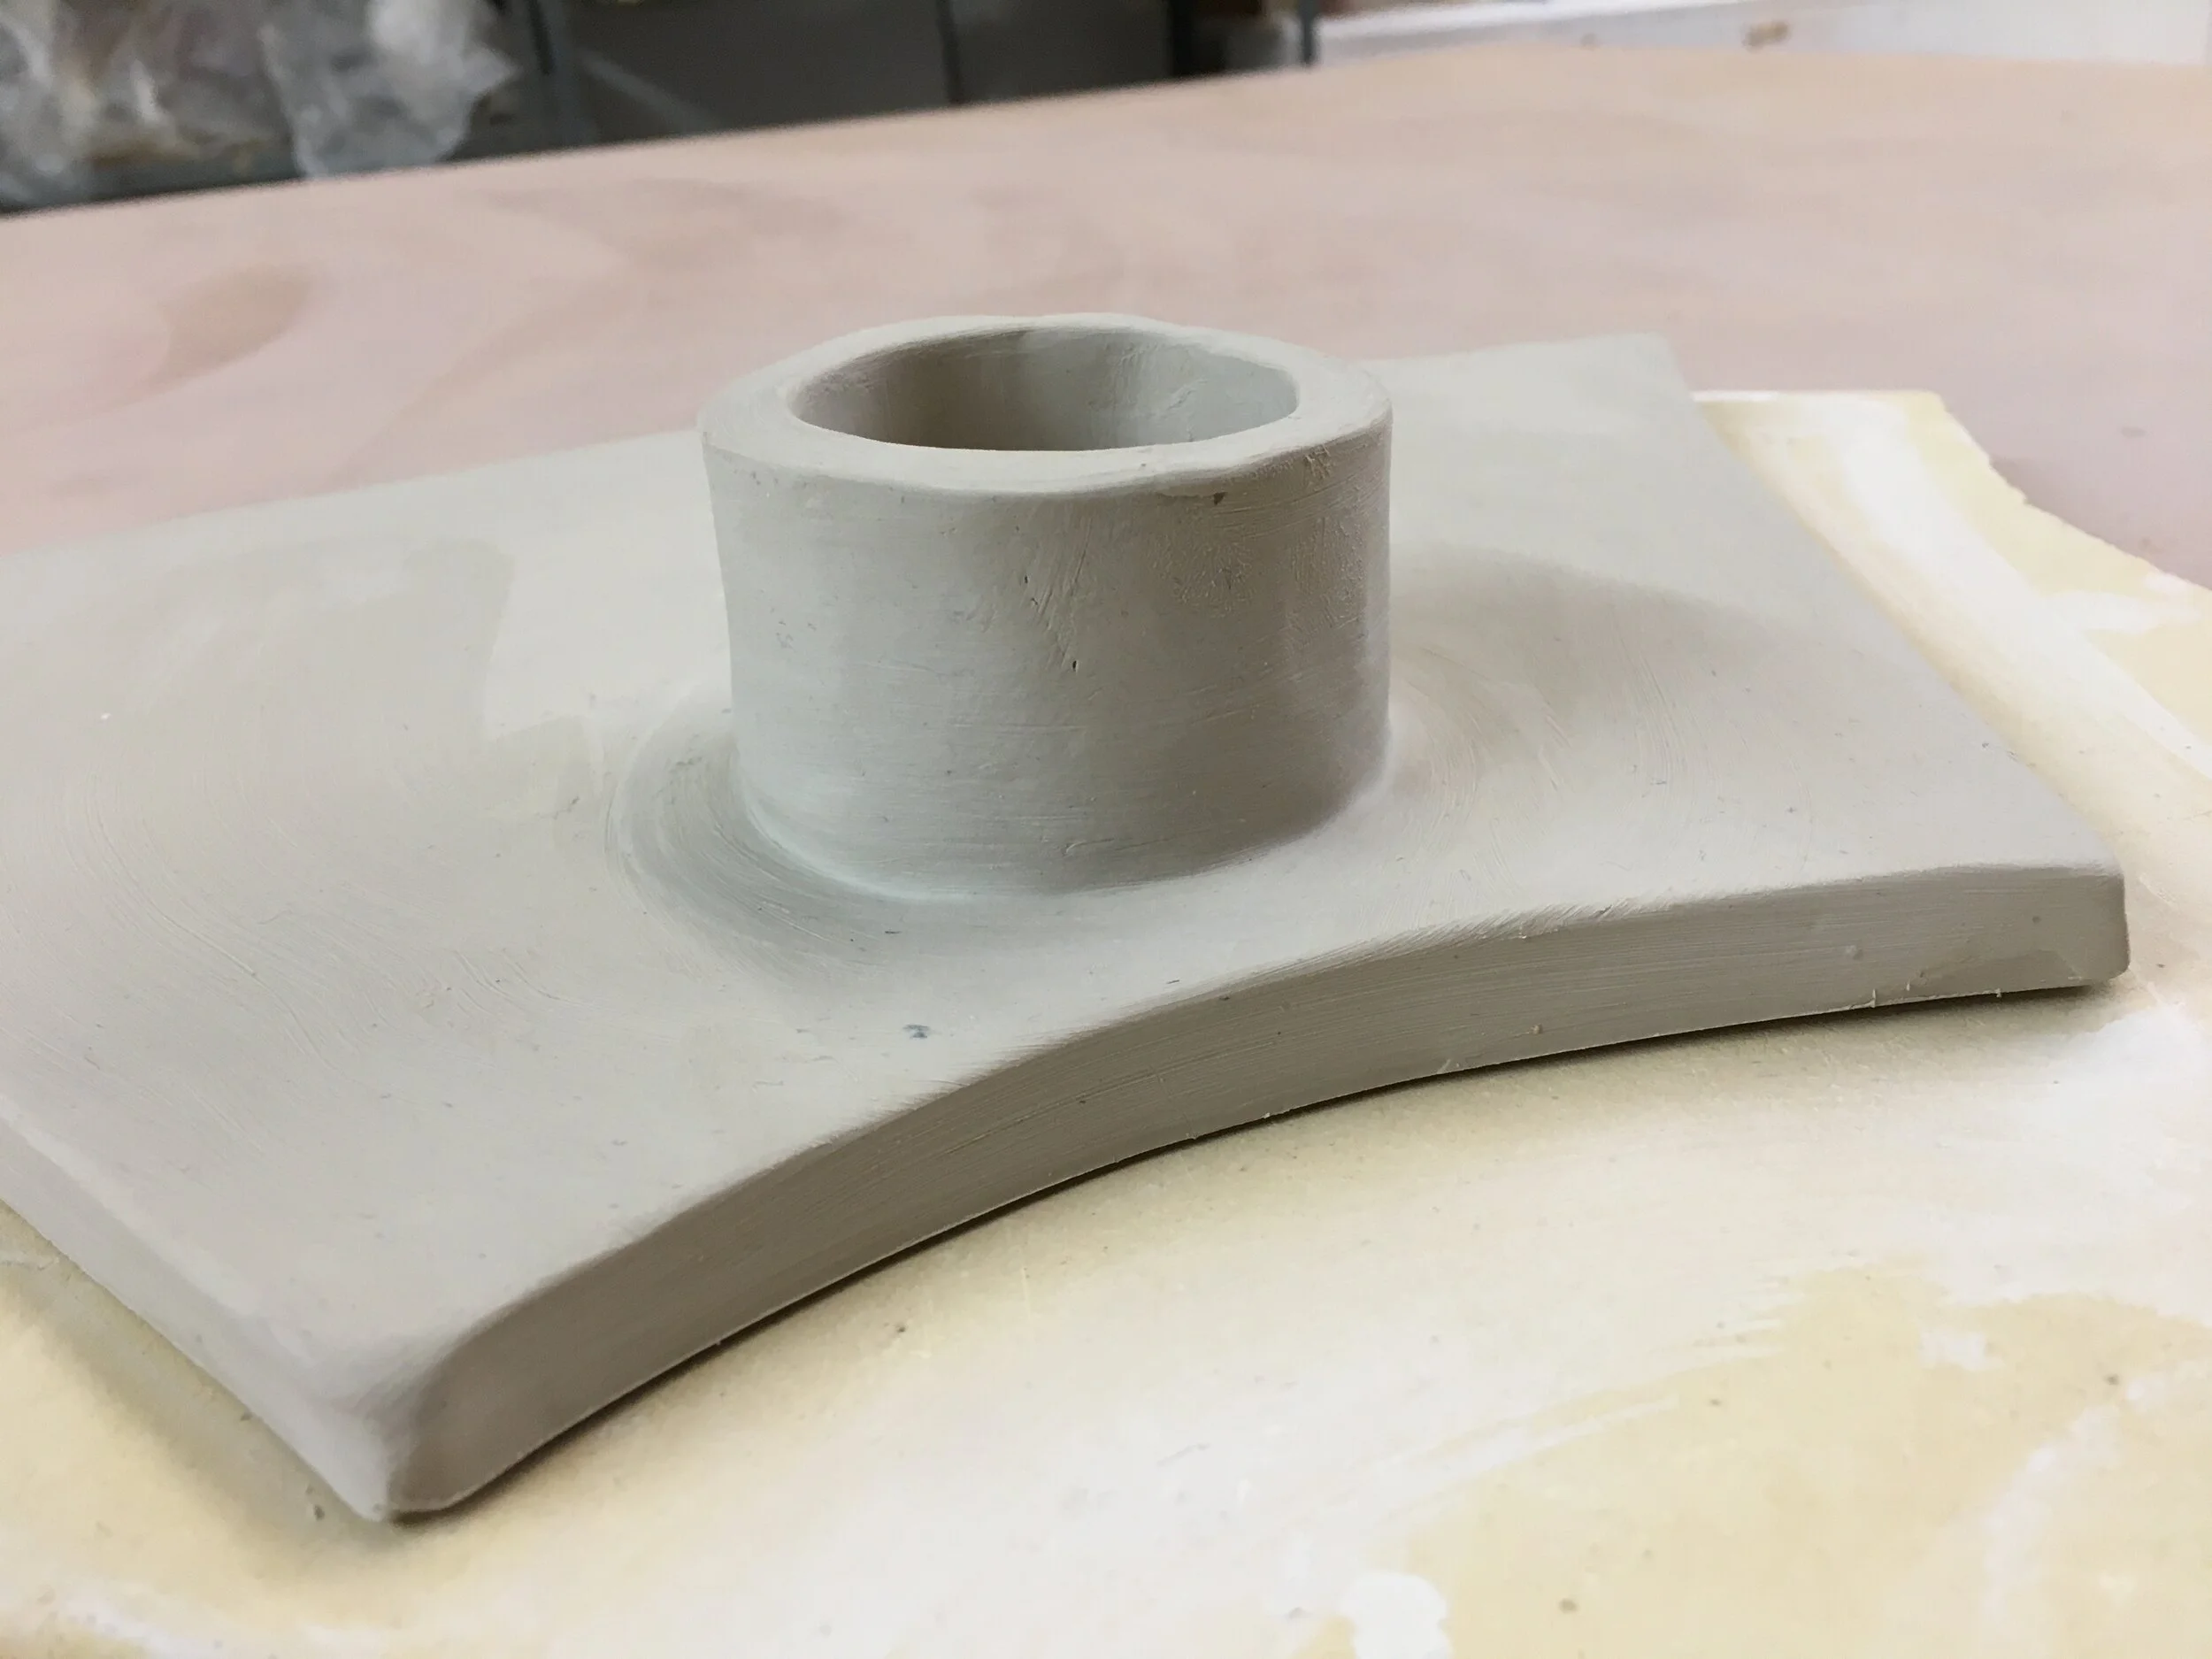
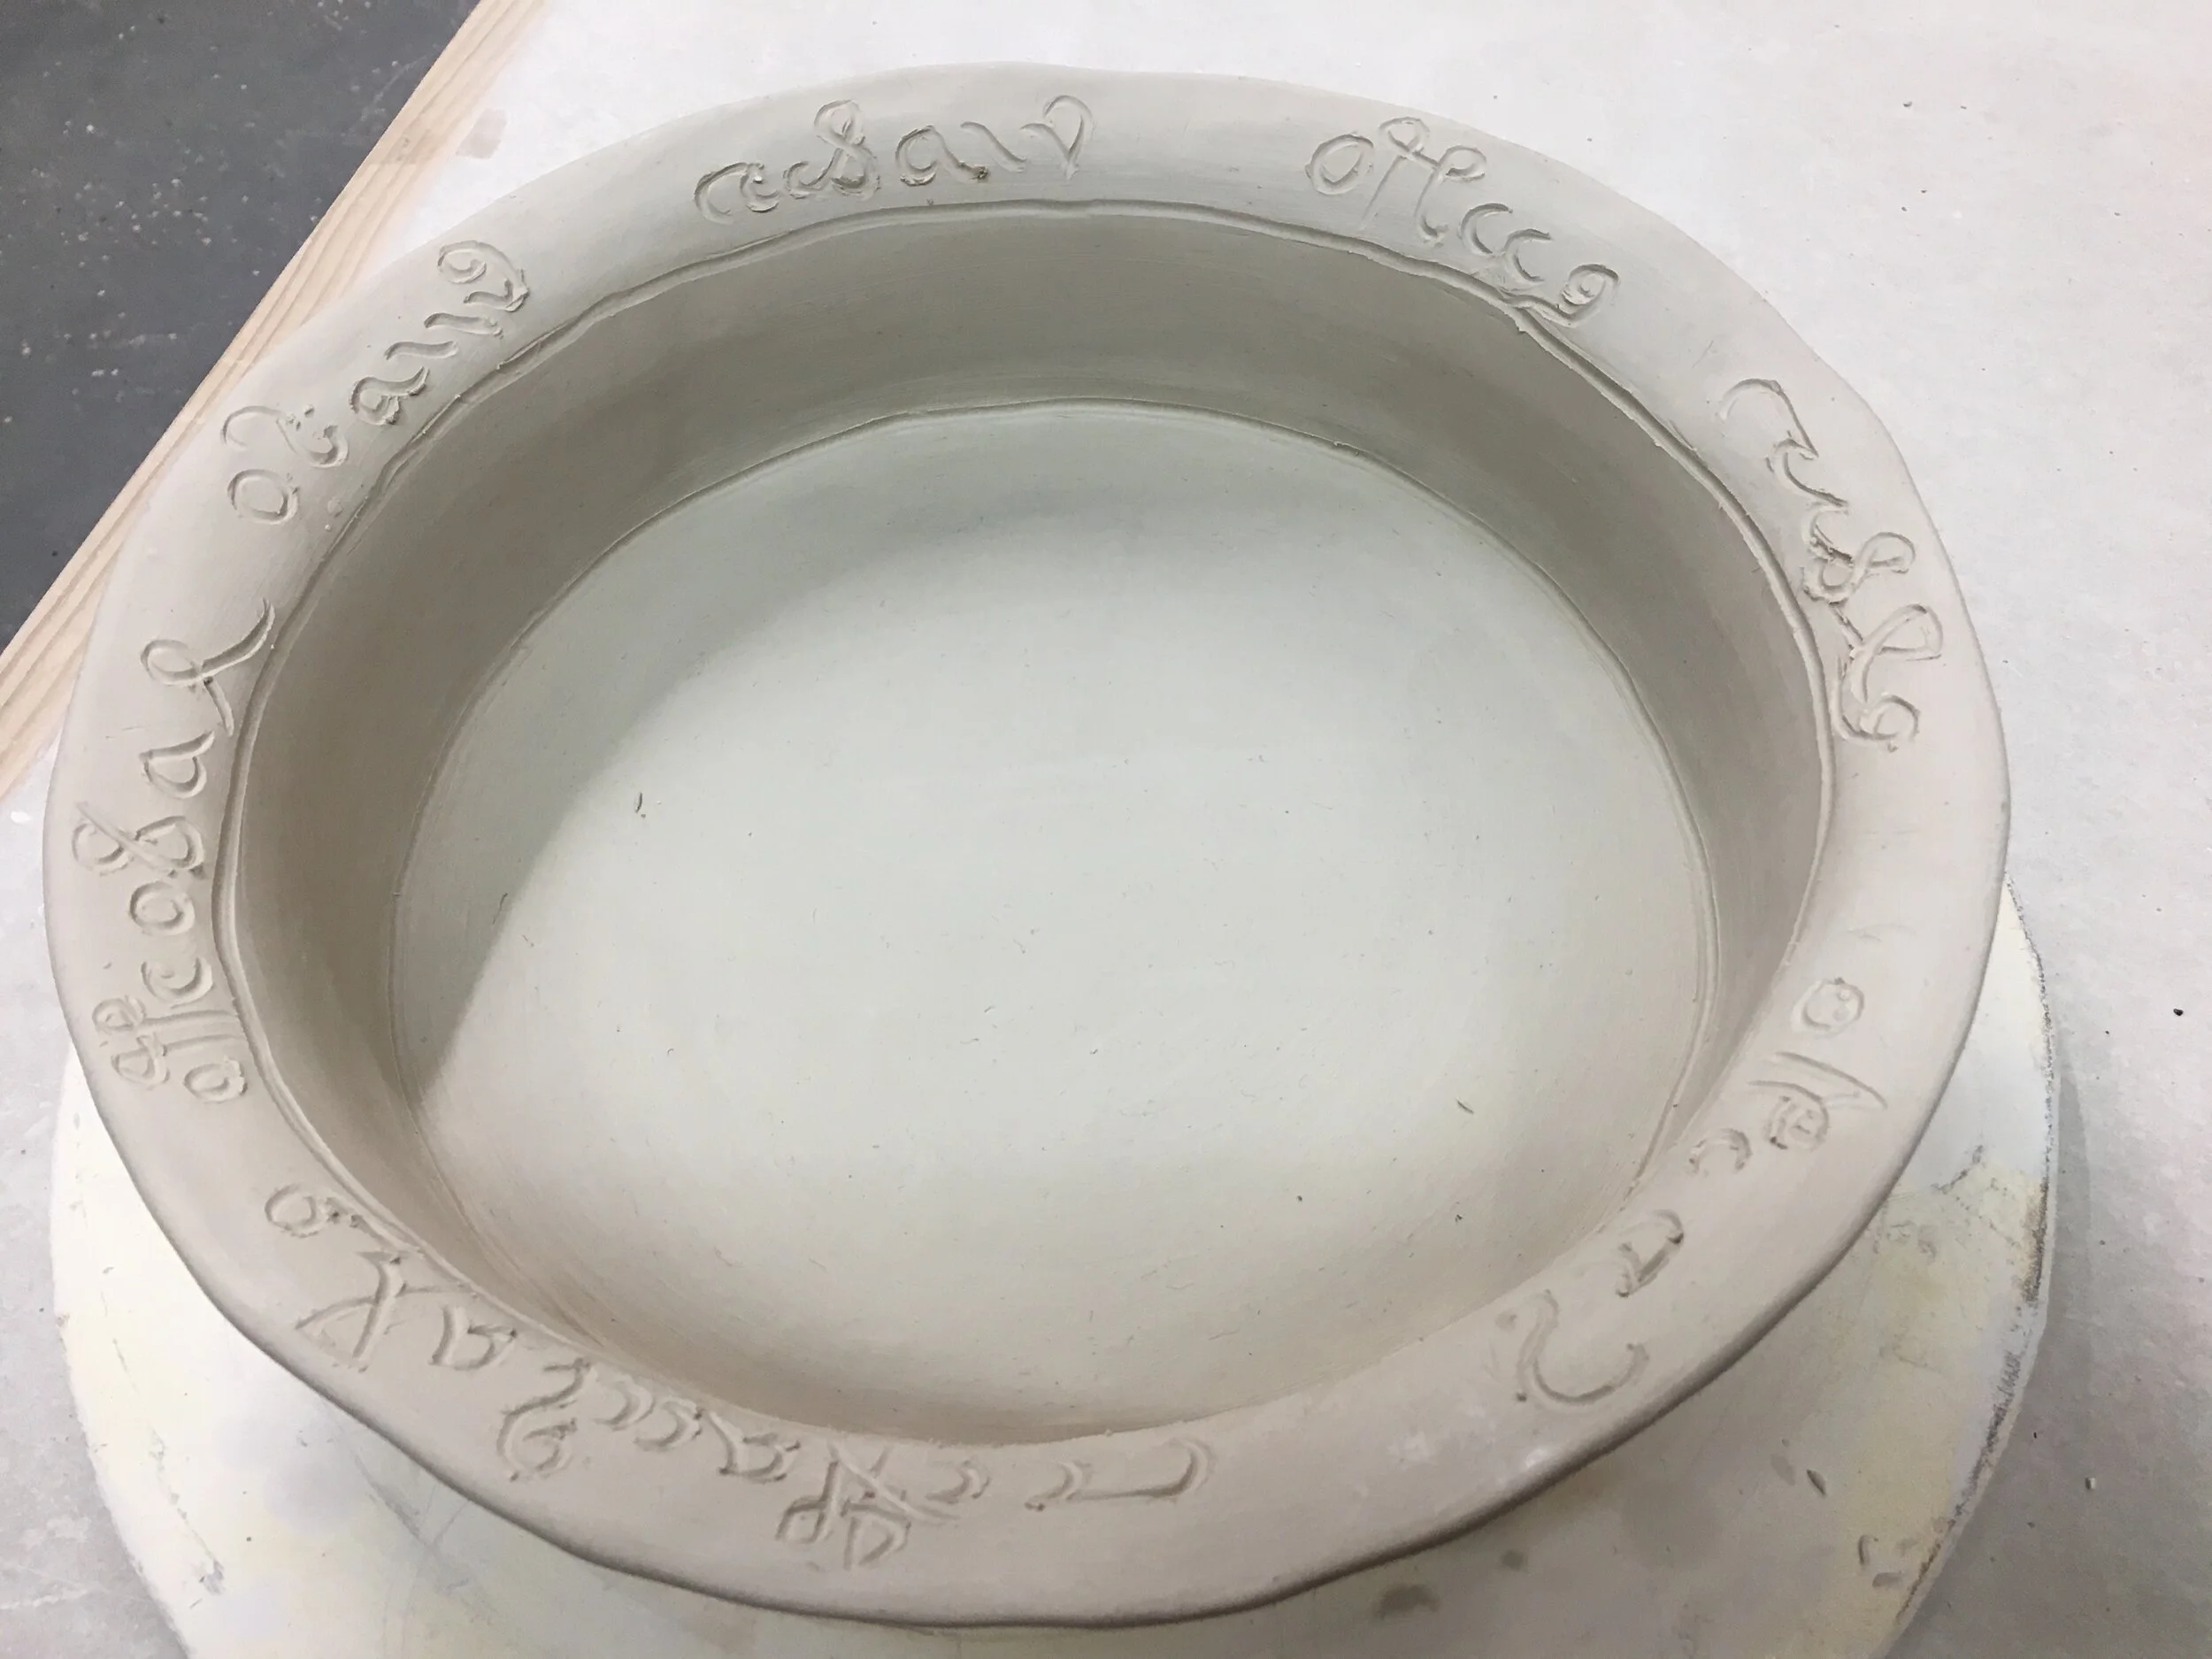
These parts did not take nearly as long to sculpt as the figures! But just like the figures, they will also have to dry slowly before they can be fired. The hole in the center panel will be a fixture to support the glass star. The large circular piece is a different (and simpler) design than what I originally tried (several months ago). Back then I tried making circular structures using a plaster mold, but I decided not to use them. It turned out that I really needed to sculpt all of the figures before I could see the right way to design the entire structure of the sculpture. I ended up making a hand-sculpted circular form (without the use of a mold.)
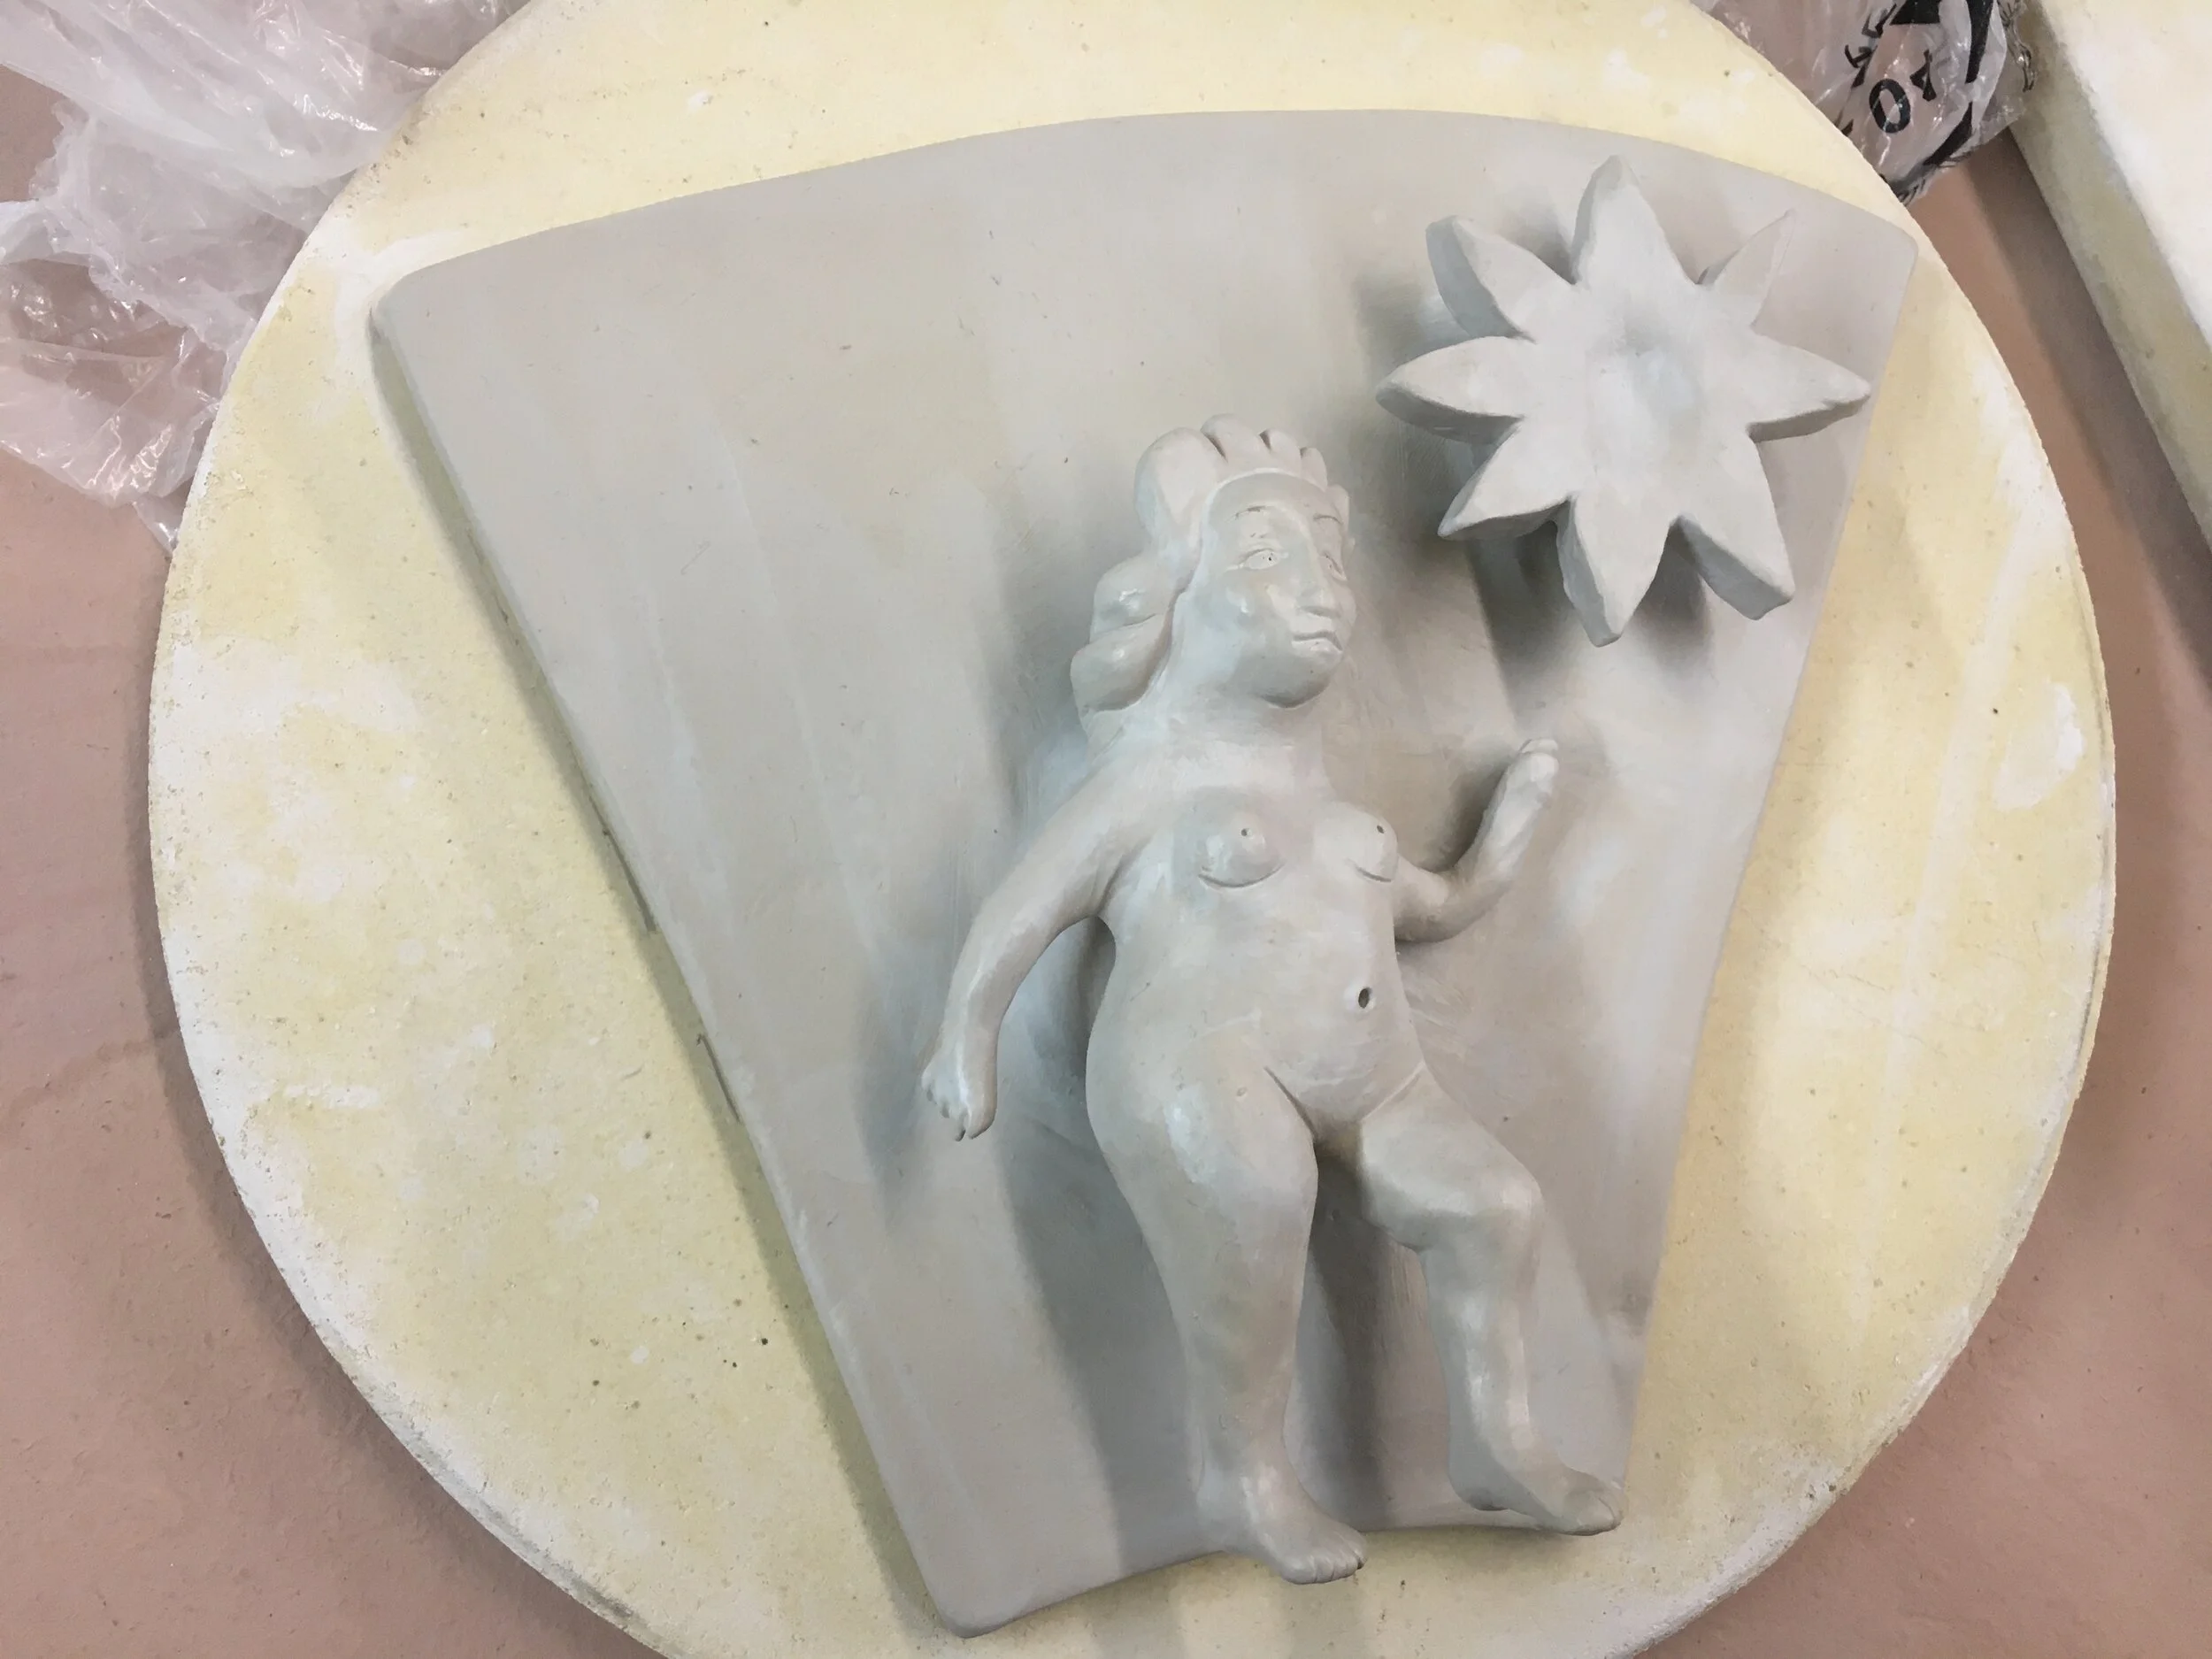
Meanwhile—the porcelain “nymphs” are still slowly drying before they can be fired. This is what they looked like when they first started drying:
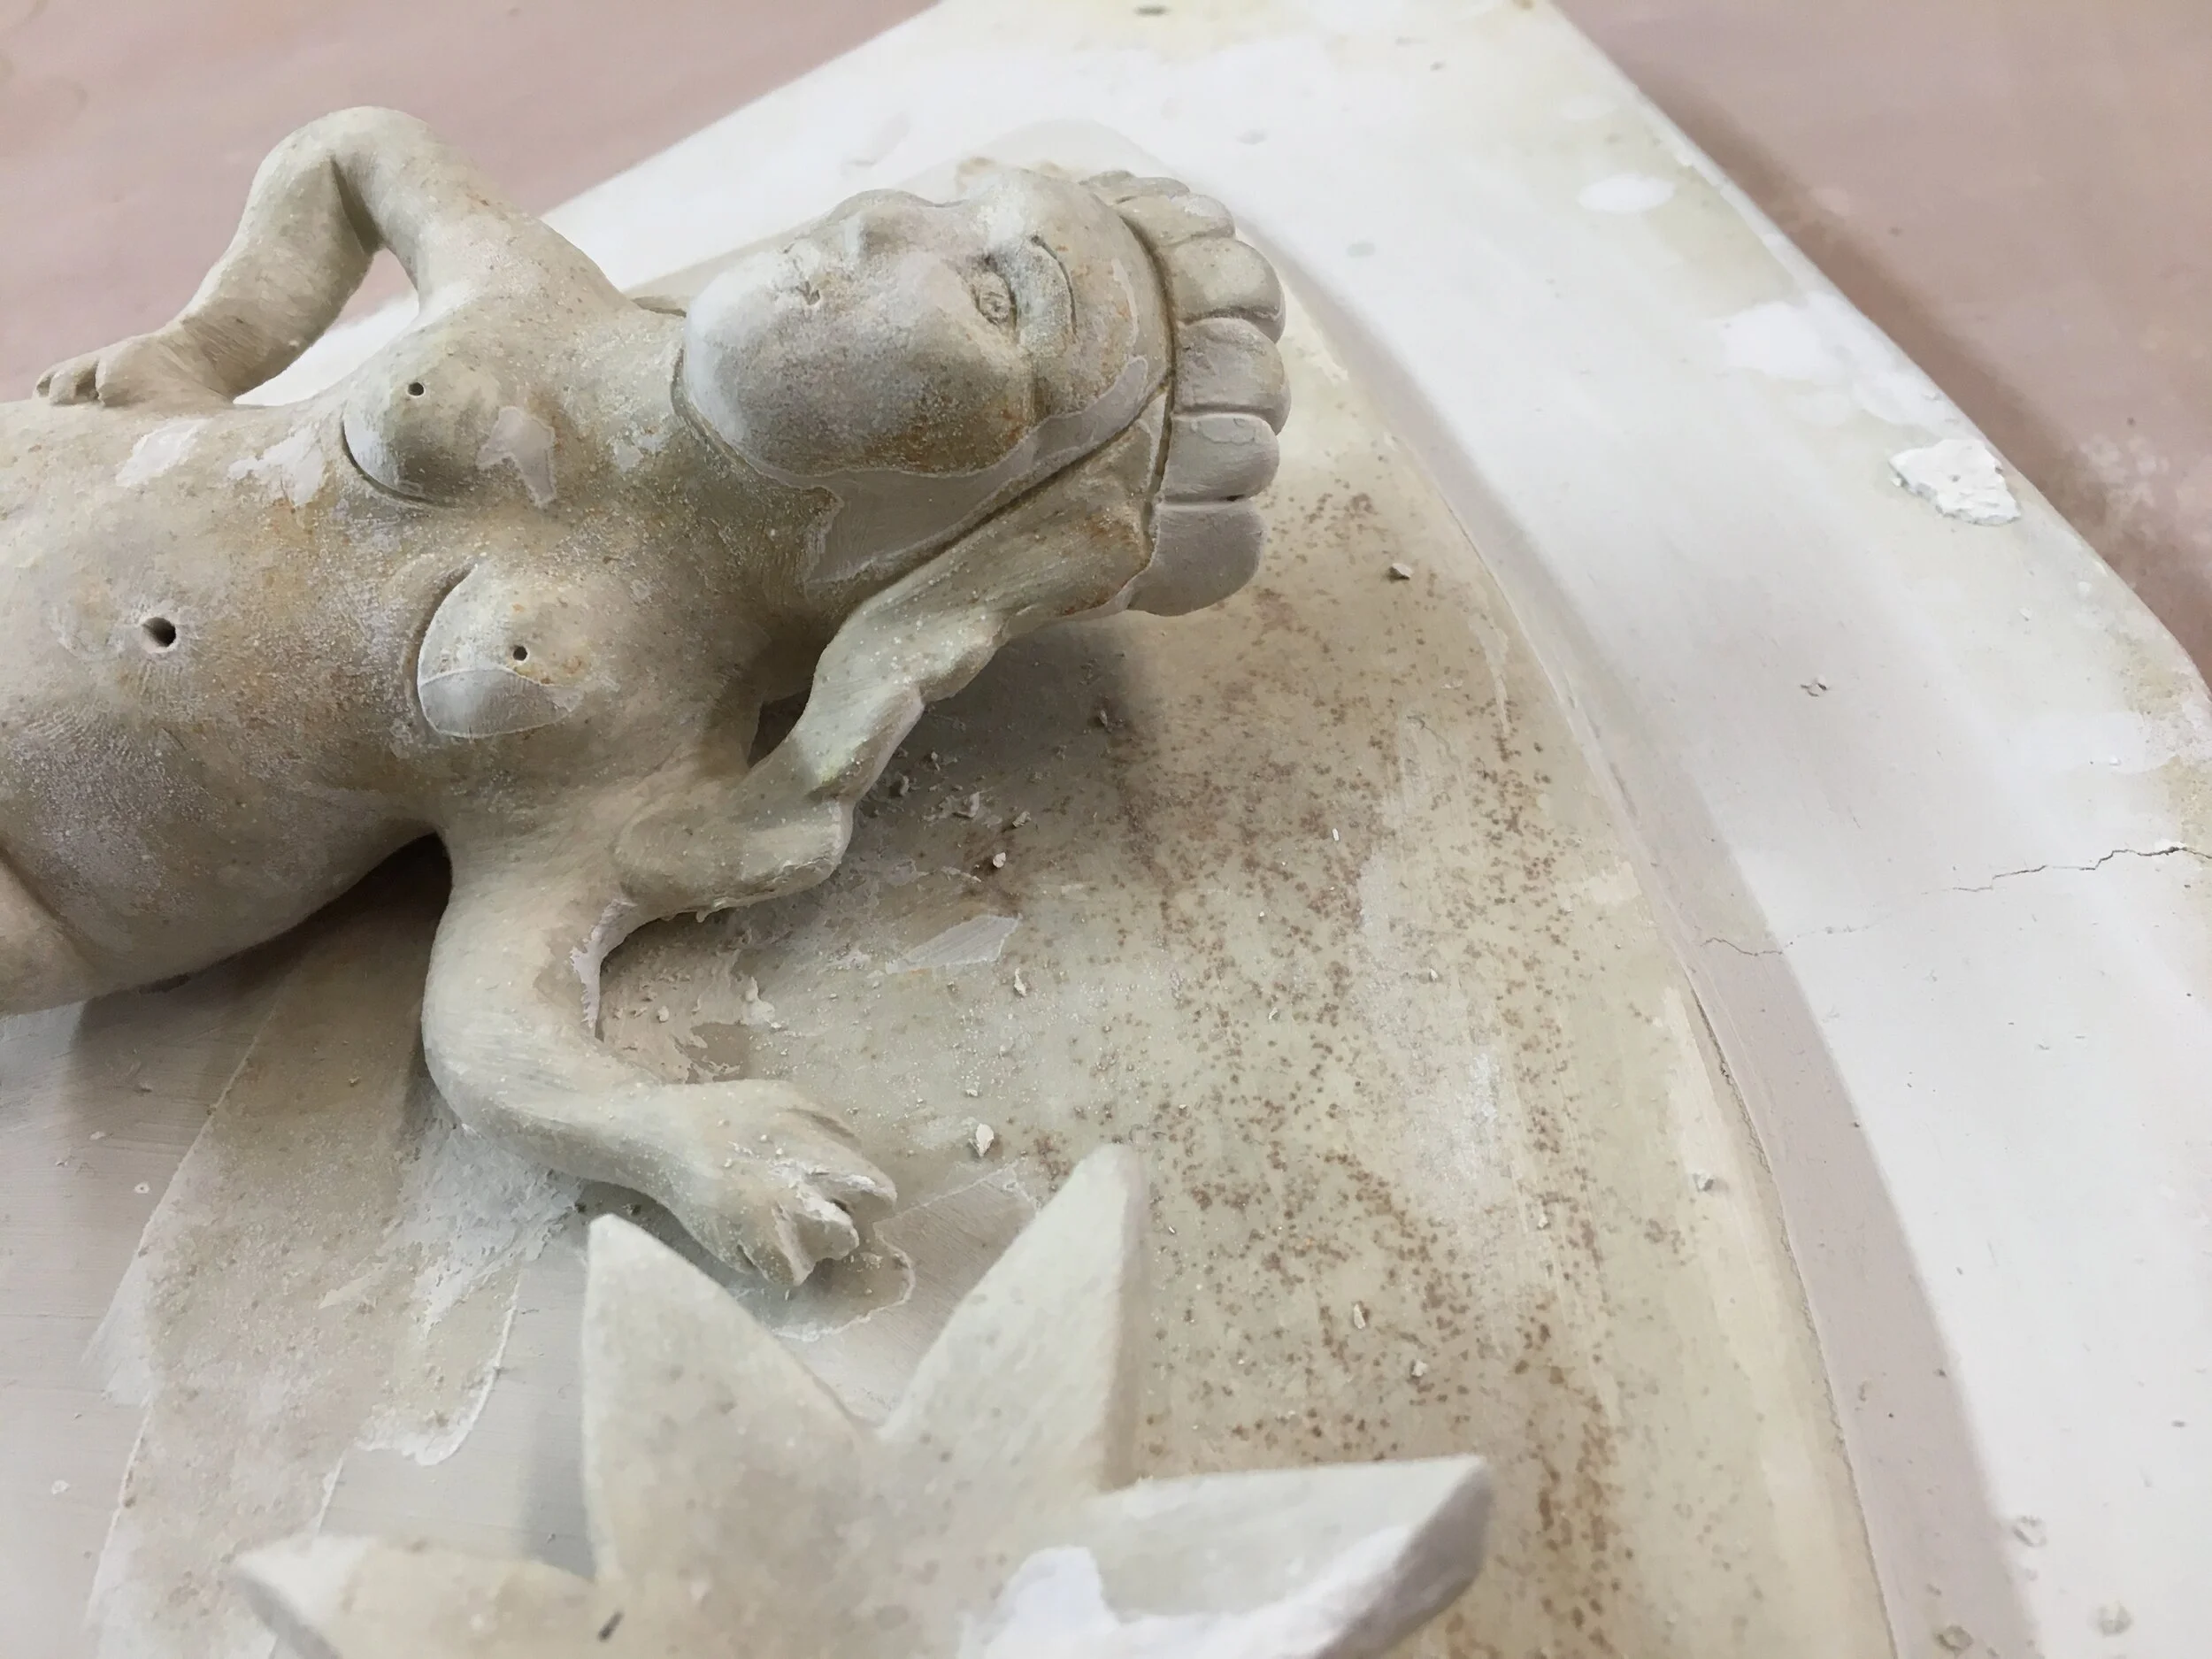
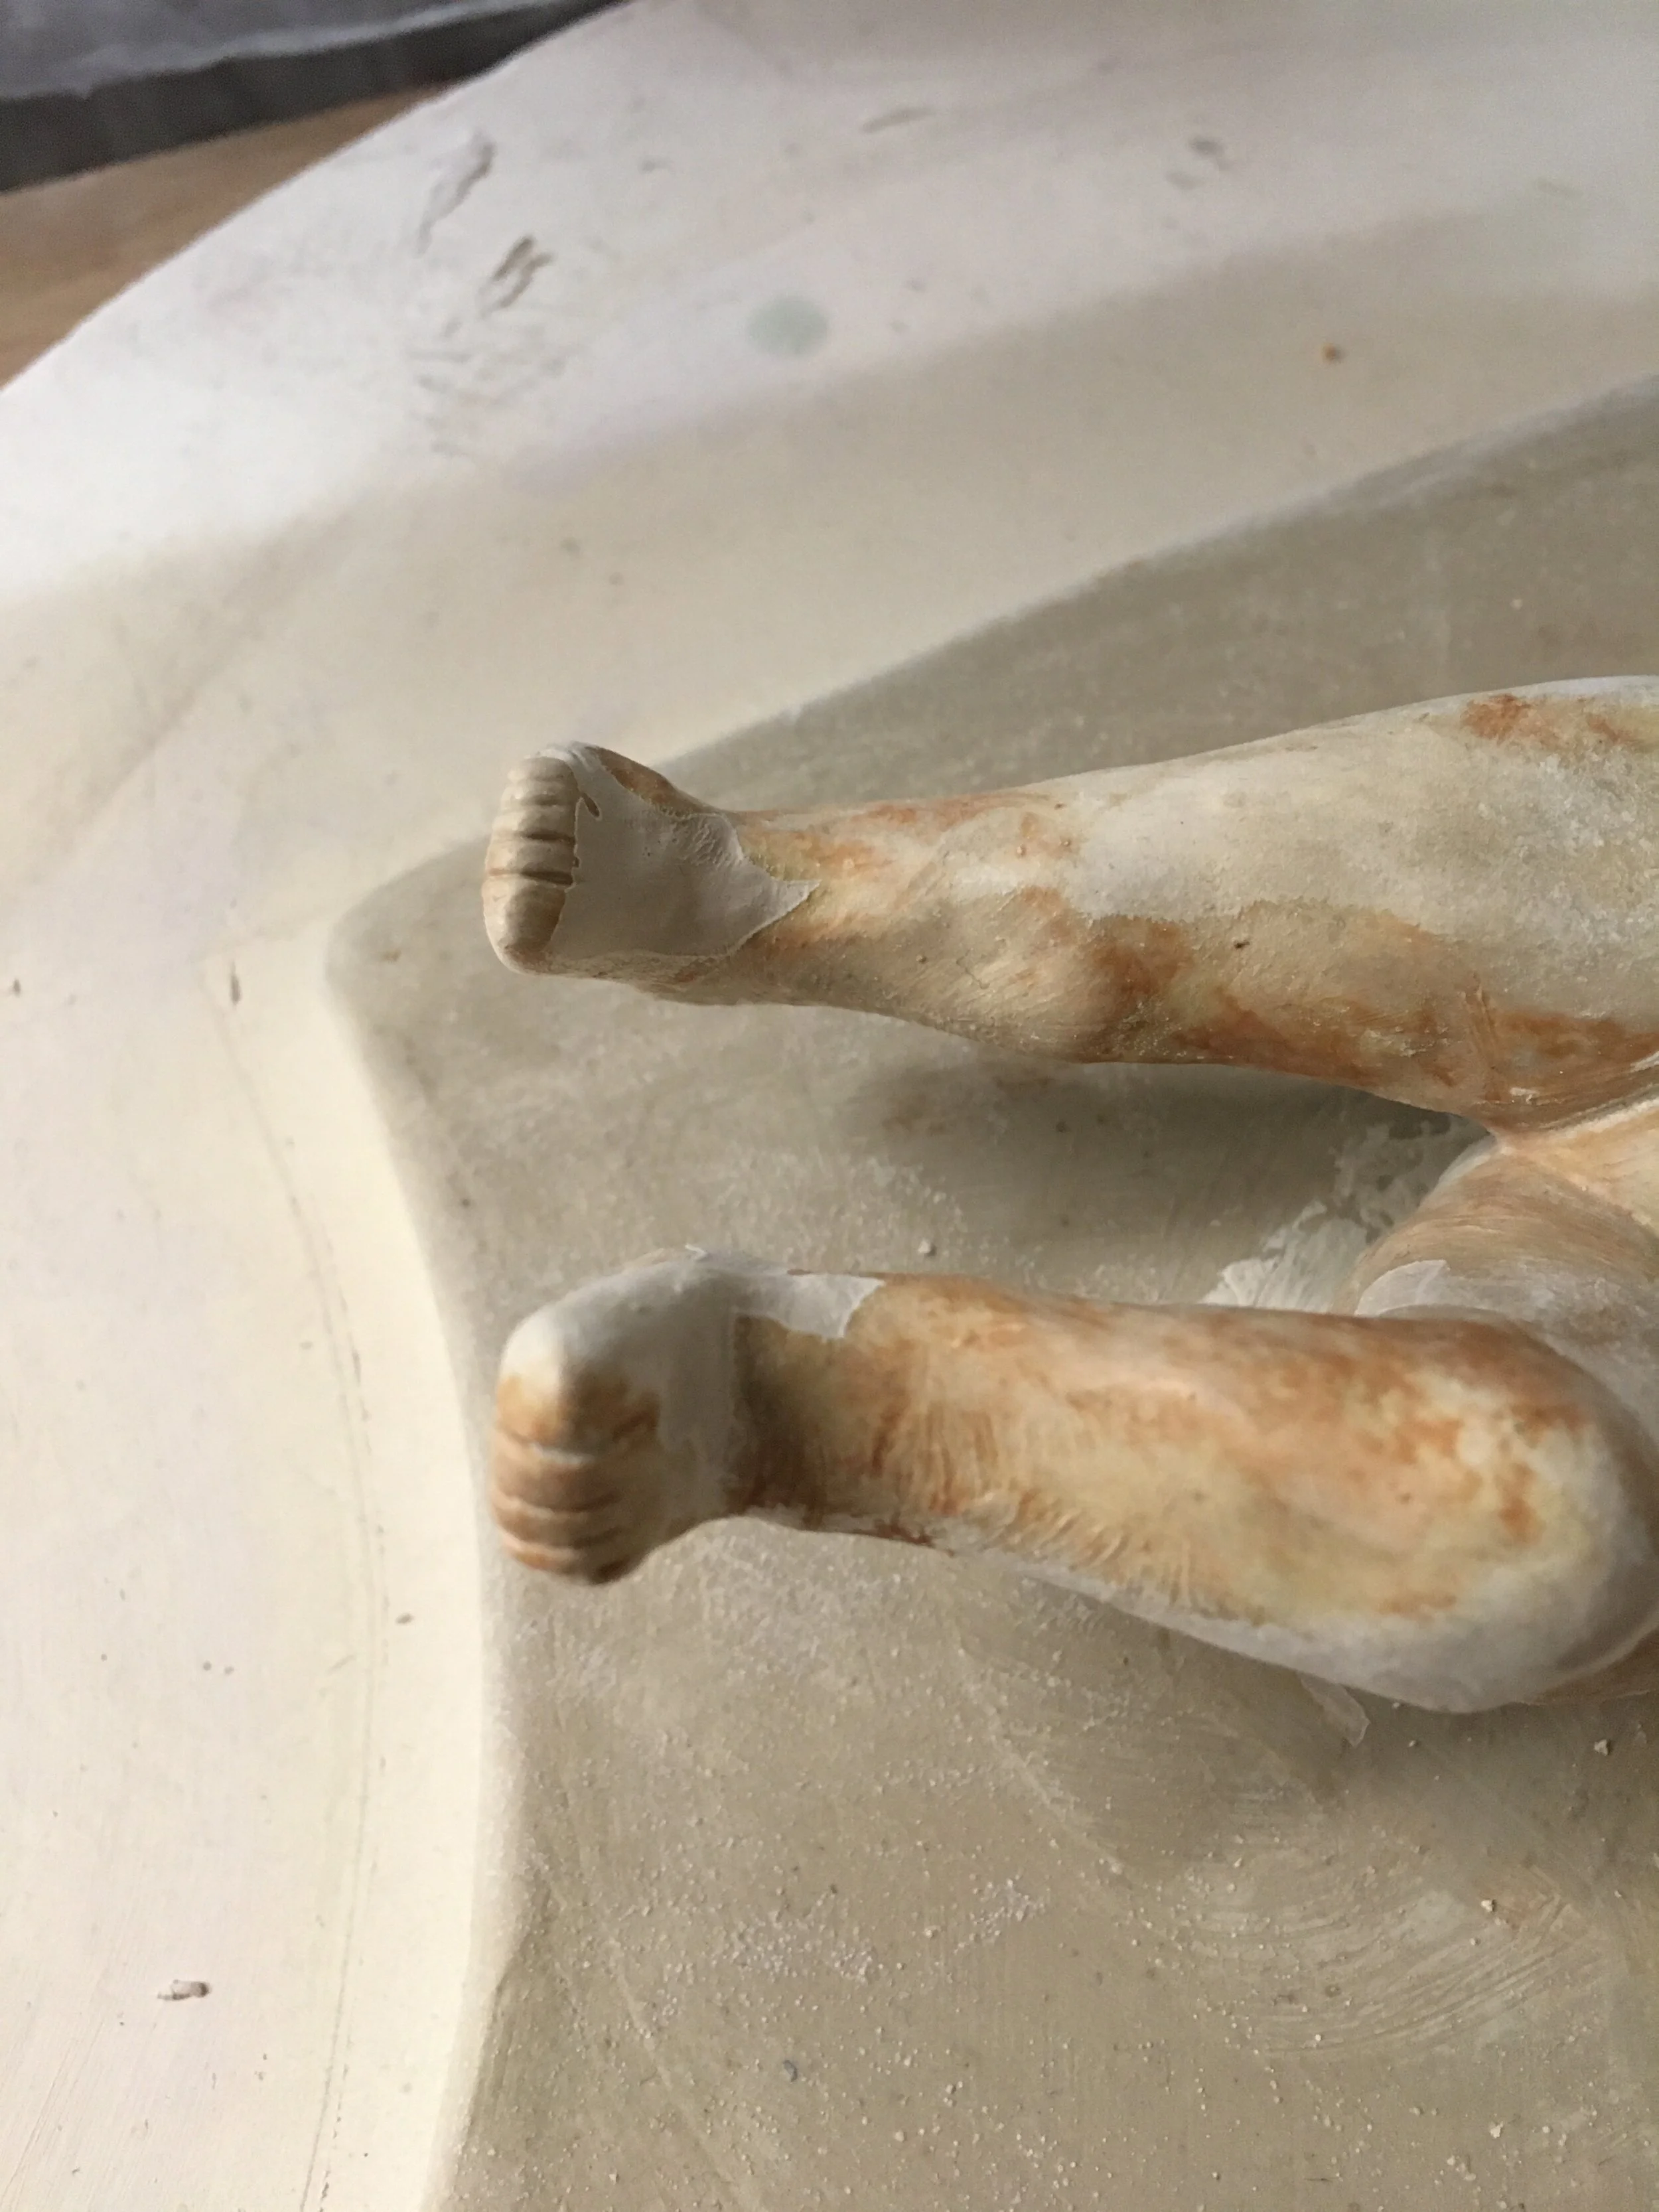
And this is what they look like after slowly drying, covered in plastic, for many days:
Yes, those spots and discoloration are mold… my sculptures have passed their expiration date! Actually, though, this is completely normal. I am drying these sculptures extremely slowly and gradually, because I want to avoid any cracking, and porcelain can sometimes get moldy if it’s drying very slowly and covered up with plastic. But this science experiment is fortunately just temporary- when it finally goes into the high temperatures of the kiln firing, the mold will completely burn away and the porcelain will turn a clean bright white.
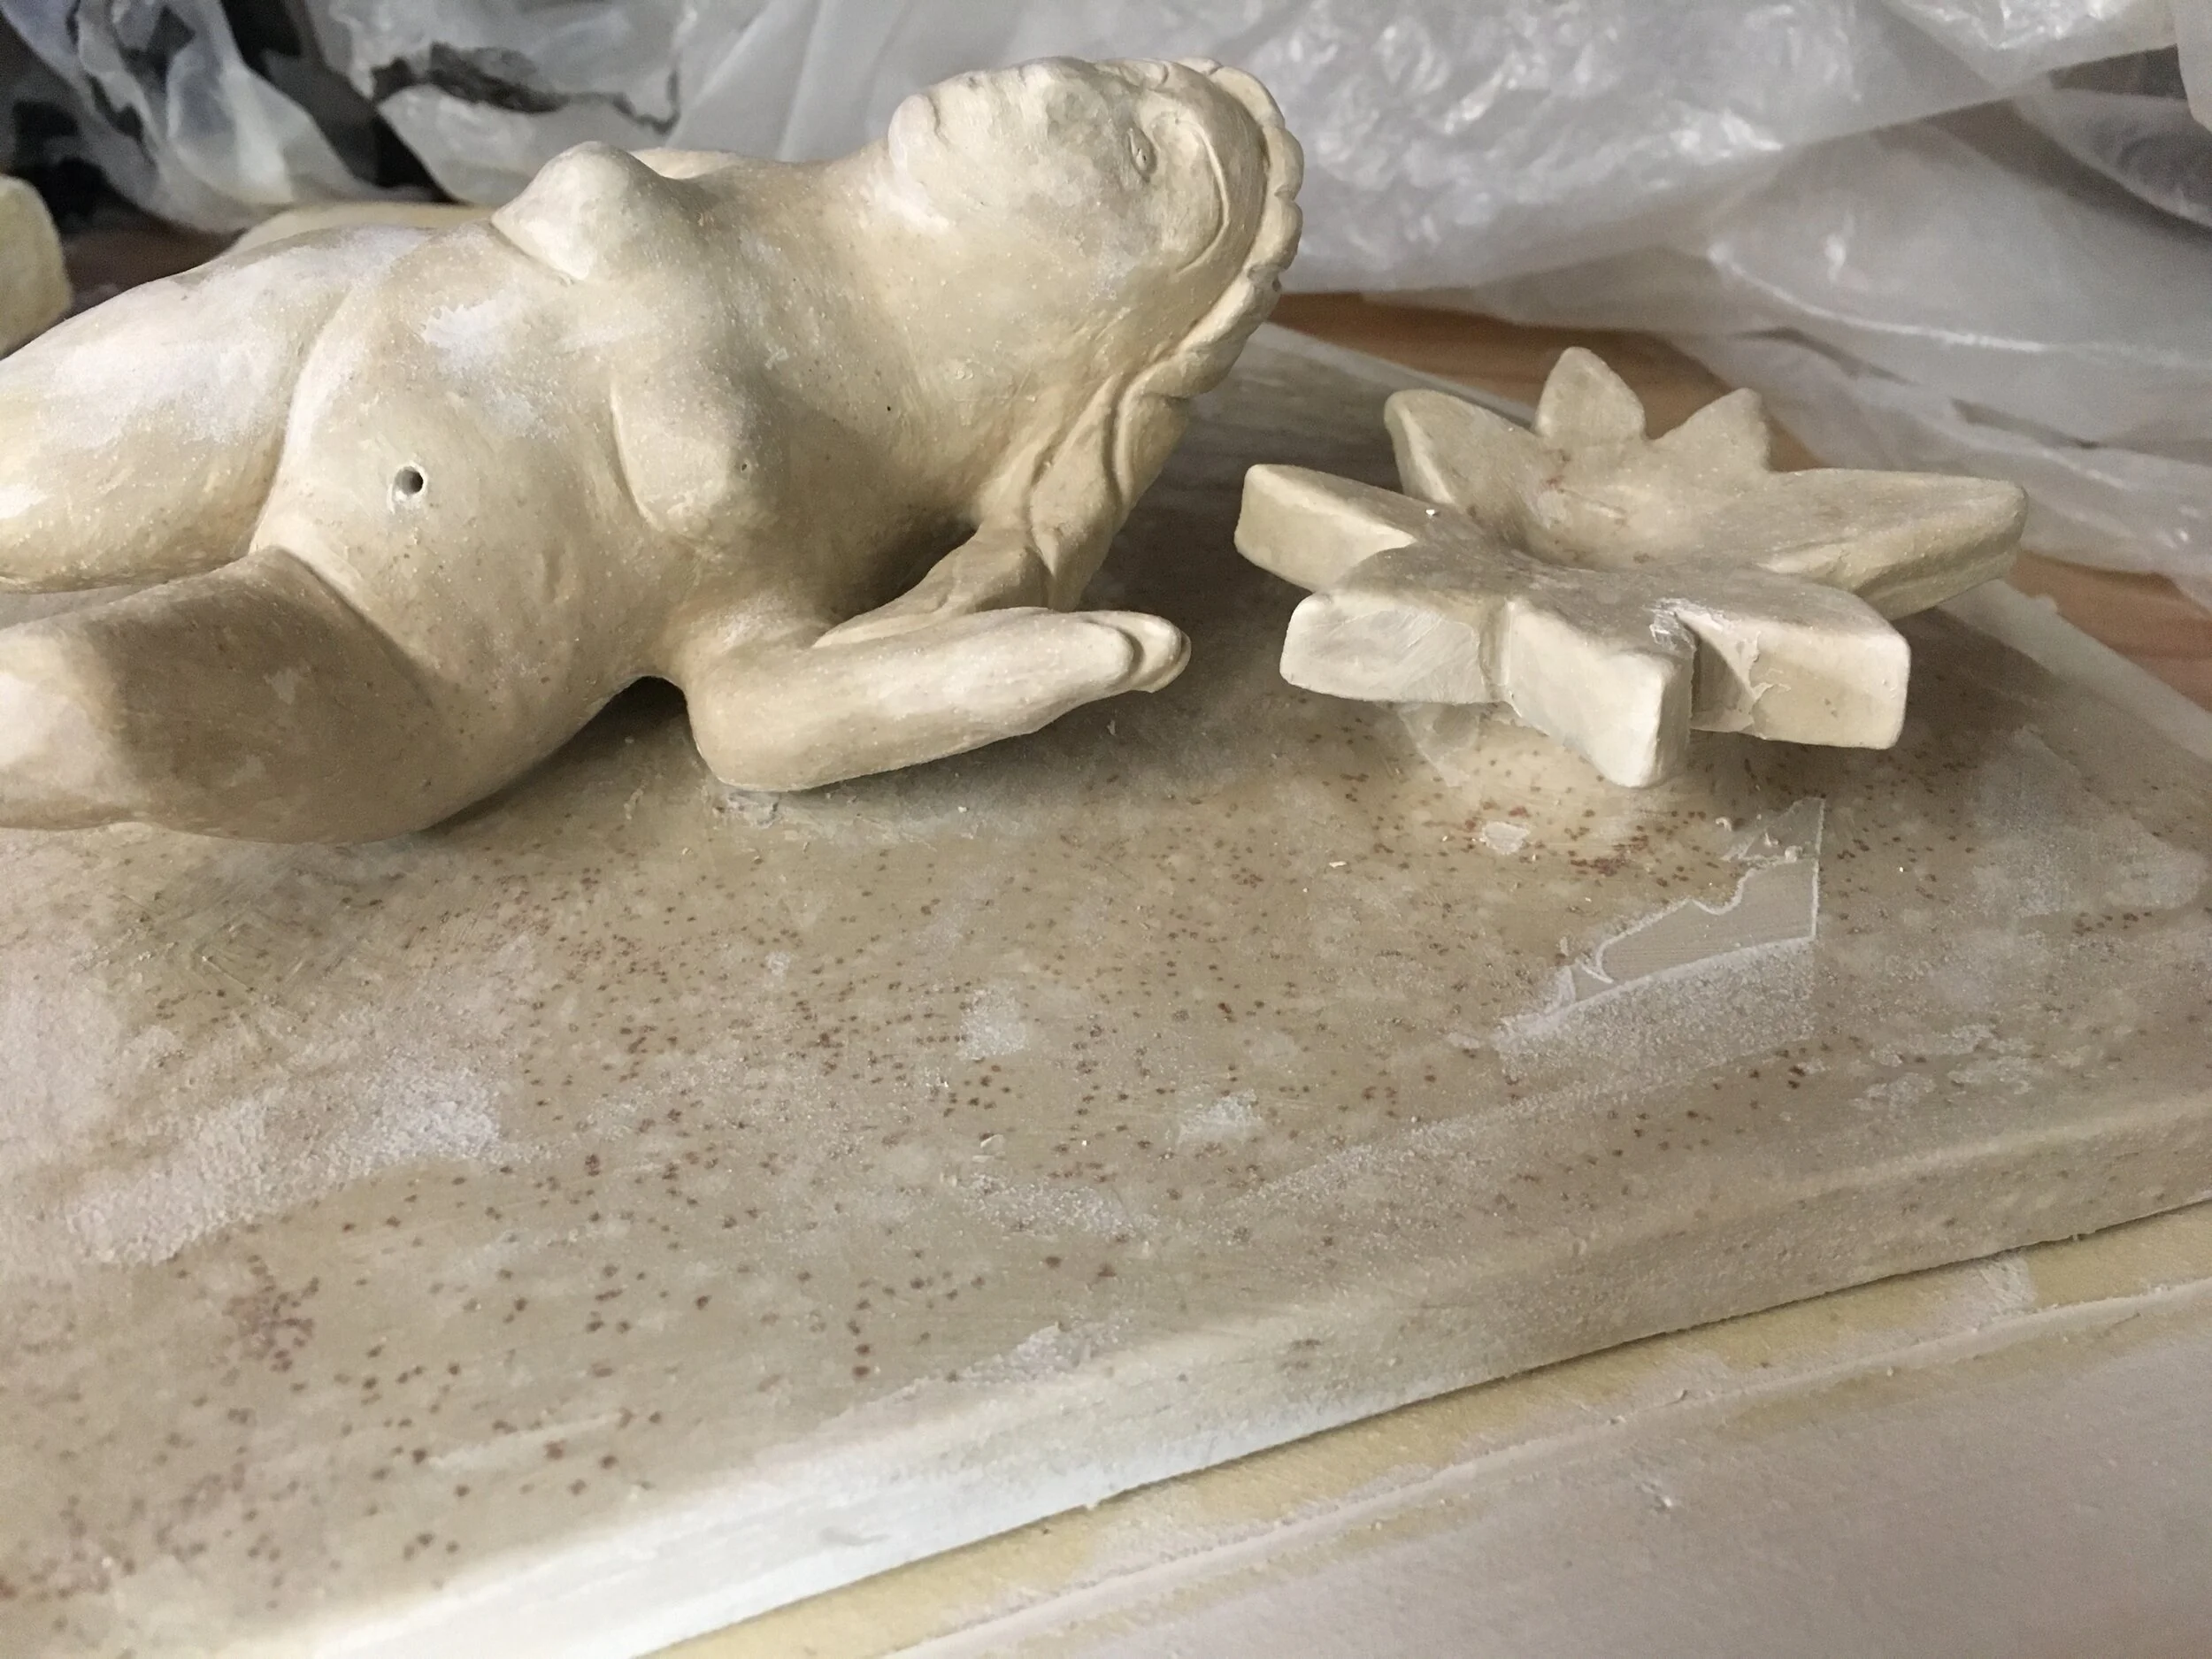
Before I made these four figures, I made an additional figure (not part of this sculpture) as an initial test, and this I incorporated into a small separate sculpture which was like a “study” for this larger one. I wanted to see how my figure-sculpting technique would fare during drying, whether it would work well to attach it to a flat panel, and so I made this to test out some ideas. Since I made it first, it has already had time to dry and has gone through the first of two (well actually three) firings. It will still need to go through another high-temperature glaze firing, and then a lower-temperature gold luster firing for the star and crown. That this nymph made it through the first firing without any major cracks is a promising sign that the other four likely will too, since they are constructed very similarly.
For a preview of how they will look in the next phase, this is the bright white, mold-free porcelain of my test study after the first firing:
