Sculpture Process: "Cracks in the Code"
While some of my currently in-progress work is not quite ready to share an update, this is the first in a series of posts taking a closer look at some previously finished sculptures in my Voynich Manuscript series.
This piece, “Cracks in the Code,” was inspired by folio 11v of the Voynich Manuscript:
I finished this piece in 2019 (although I think I made some pieces of it the year prior and set them aside while I worked on other things) and I originally documented it in photographs on my image gallery page. But it is only recently that I made a video too (below). I have come to realize that video documentation, whenever possible, gives a much better sense of the three-dimensionality of these sculptures than still photographs can convey, so I plan to take some more new videos of older pieces.
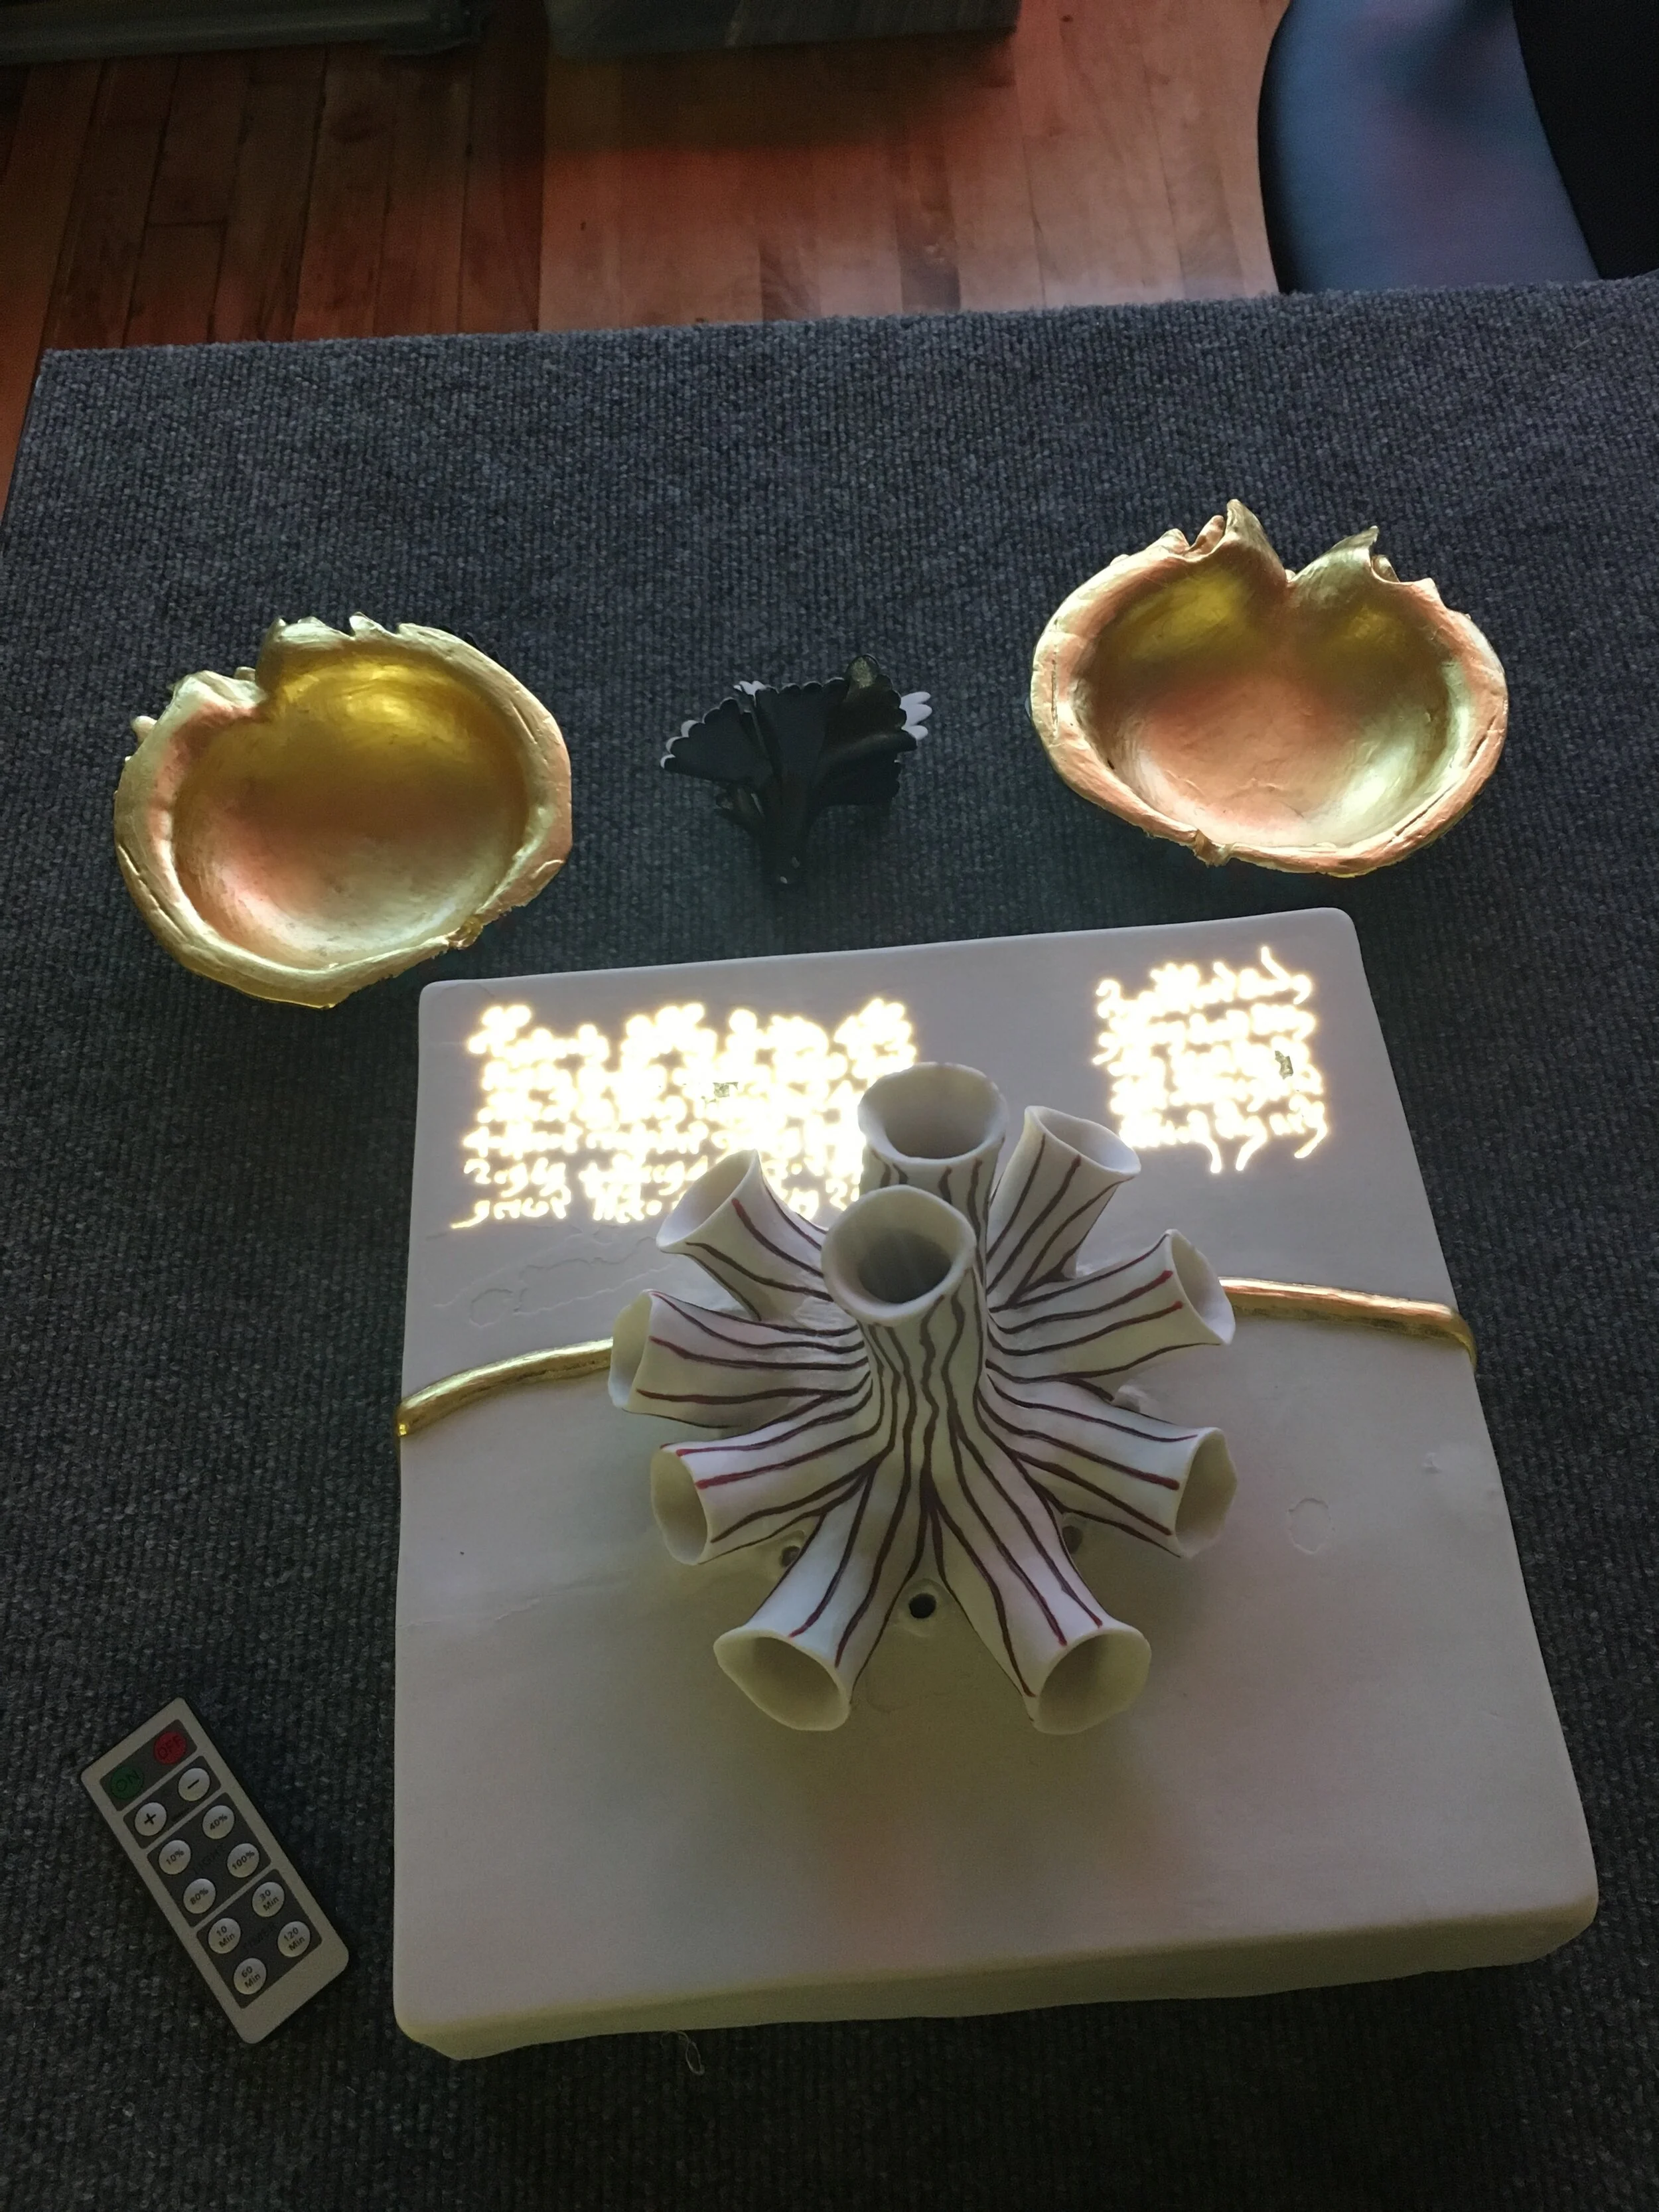
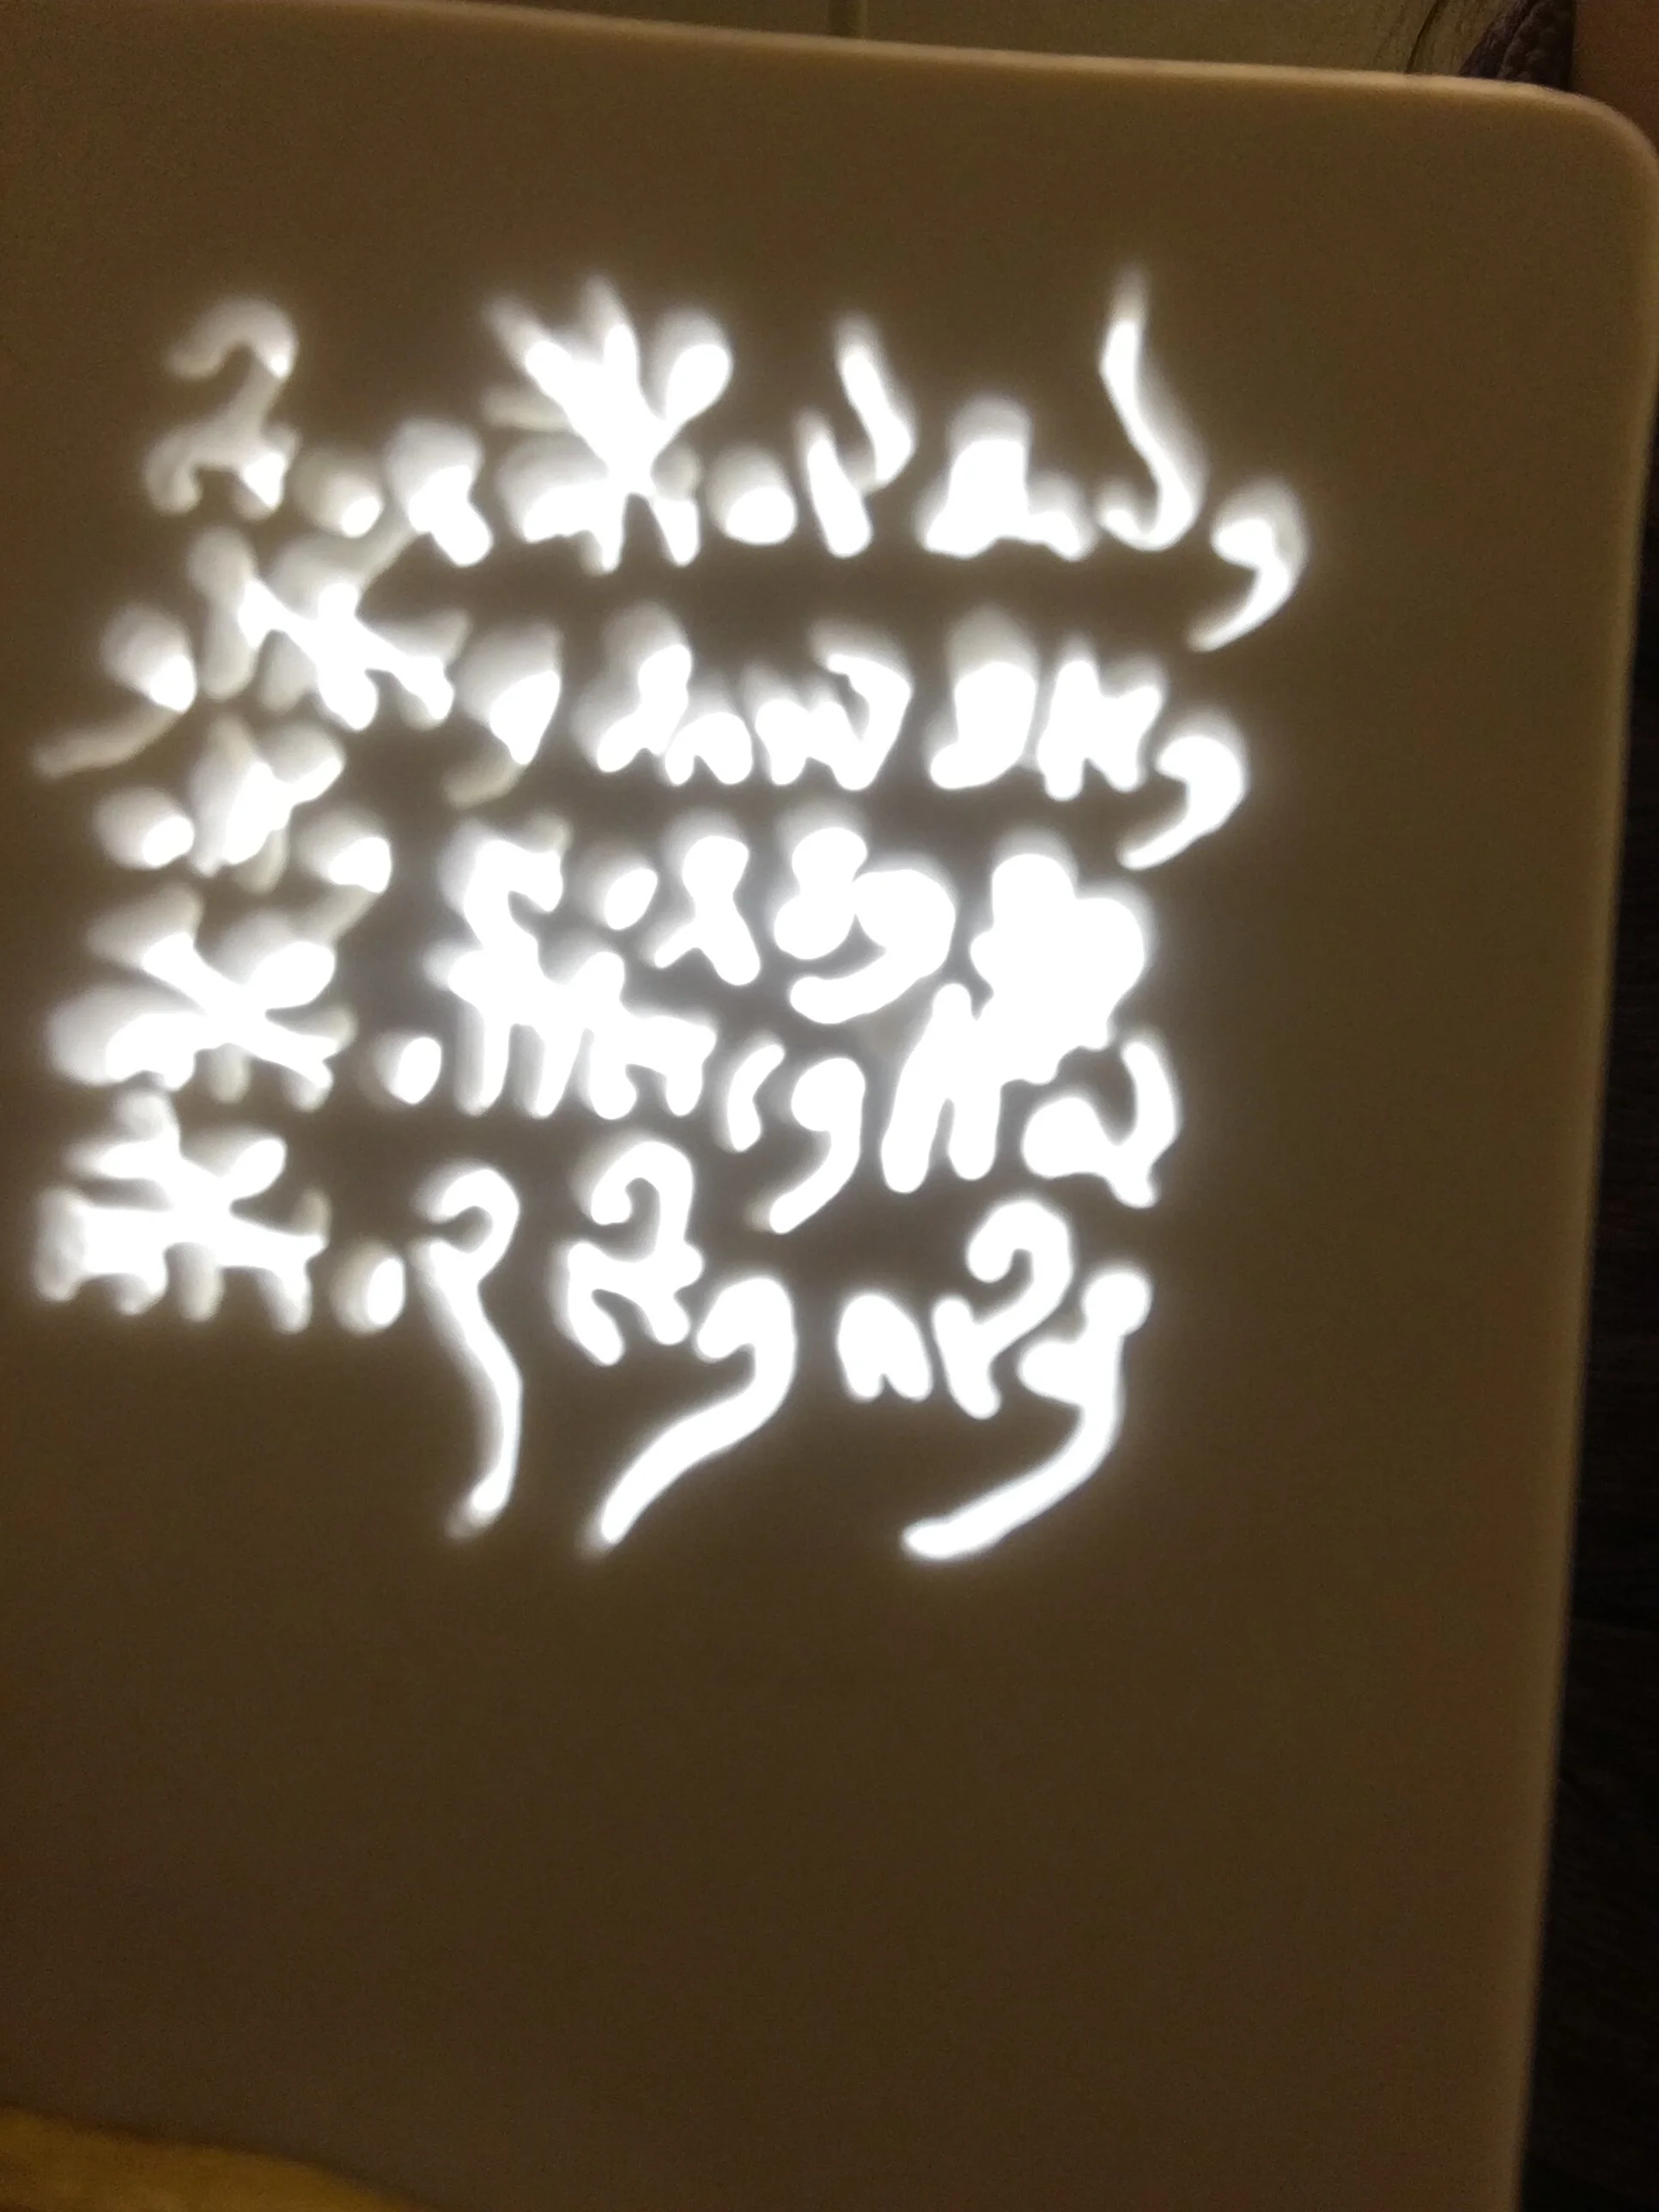
This piece is made from a combination of hand-sculpted porcelain, glaze, gold leaf (gilding), wire, and contains LED lights inside the base that illuminate the carved lettering of the unreadable “Voynichese” script.
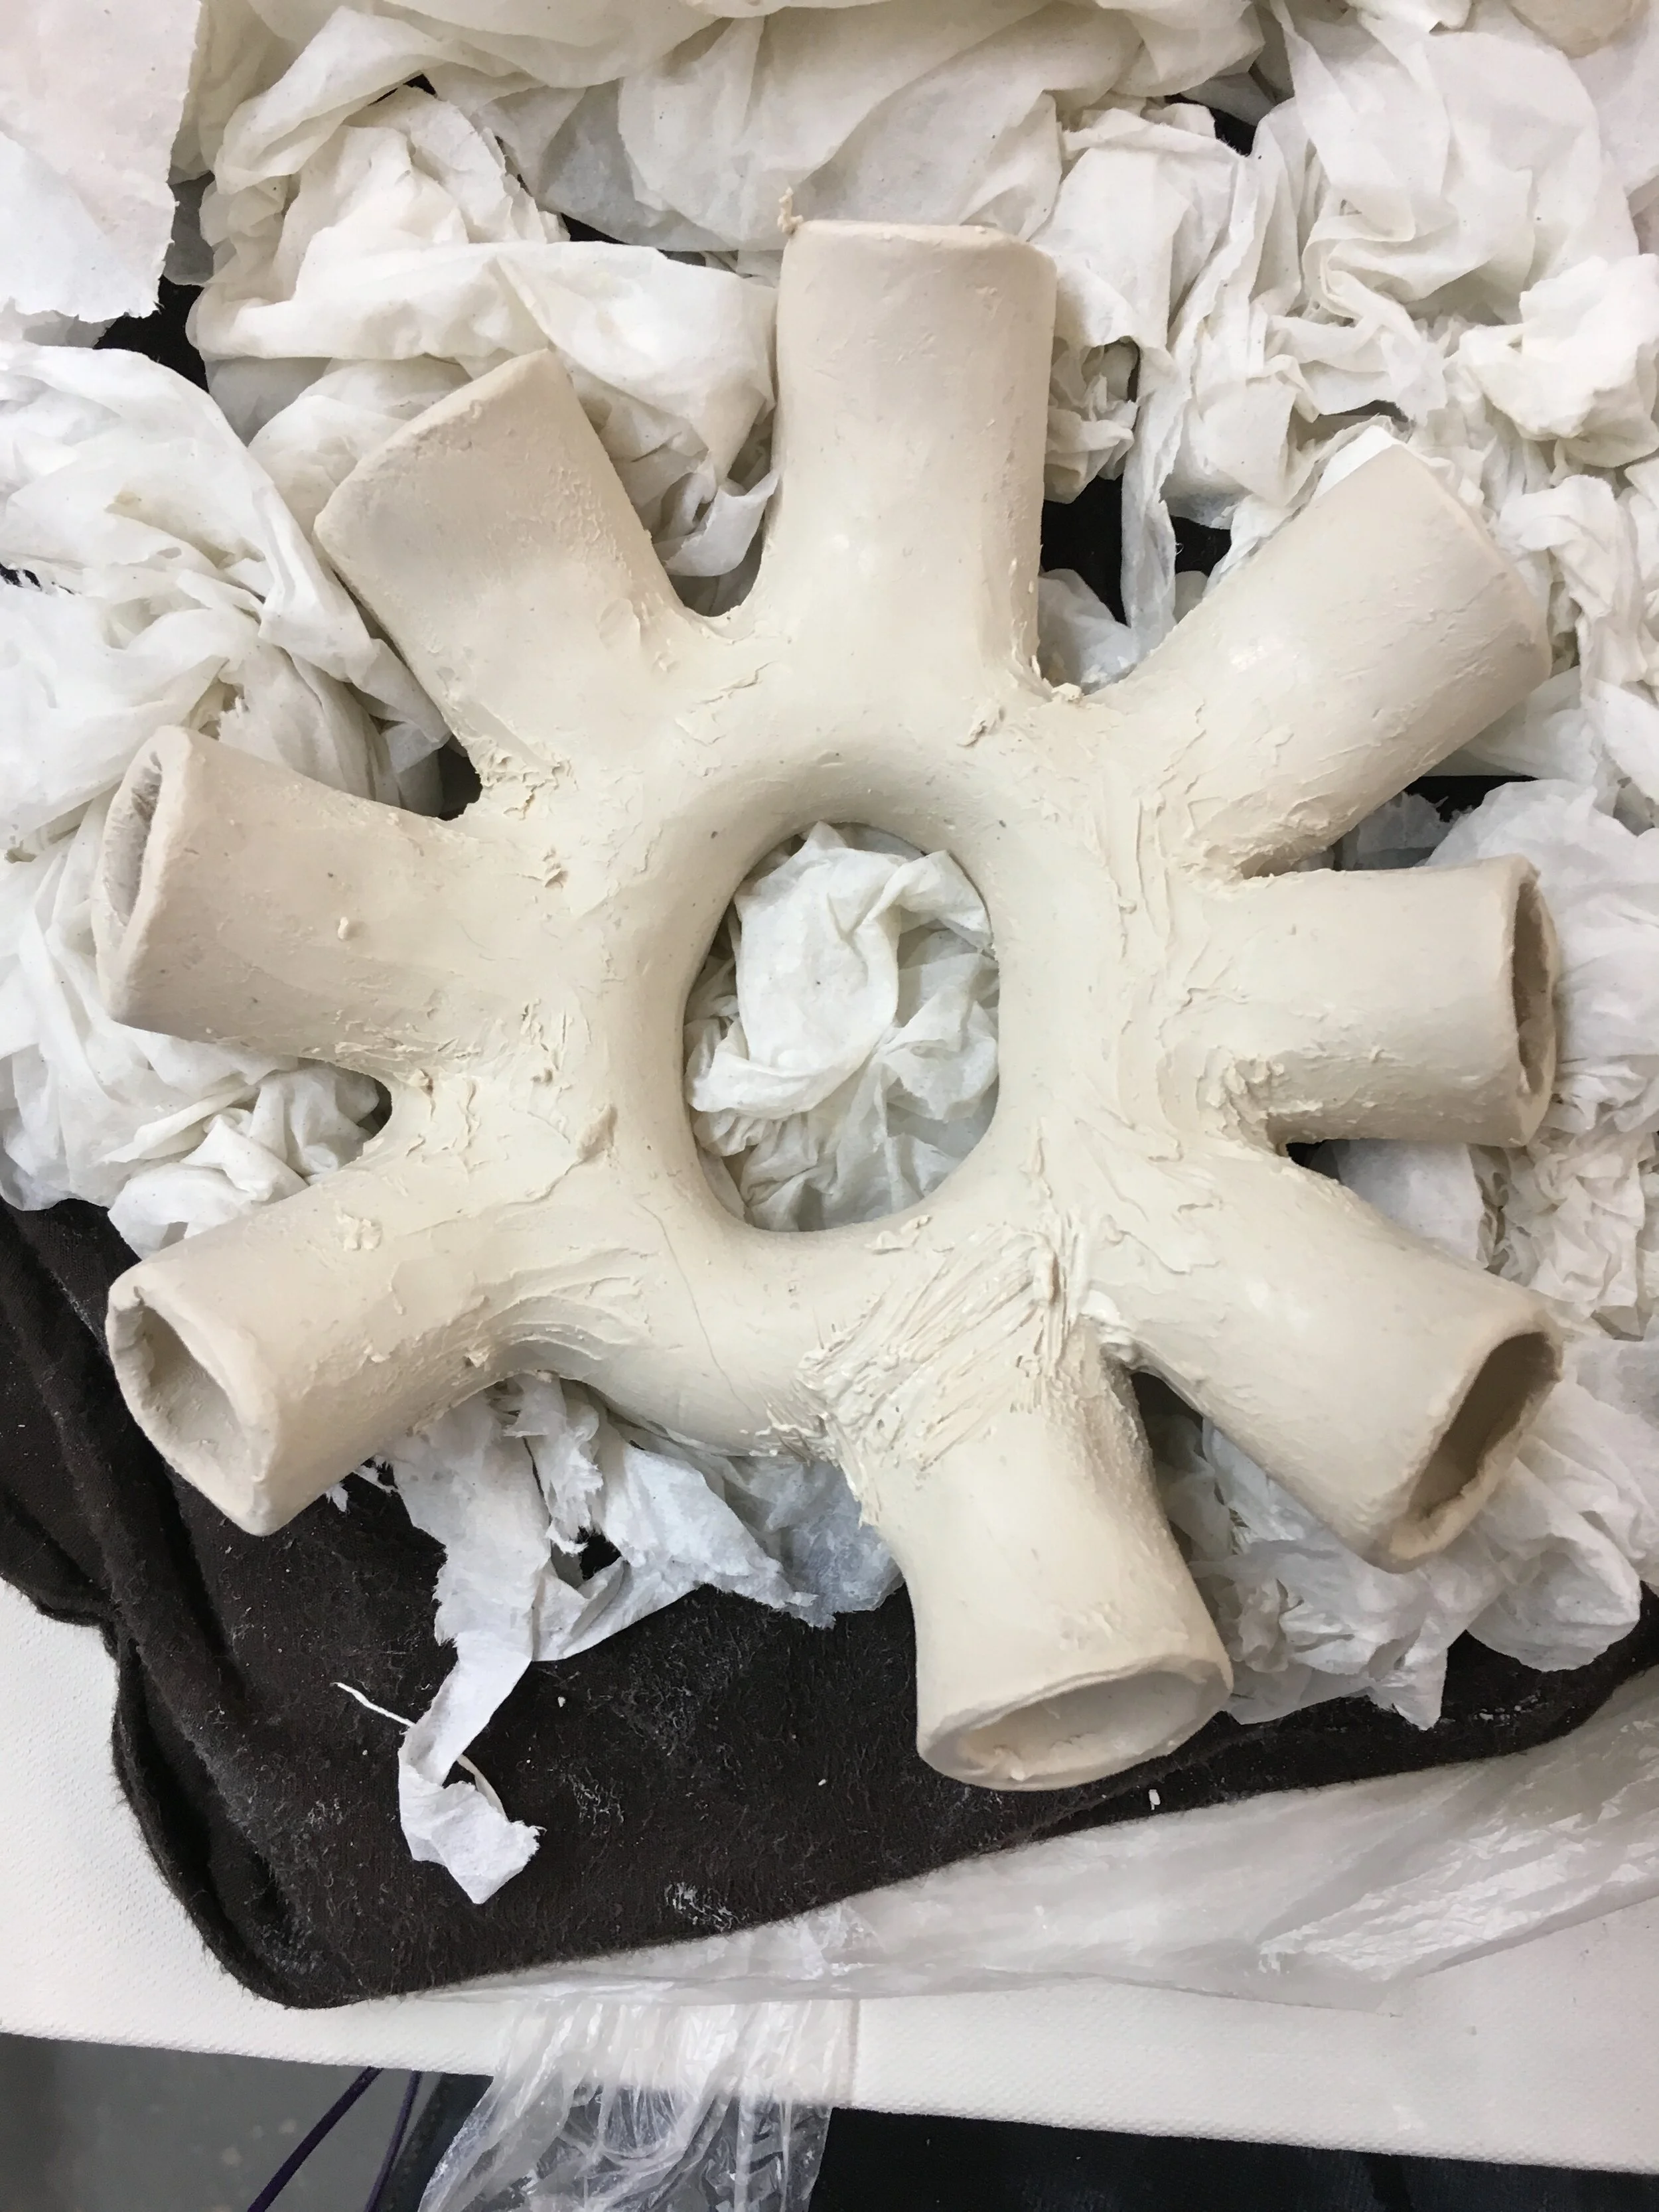
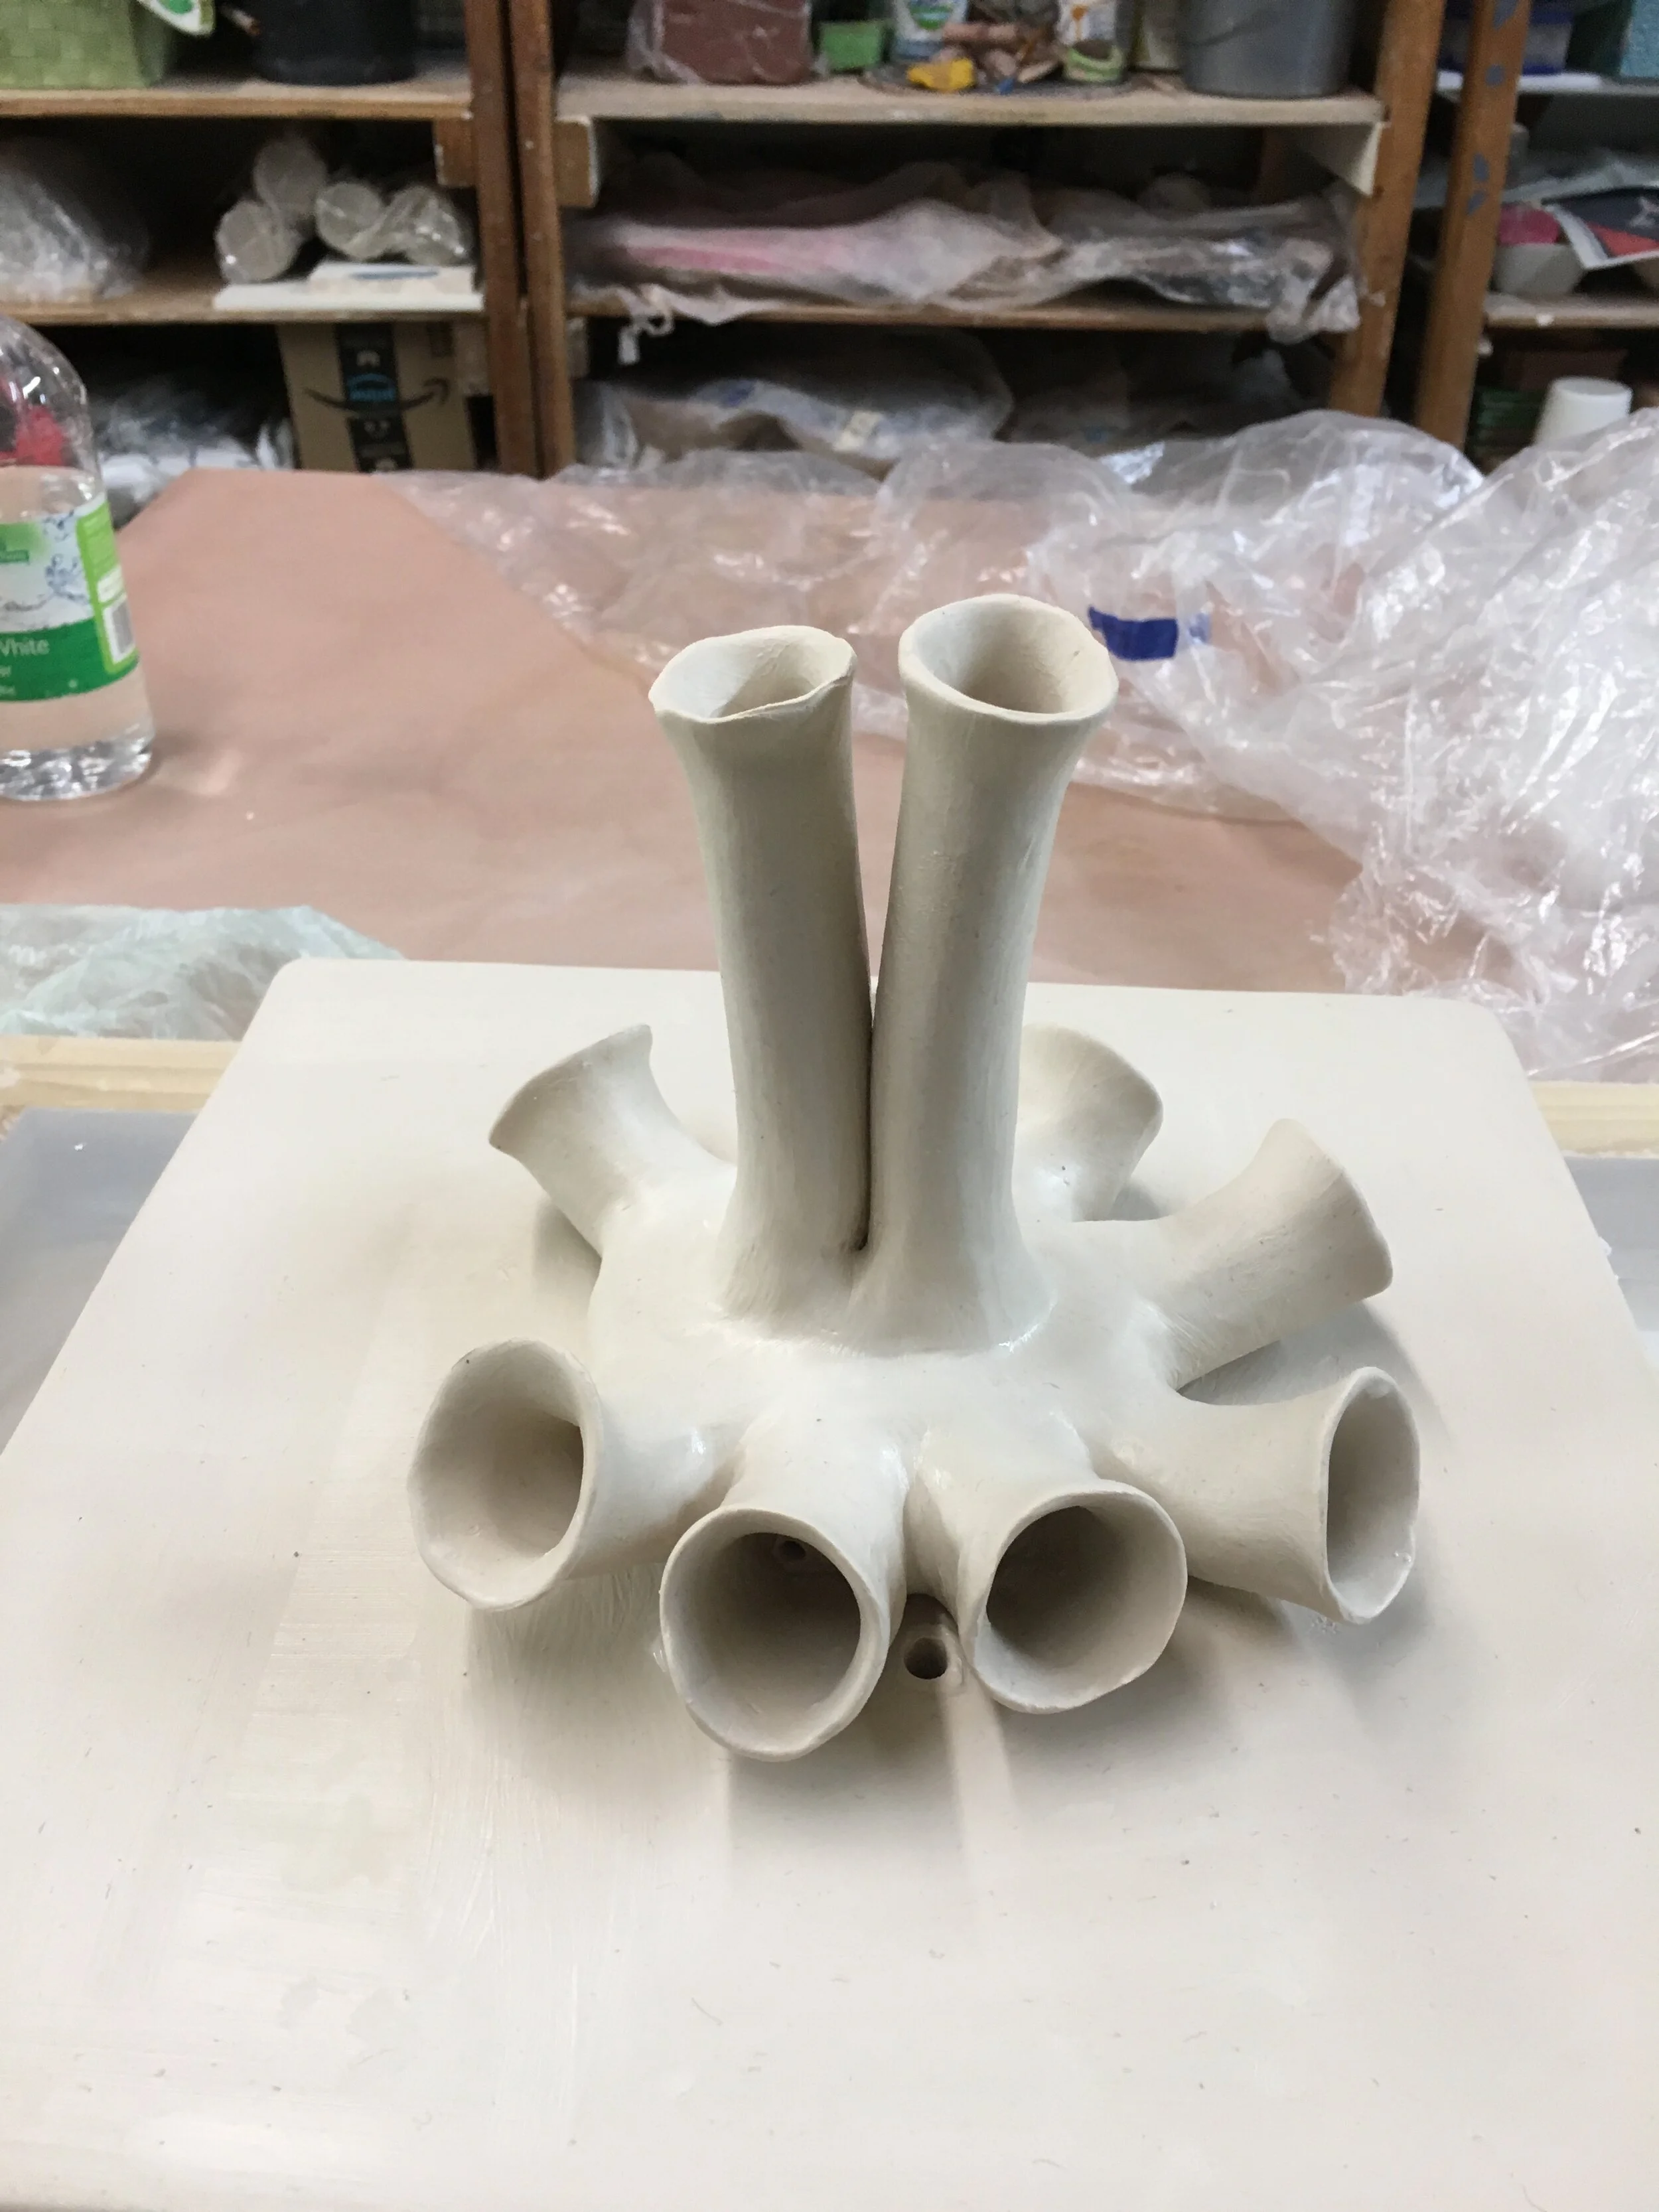
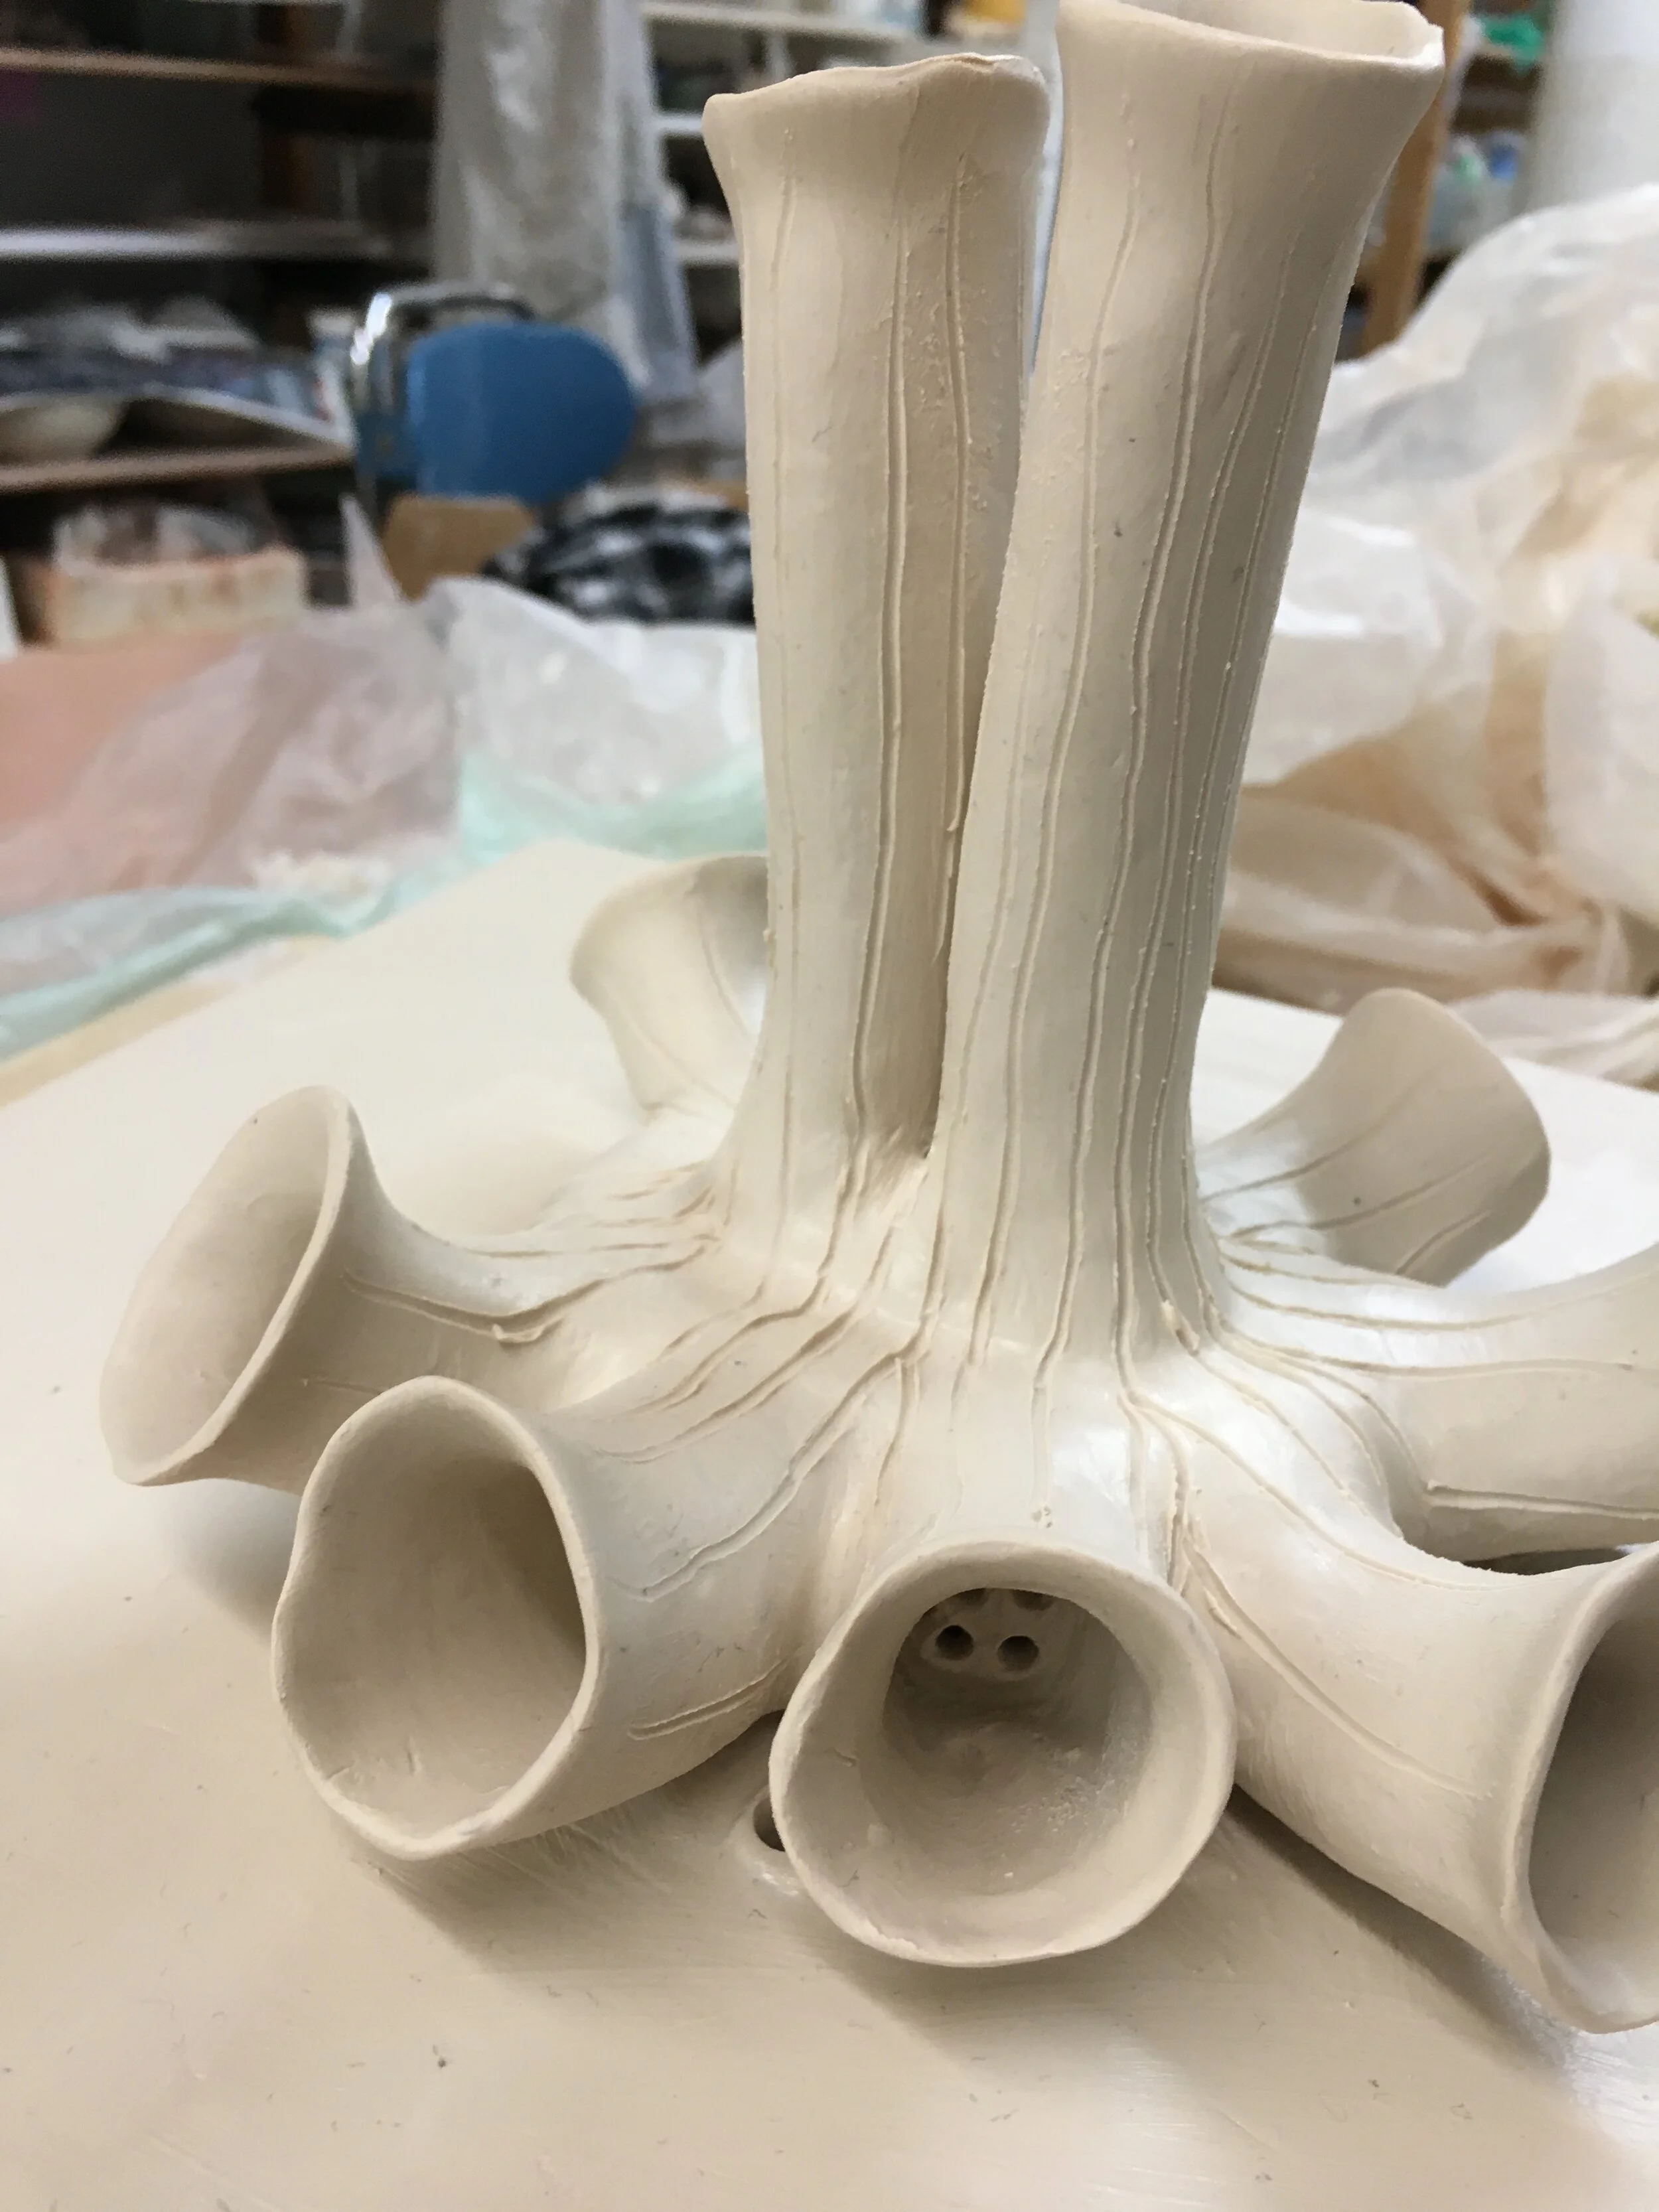
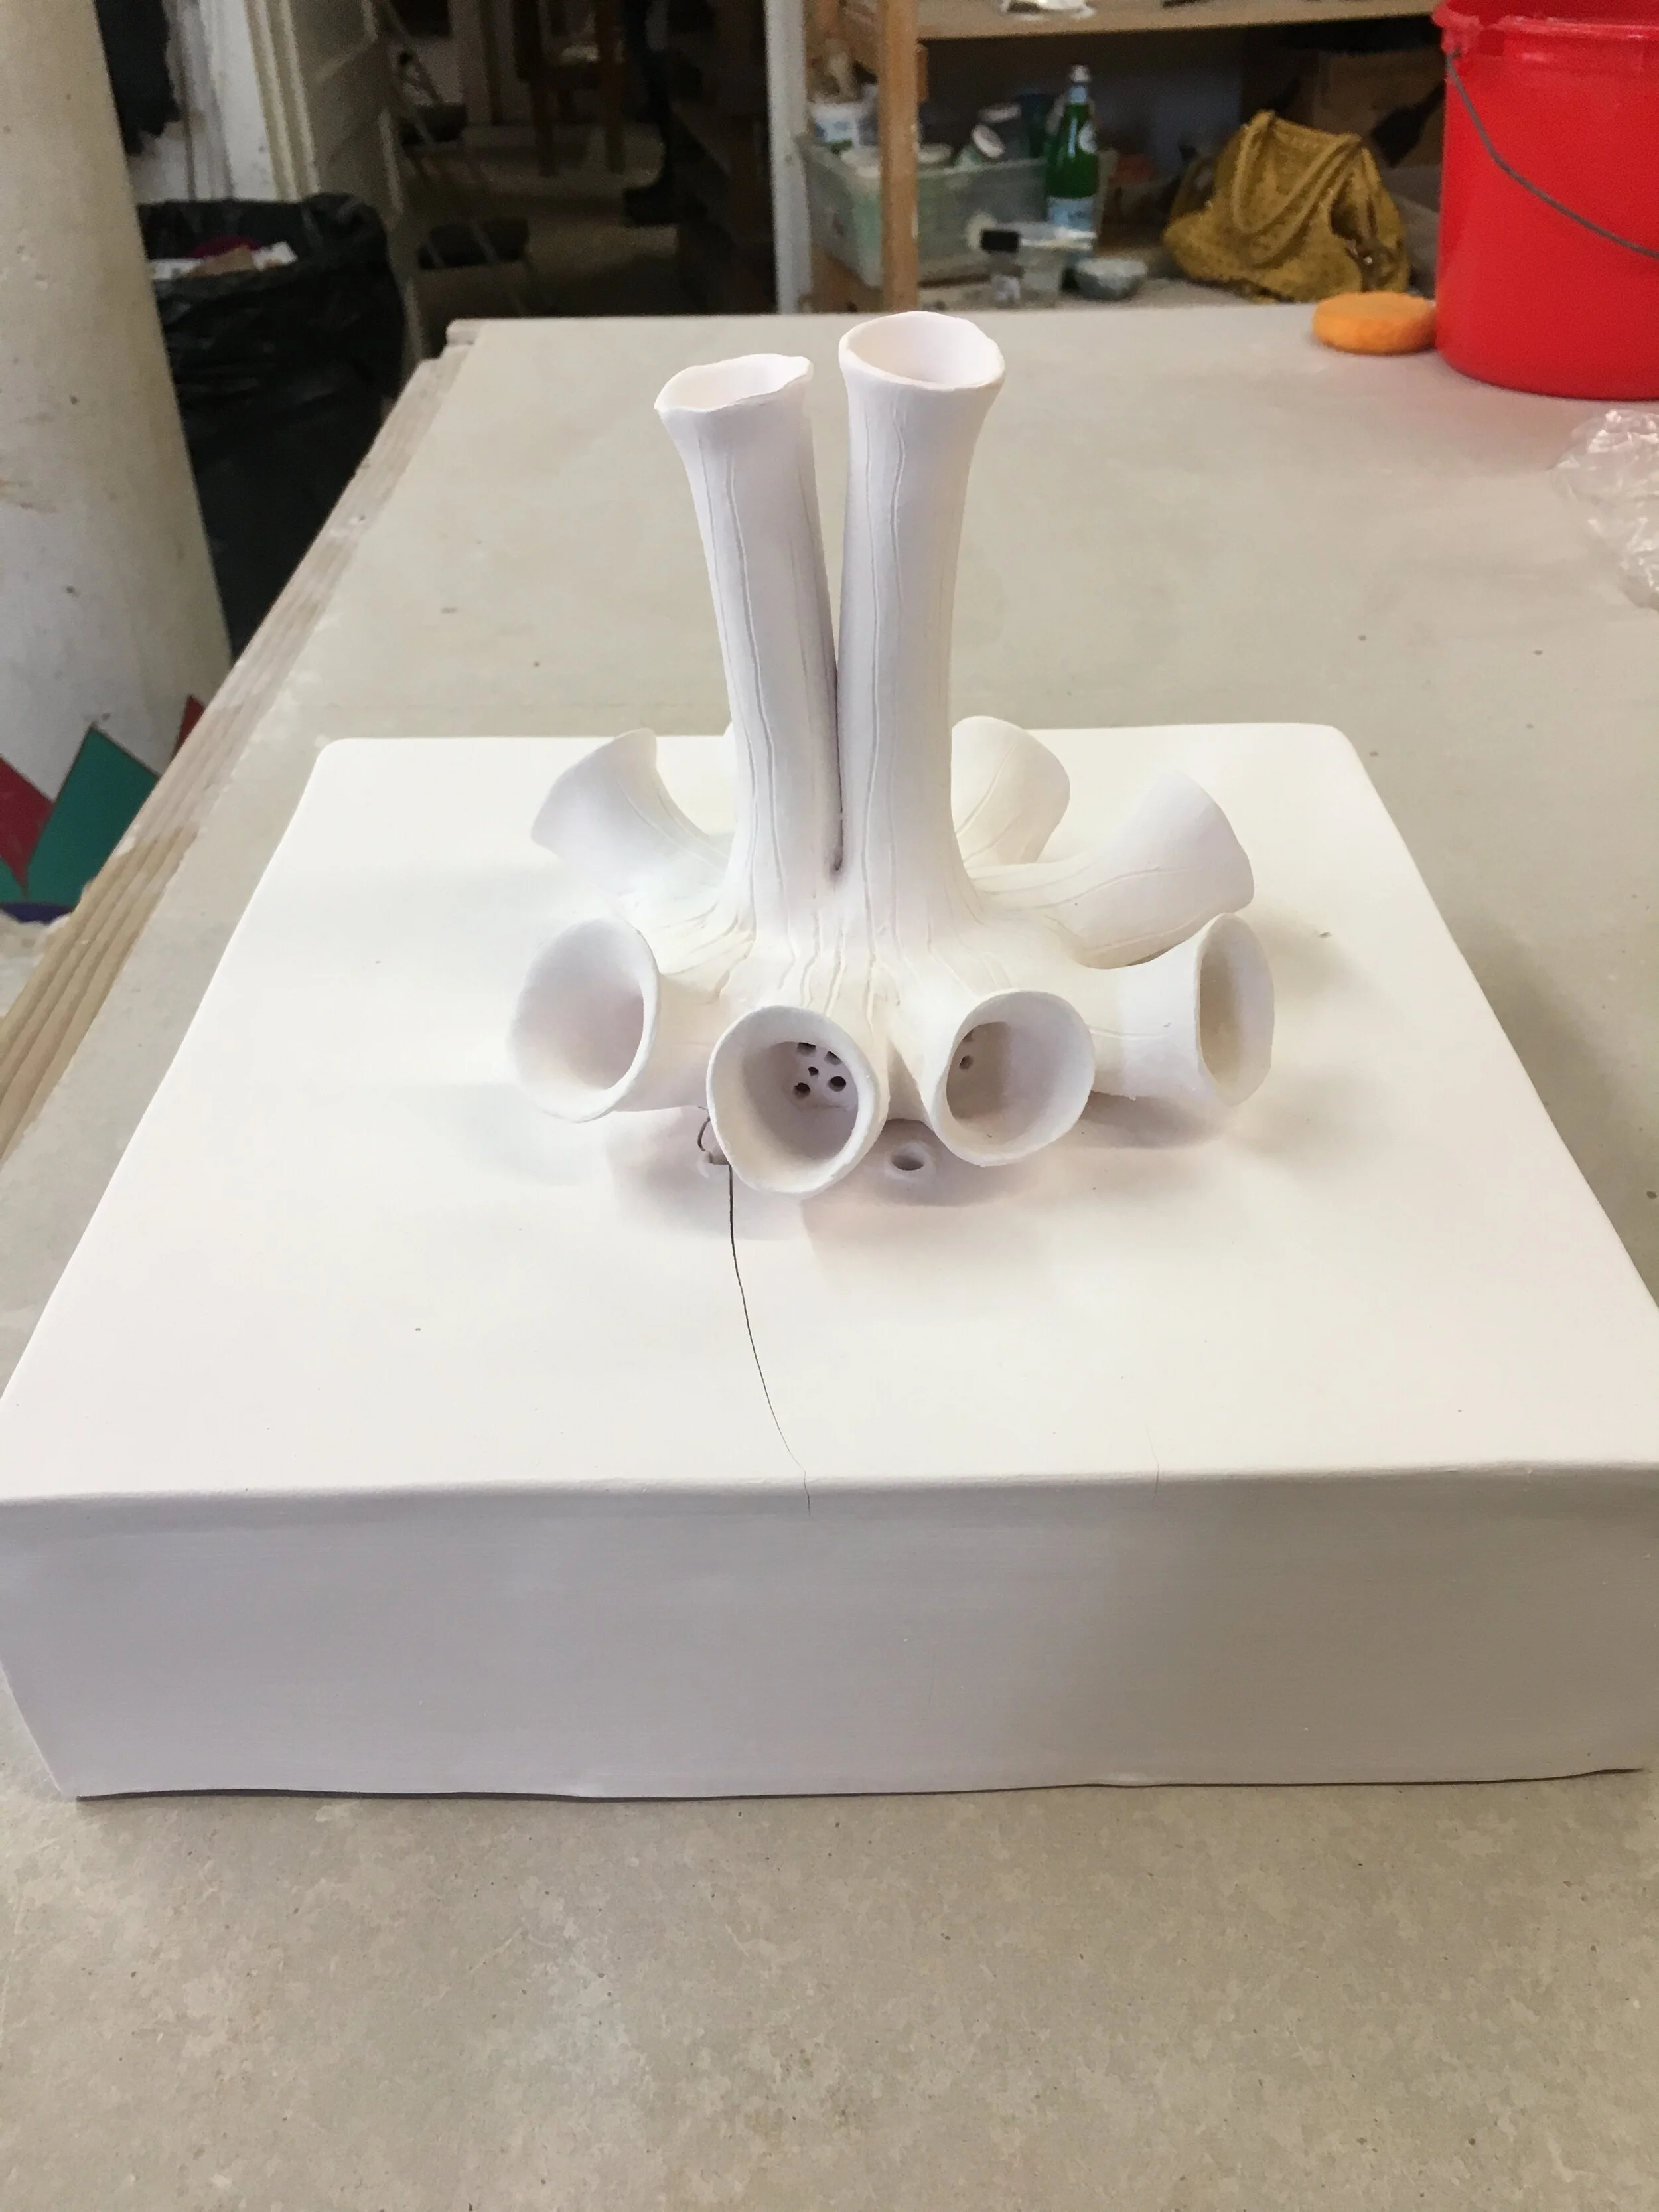
For a bit of a behind the scenes look at how it was made, these are some photos I took at various stages of the process:
First are a few photos taken midway through sculpting the forms in porcelain. The piece in the first photo was surrounded by damp paper towels to help the clay to retain moisture as I was working on it.
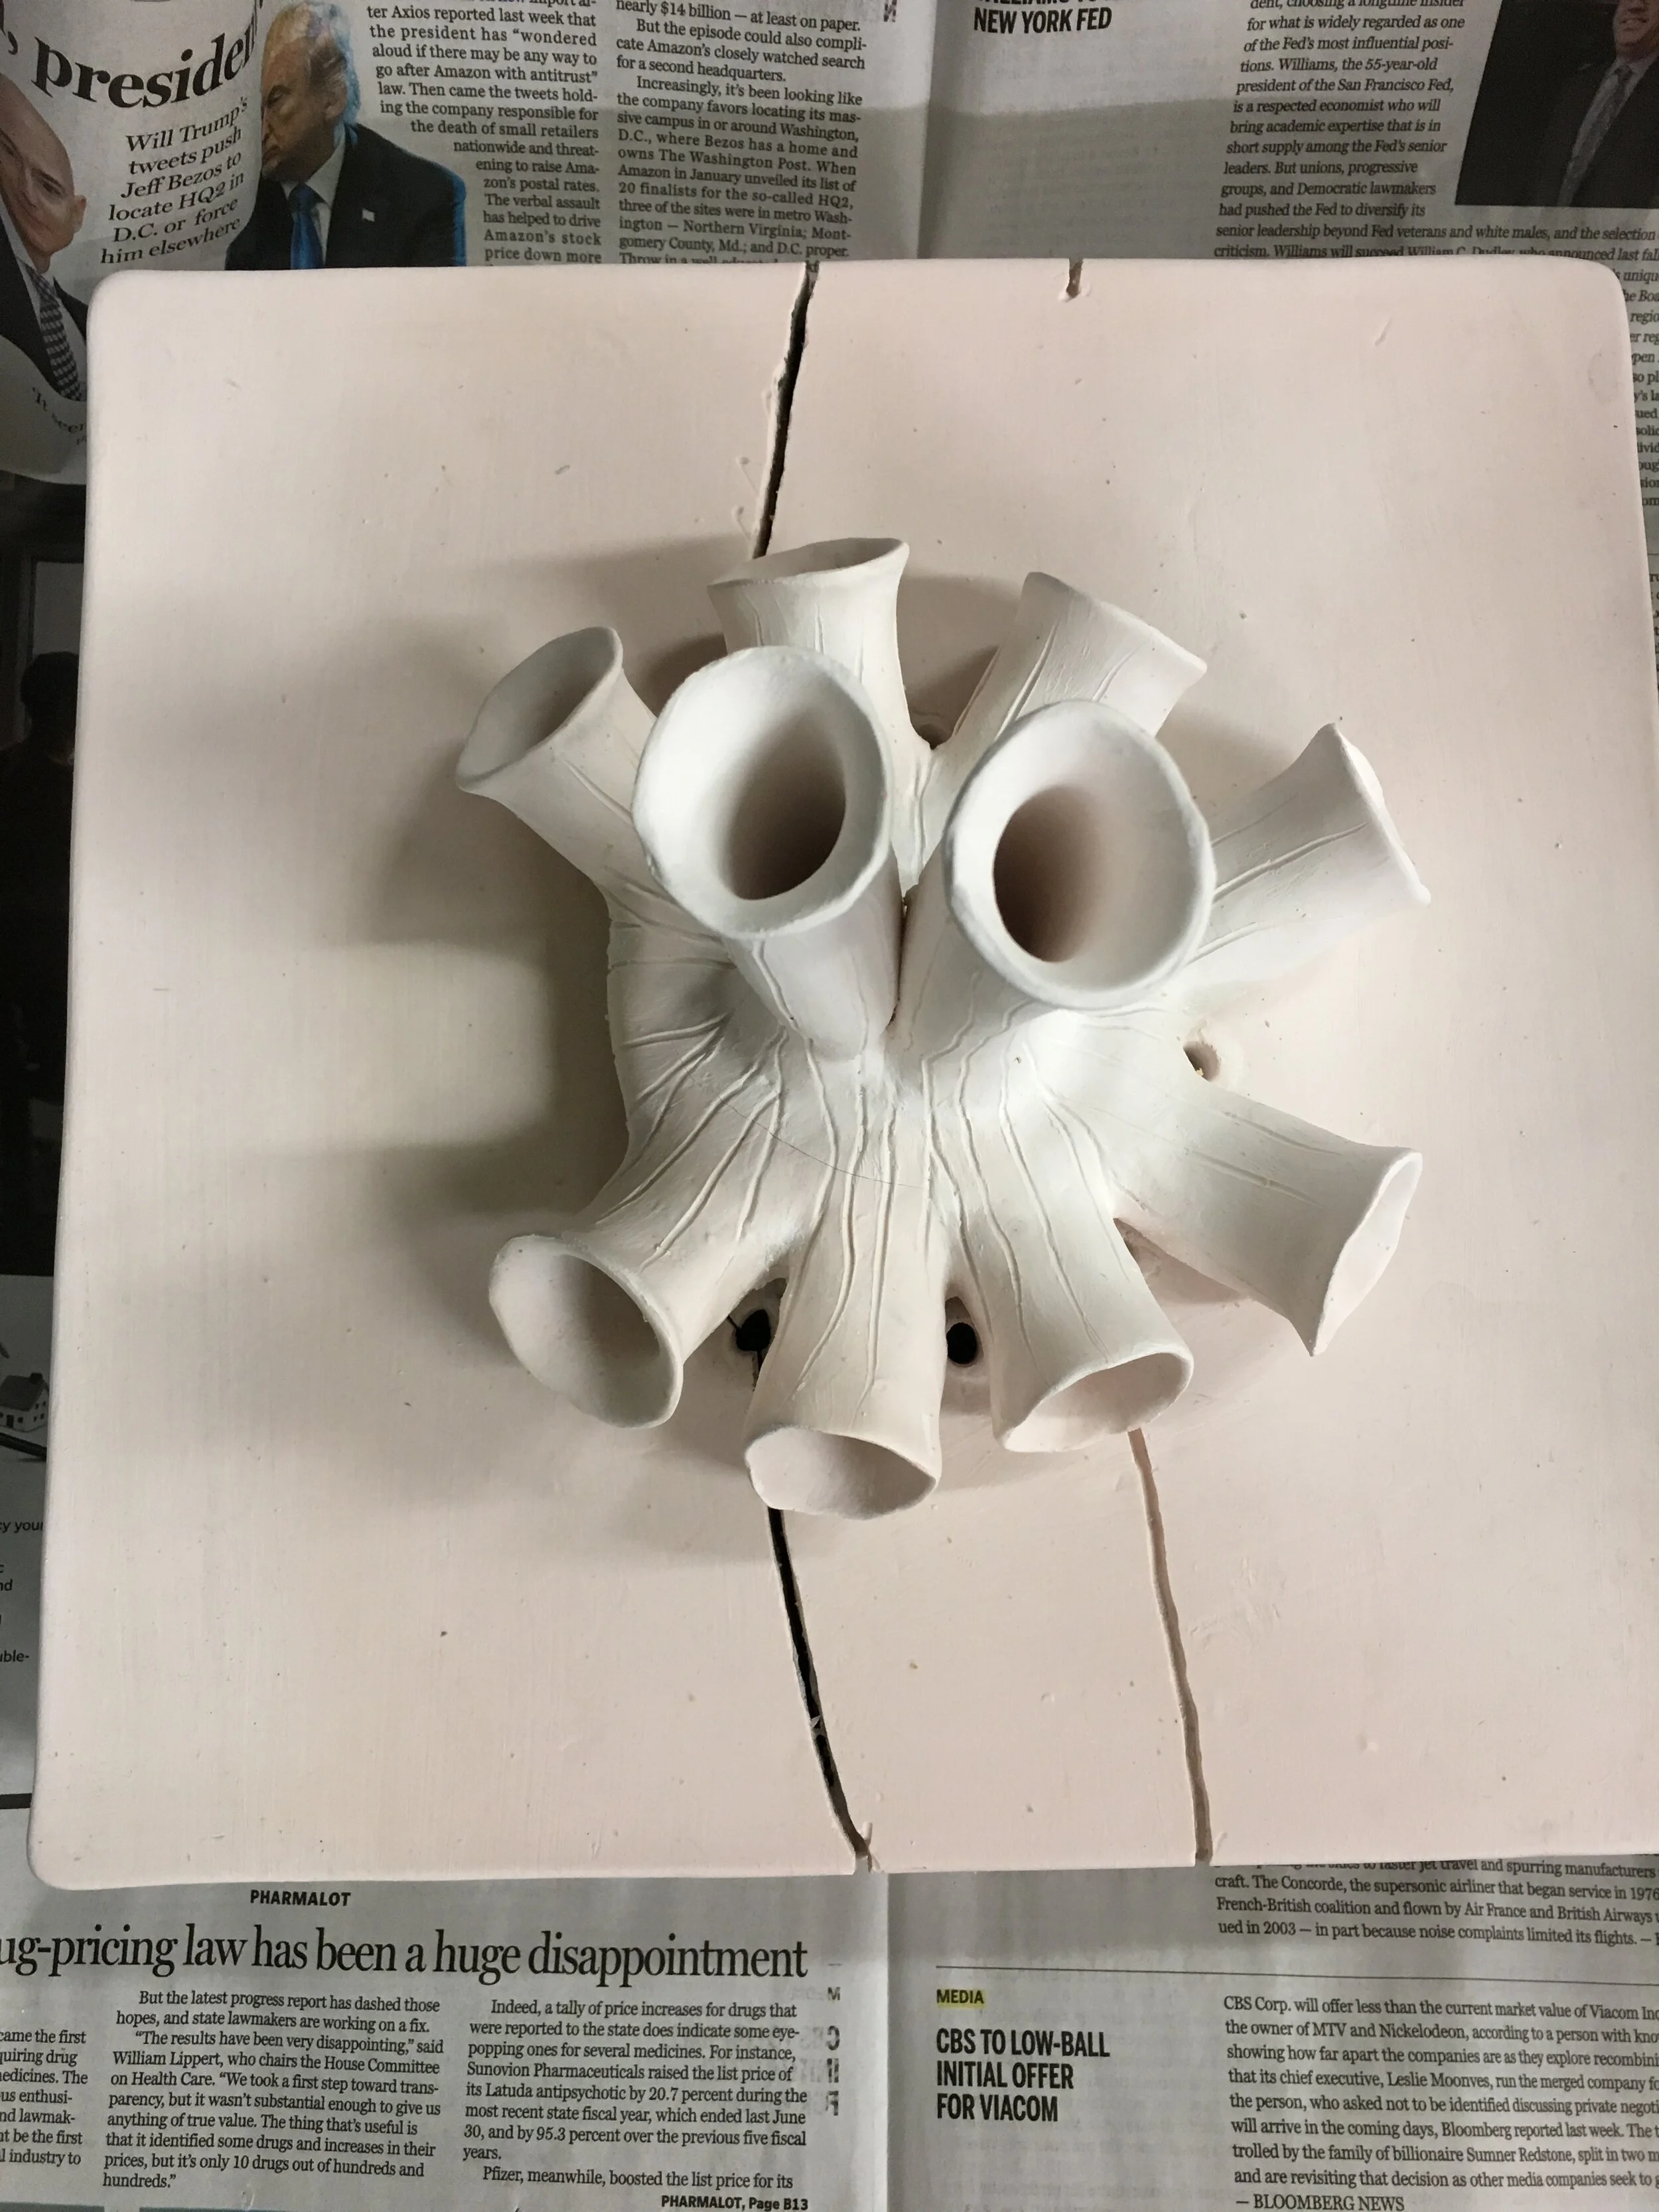
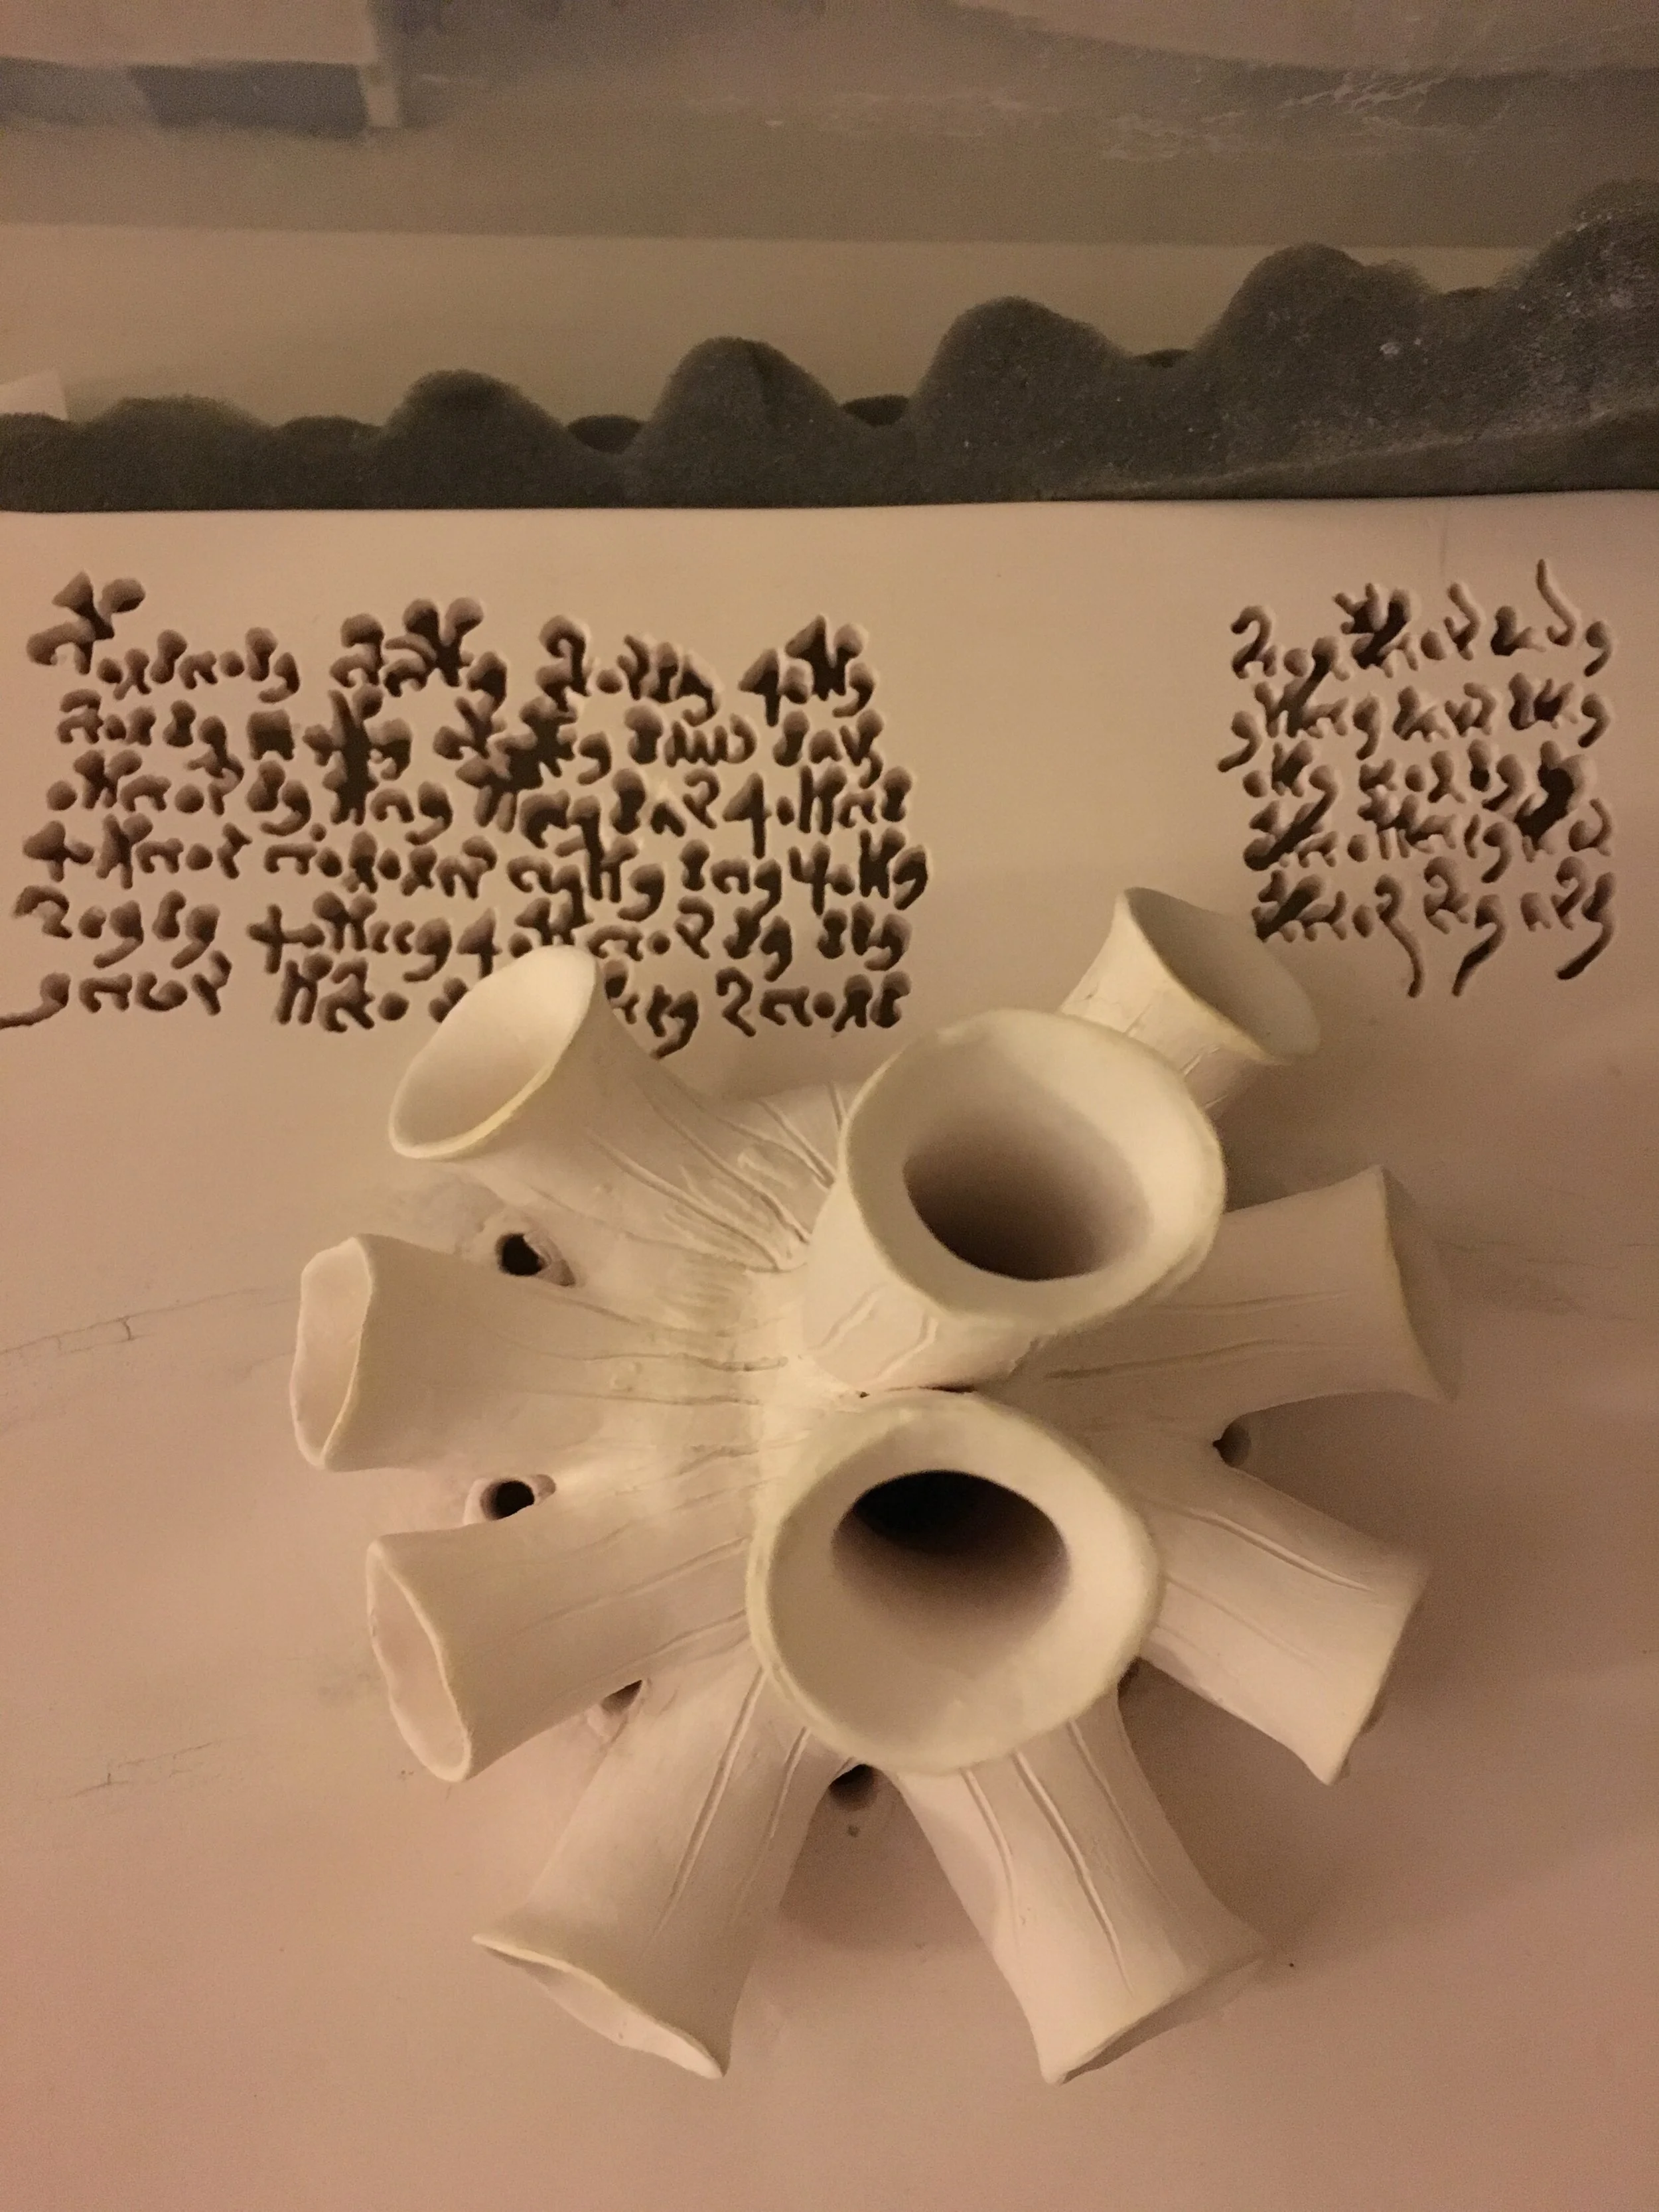
The next photos were taken after the clay was bisque-fired. This is the first of two kiln firings, which burns out any water and organic materials in the clay, making it durable enough to be handled, but still fairly fragile. Later the porcelain goes through a higher temperature glaze firing, which makes it fully vitrified and strong.
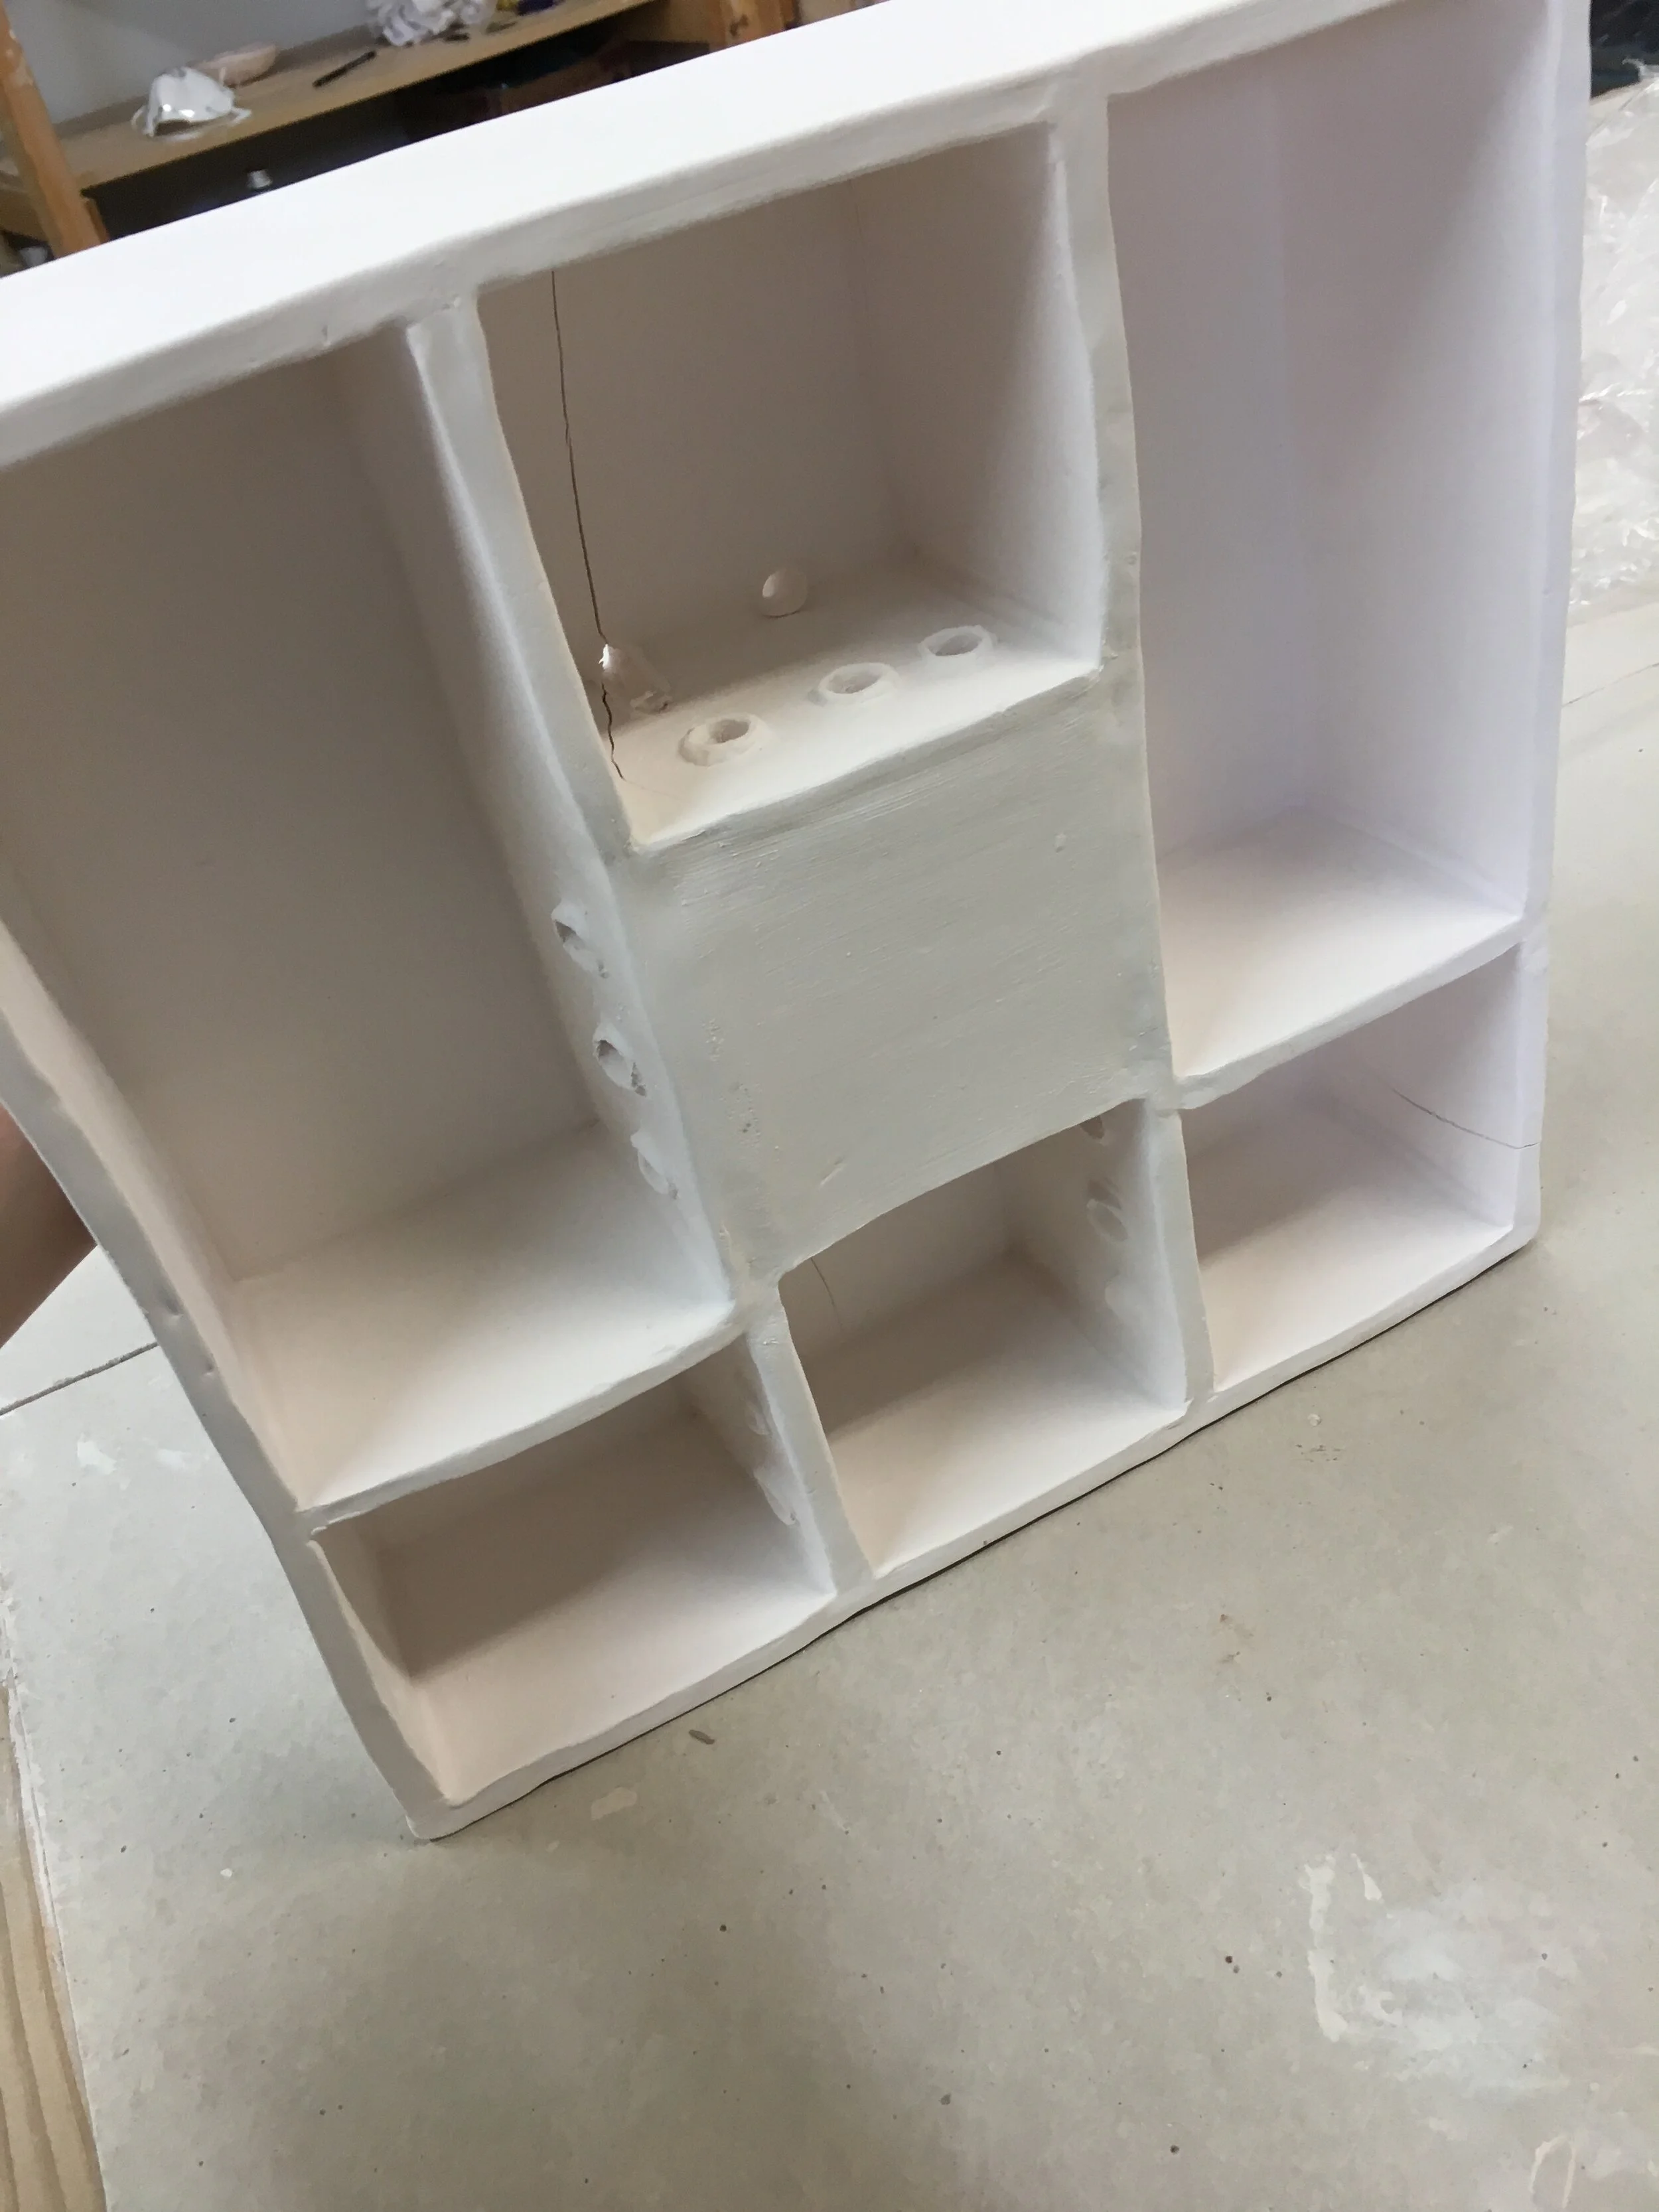
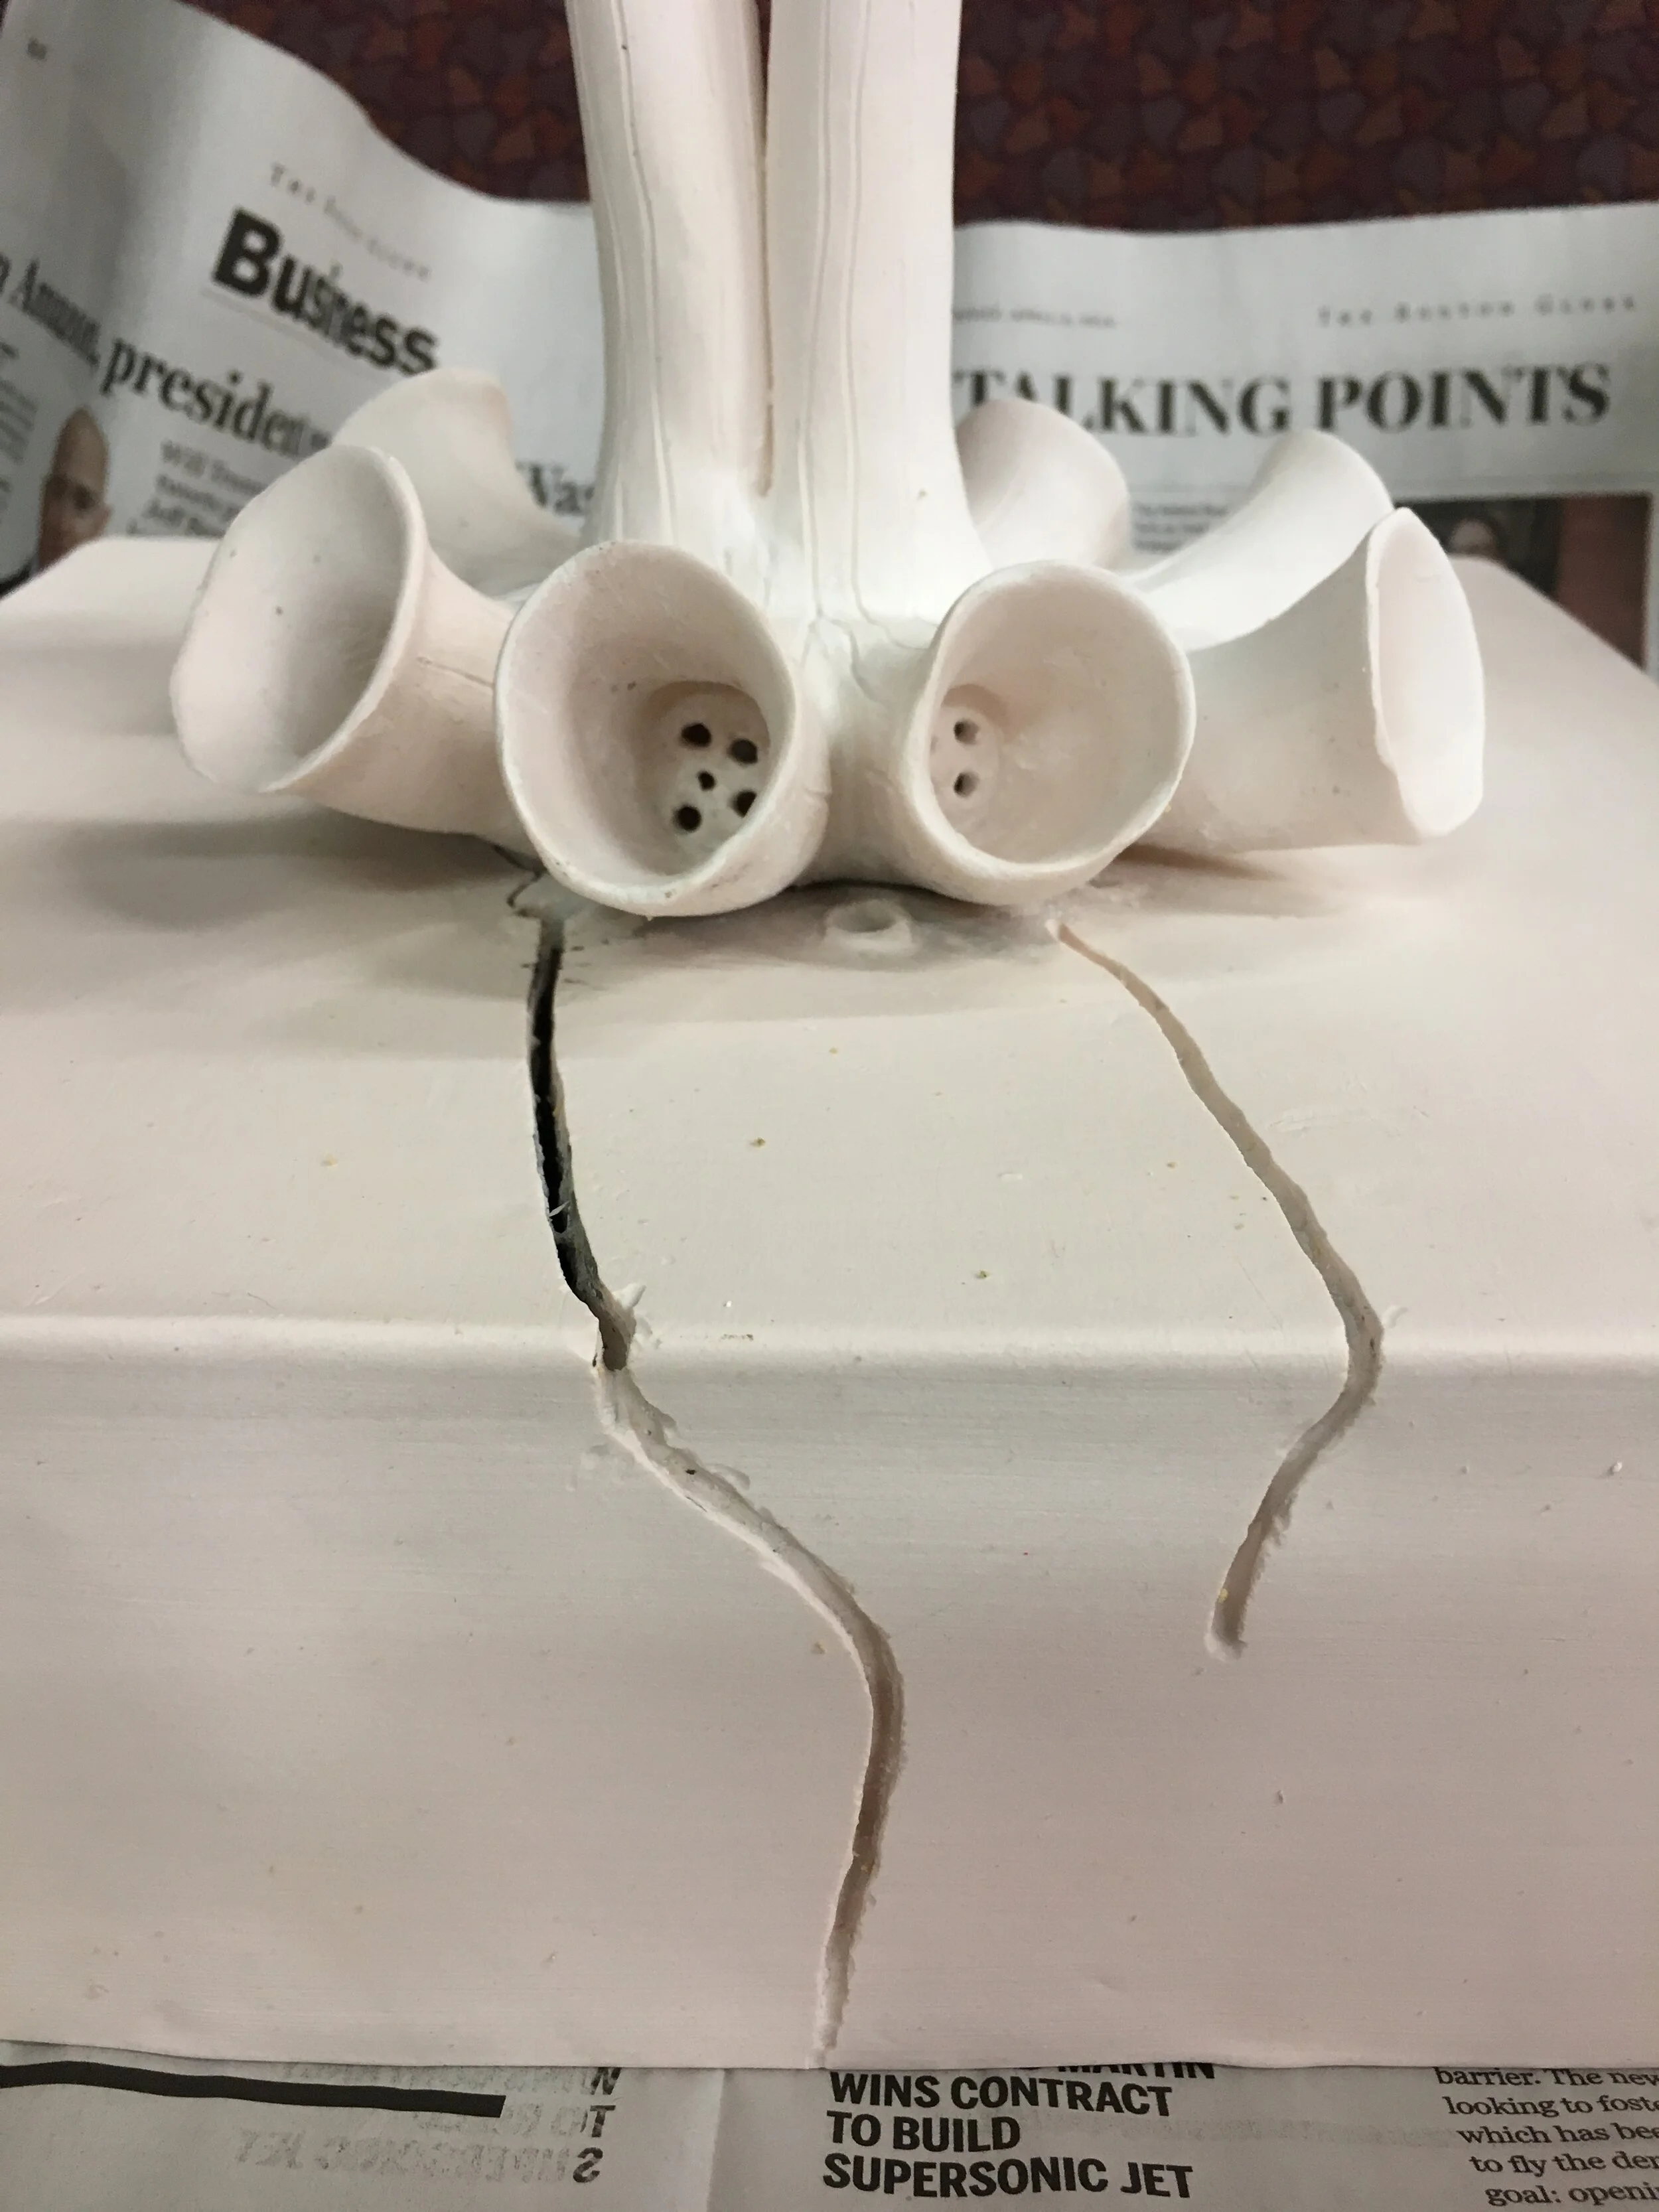
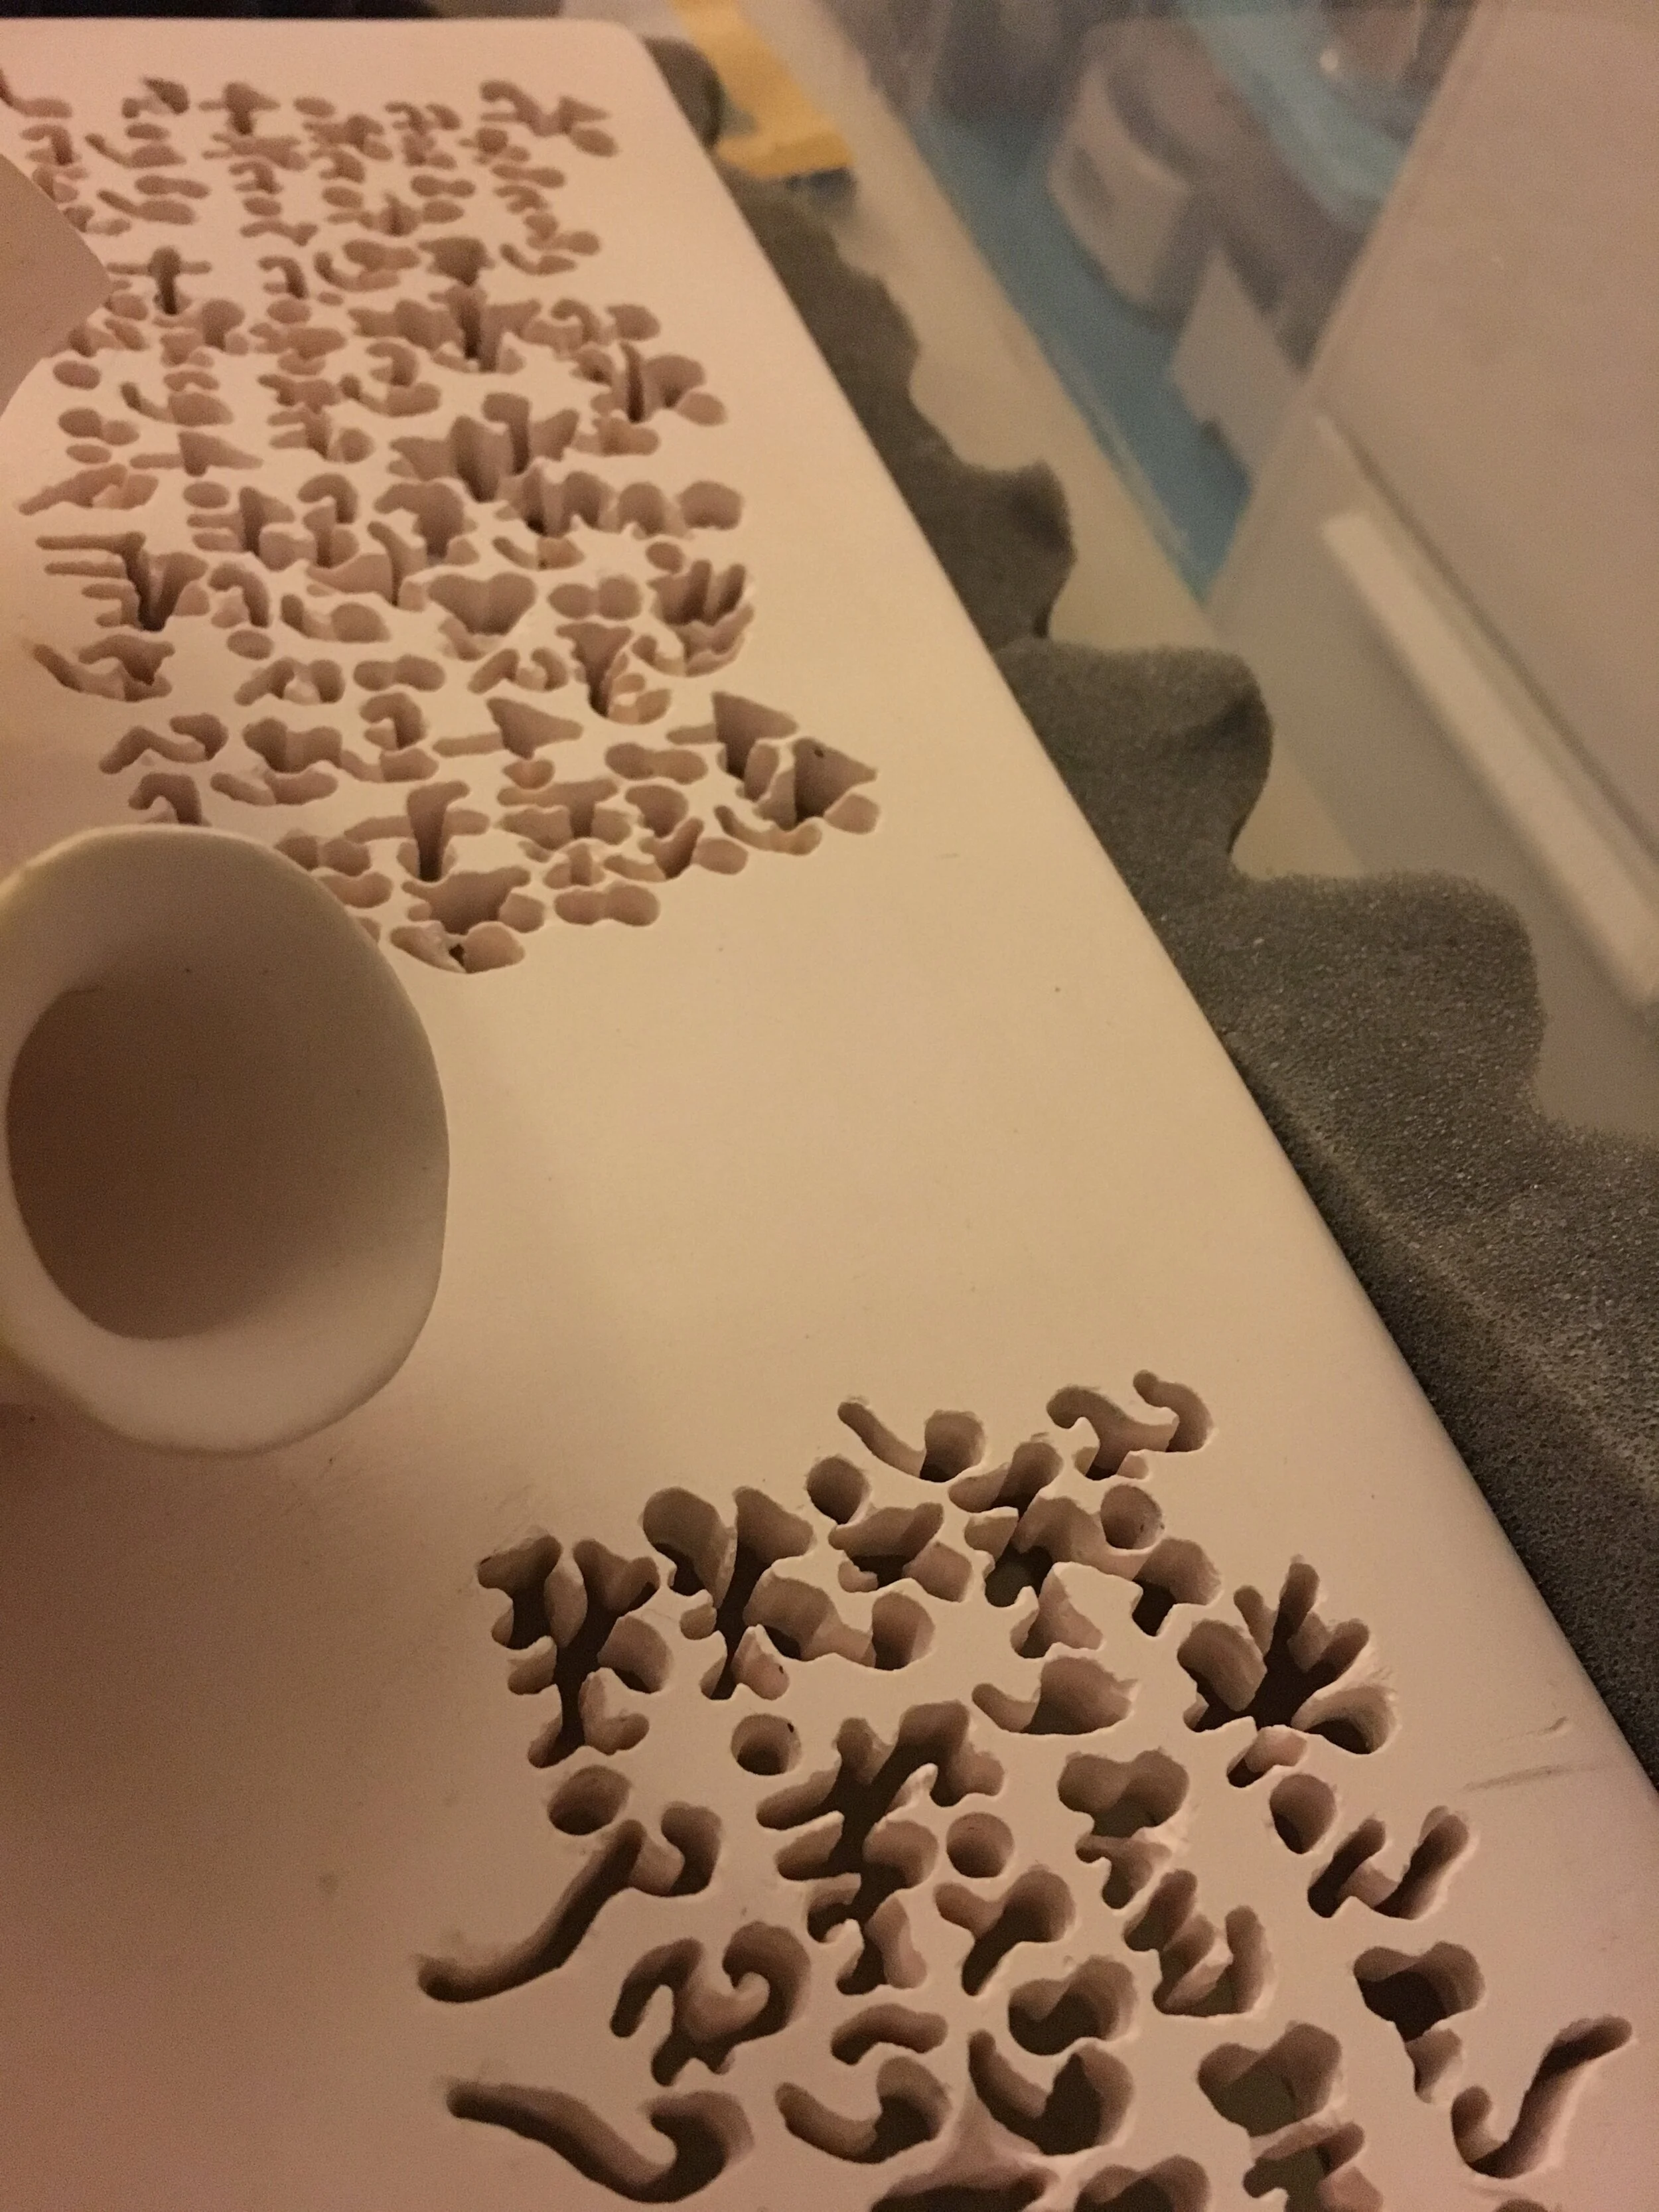
What you see here was all built as one connected piece. The underside of the base has support walls that I built into it. Since the top of the base is flat, I had to make the inside structure supportive enough to hold the weight of the sculpted shape that sits on top. Even so, as you can see, some cracking occurred during the kiln firing. Cracks should be mended at this stage, otherwise they will likely become bigger during the second, higher temperature firing. Several types of commercial products work well to mend bisqueware, but in order to apply them into the cracks I had to first drill into them to make them wider. Even though this looks like it makes them worse, it is actually necessary to widen them in order to apply the mender all the way down into the clay.
Bisqued porcelain is still porous enough that it can be drilled into fairly easily. I used a dremel with diamond drill bit. This has to be done very carefully.
Then, I went dremel crazy:
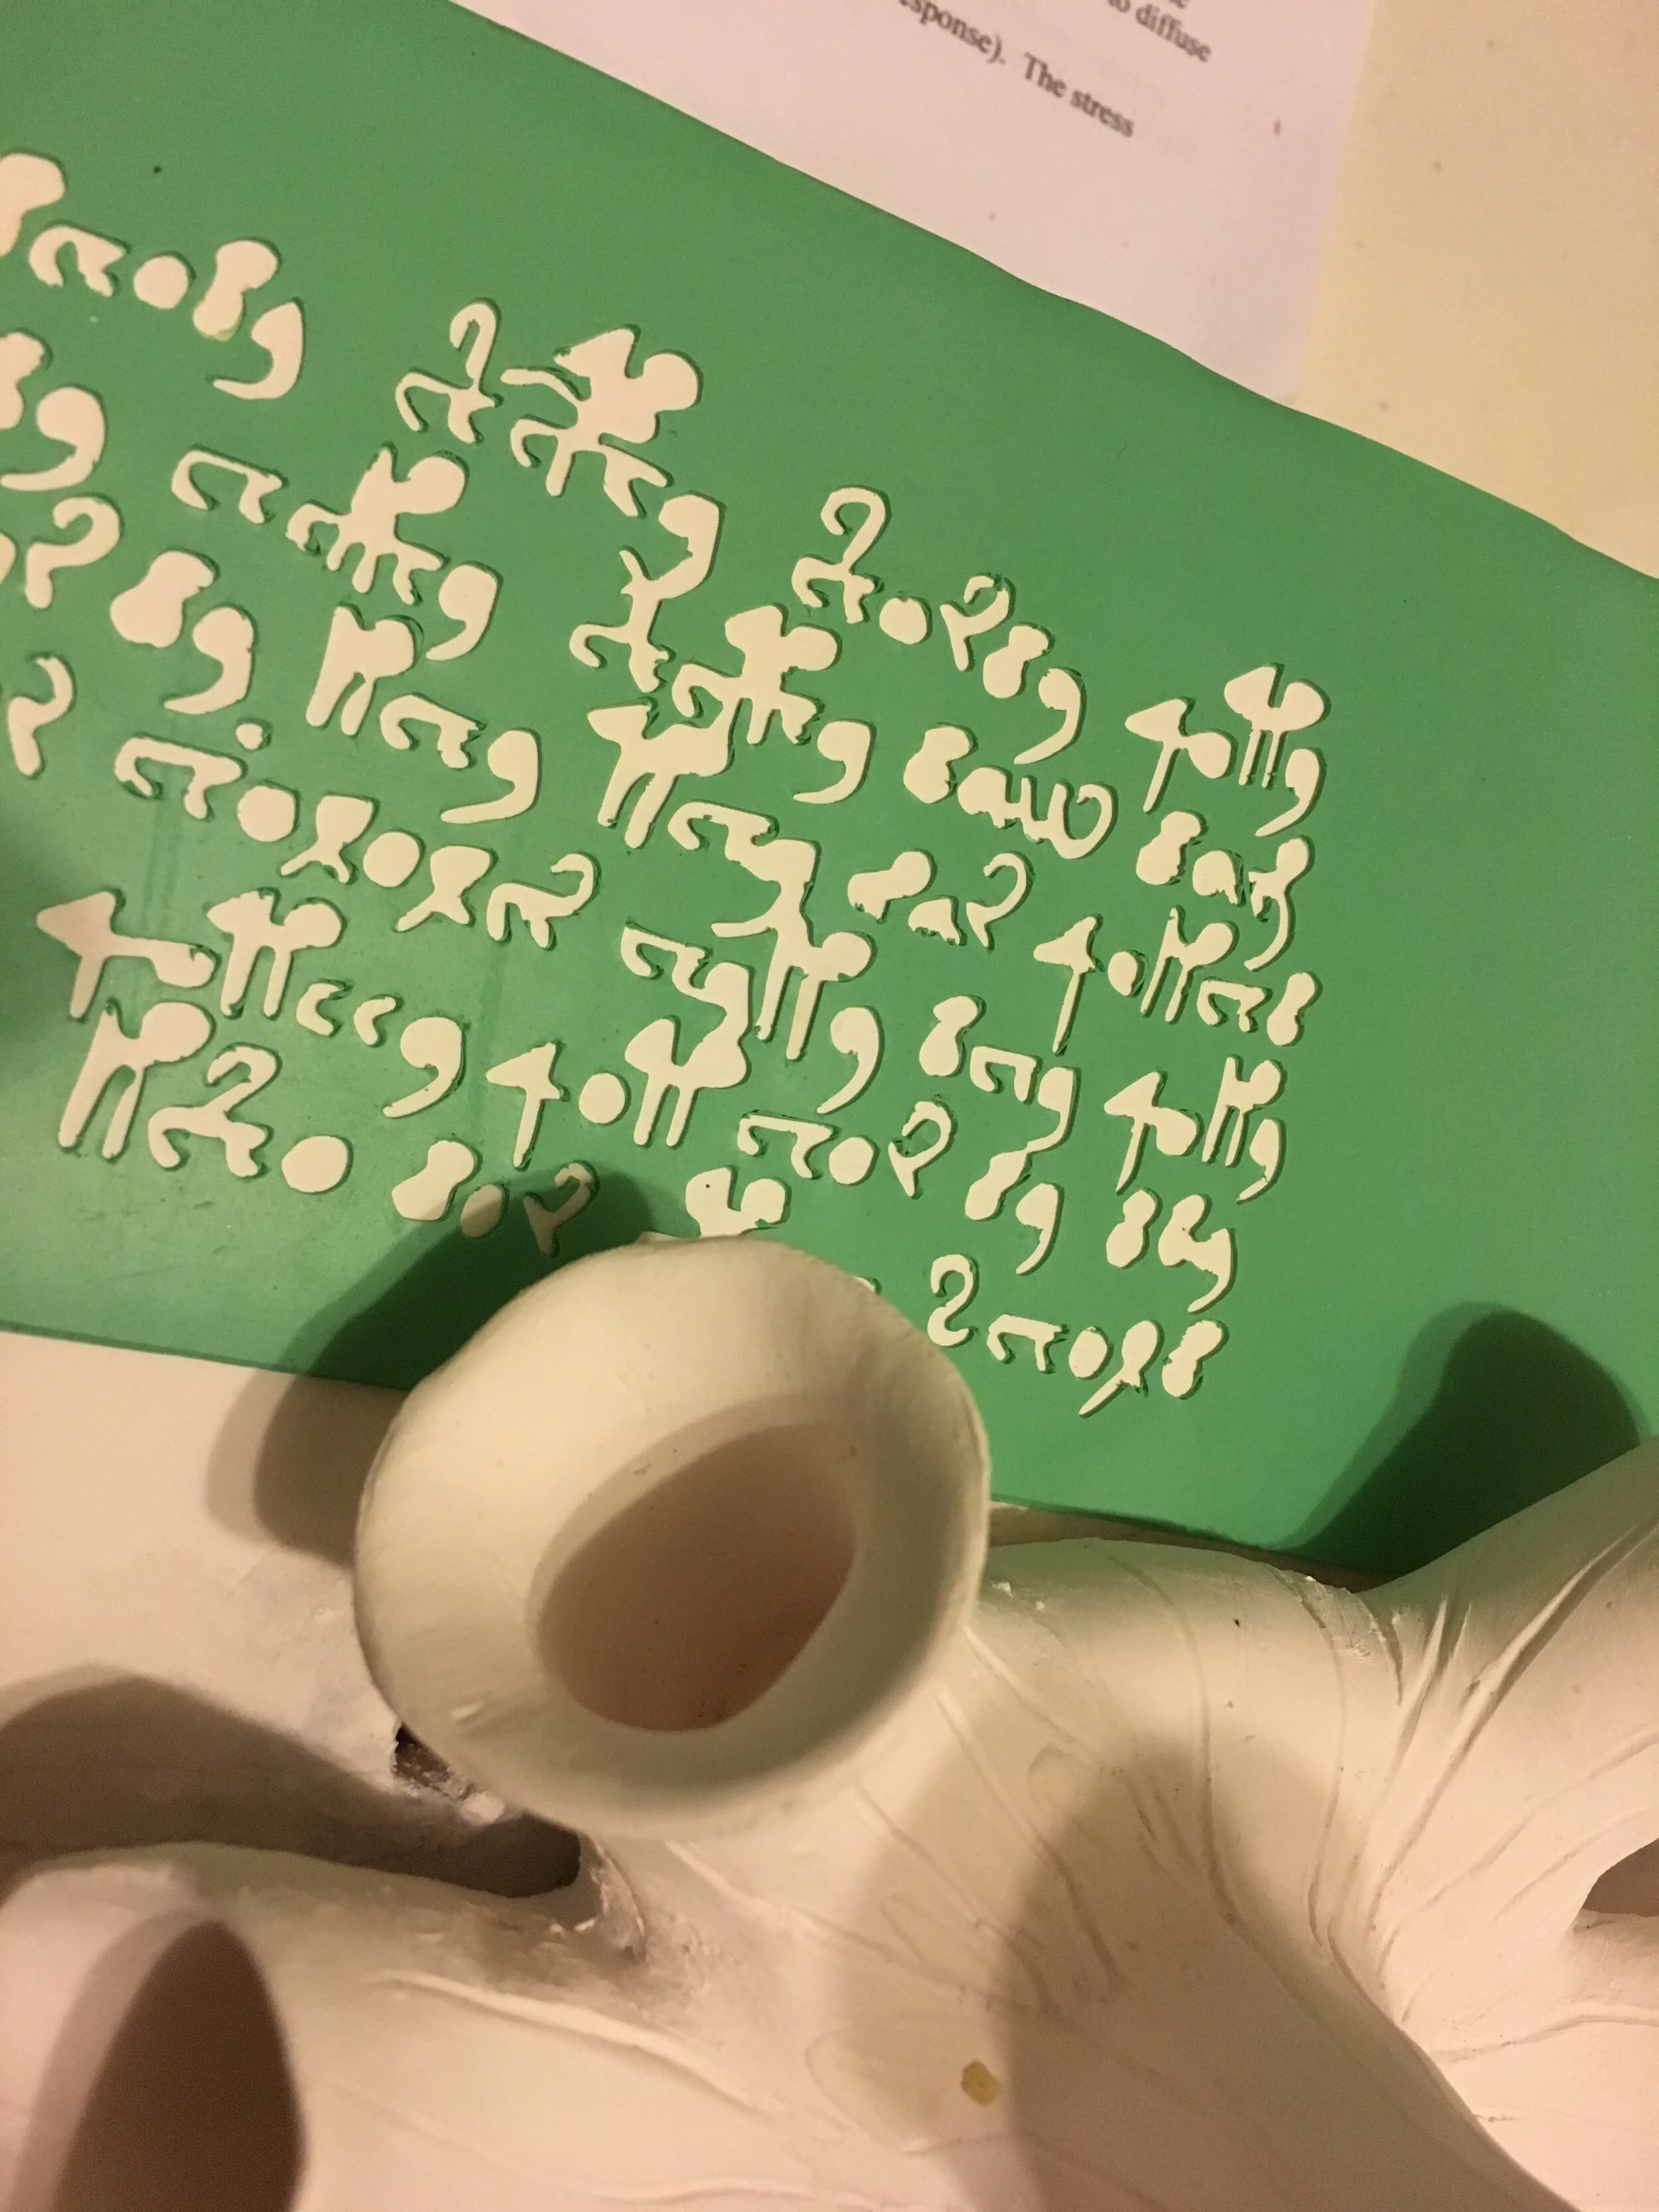
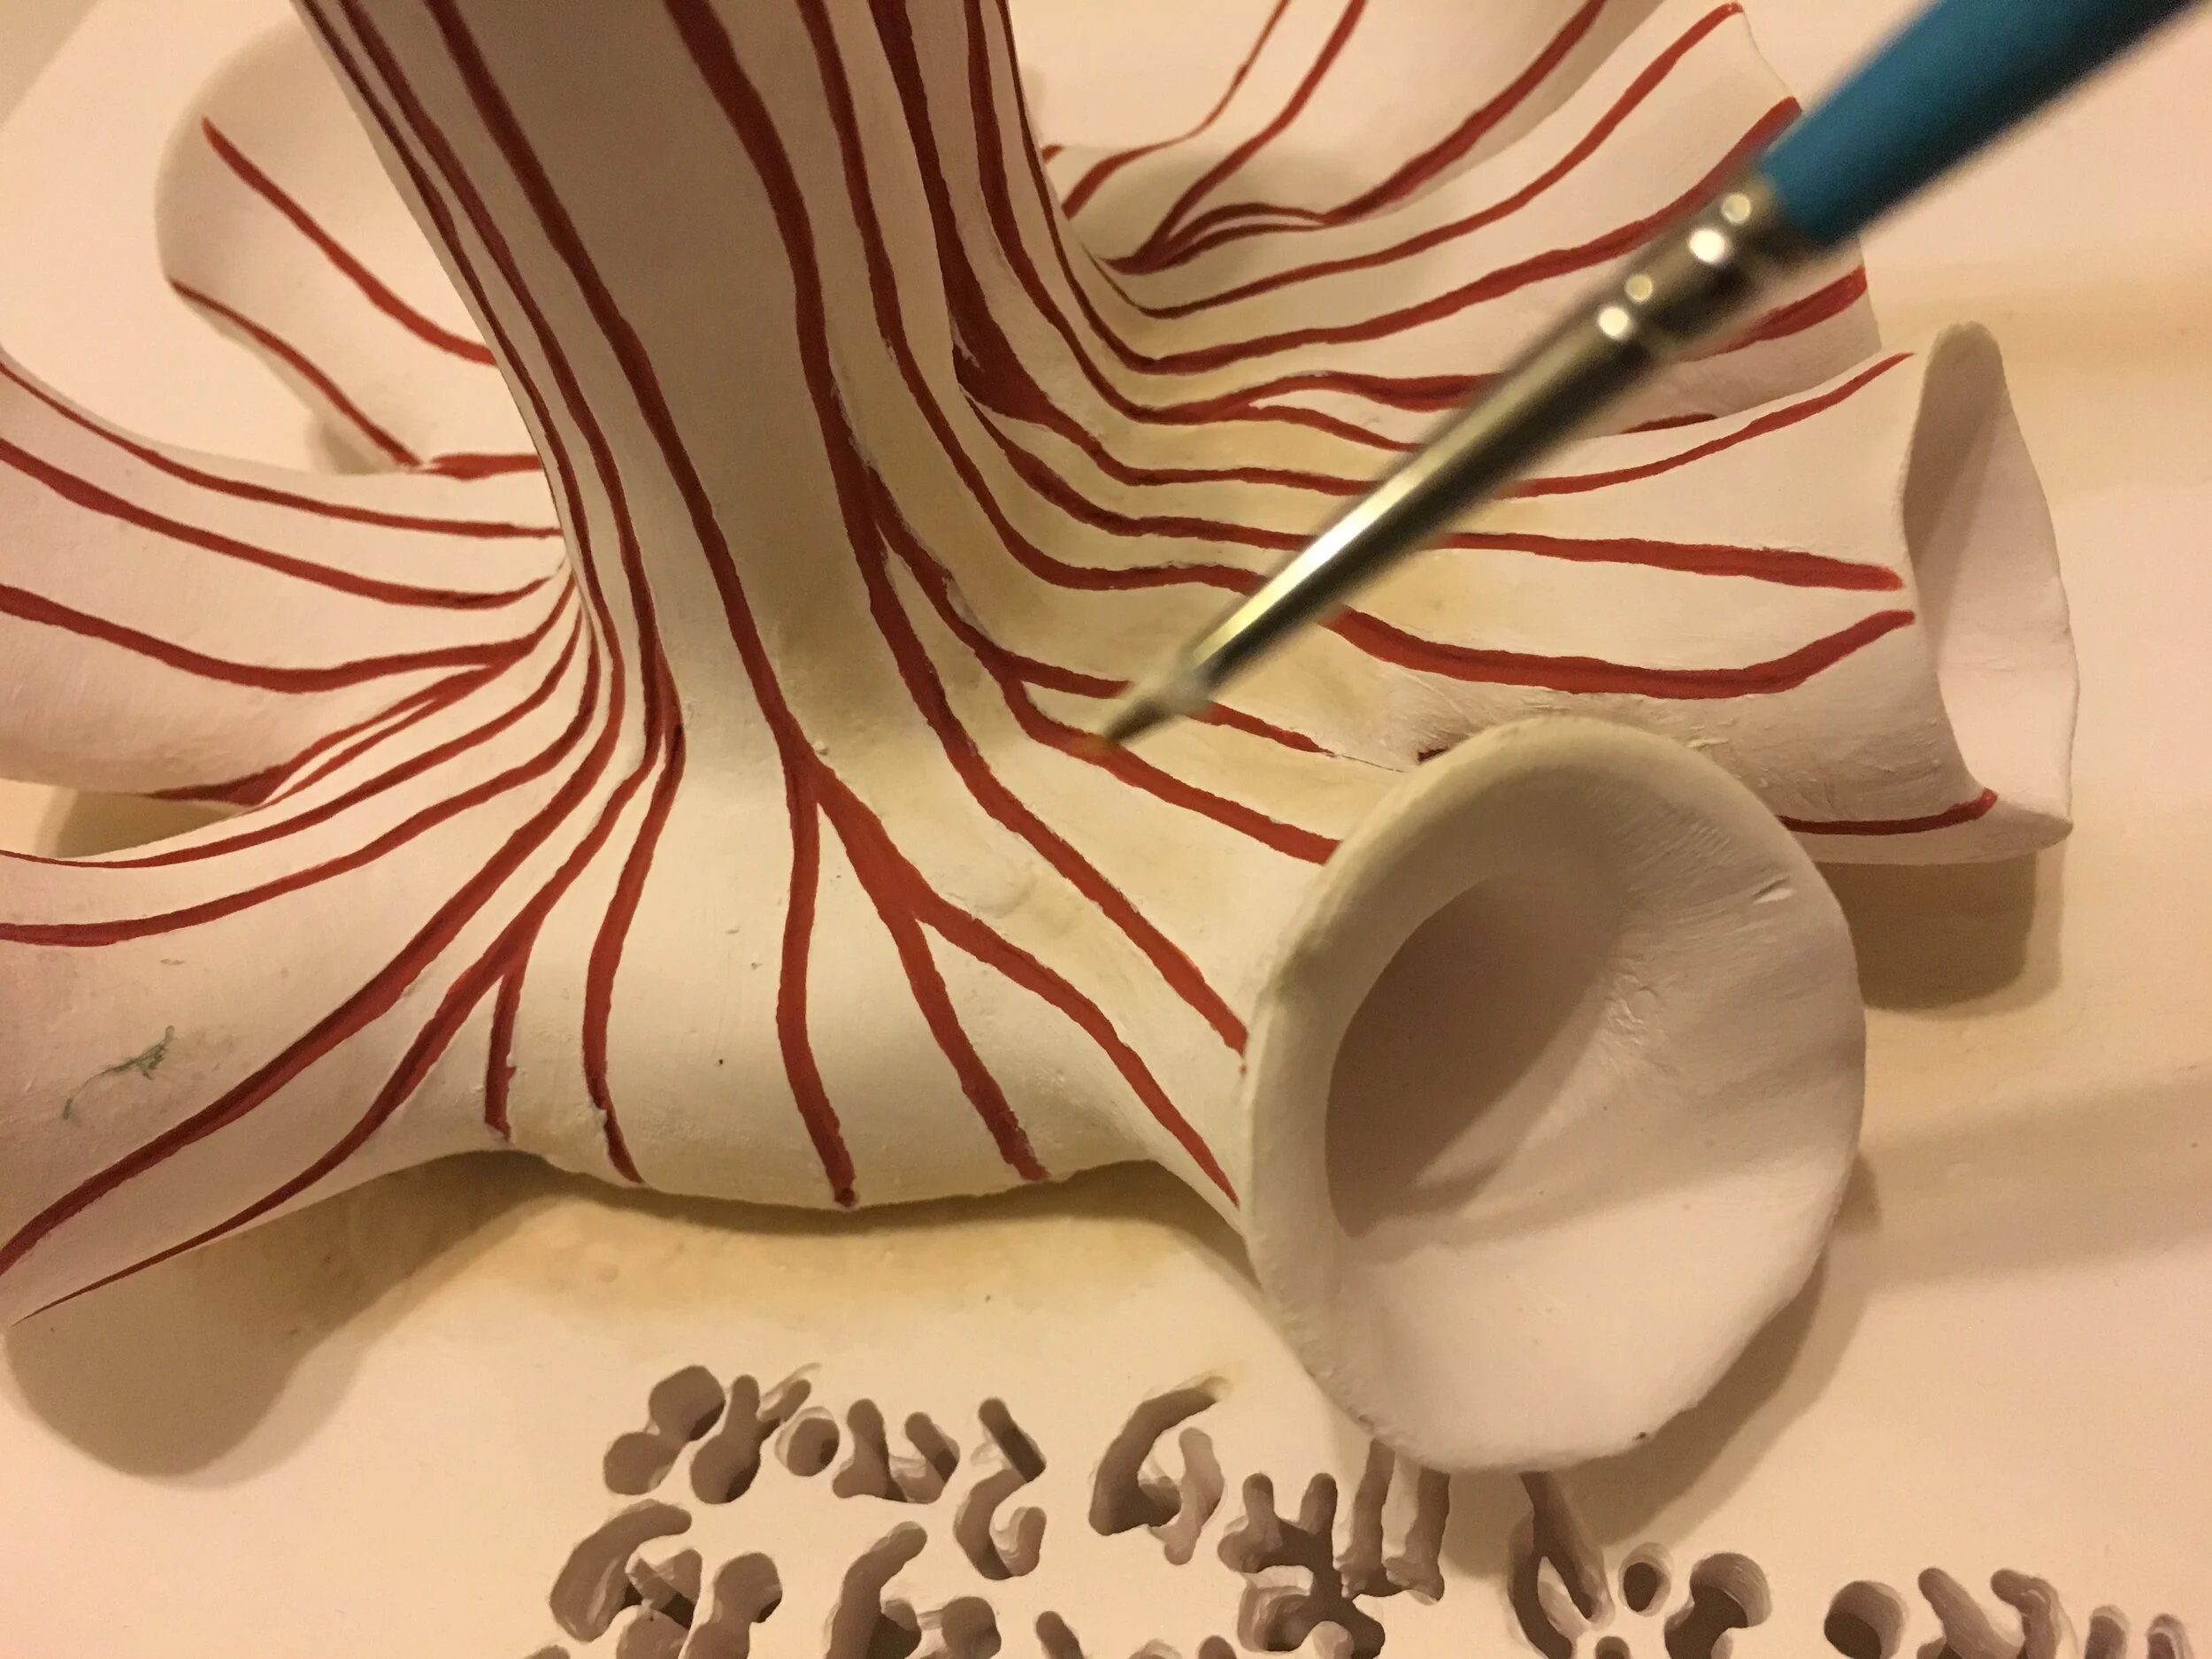
First, by using a vinyl cutting machine to replicate the “Voynichese” text exactly as it appears on this particular page of the manuscript, I created a kind of stencil with temporary adhesive on the back. That is the green material pictured above. It functioned as a guide for where I was going to carve. After sticking the stencil in place, I hand carved, or rather, hand-drilled—using a handheld dremel and diamond drill bit—each character of the text. I recall going through quite a number of drill bits, as they are not exactly intended to withstand this type of use! (Since I was drilling straight through, it was not possible to recreate the “loops” in some characters, for example the “o” shaped character is simply rendered as a single hole in the porcelain, but the overall effect mimics the specific manuscript writing.)
The purpose of drilling all the way through was so that light from underneath the base could shine up through the text. In hindsight, making the text this small made it a lot more difficult to carve out. The illuminated effect was worth the trouble, but I have not since tried to do anything similar, because it was extremely labor intensive. I made another sculpture after this that also featured some carved text, but this time I made sure to make the size of the text much larger which made it a lot easier to carve.
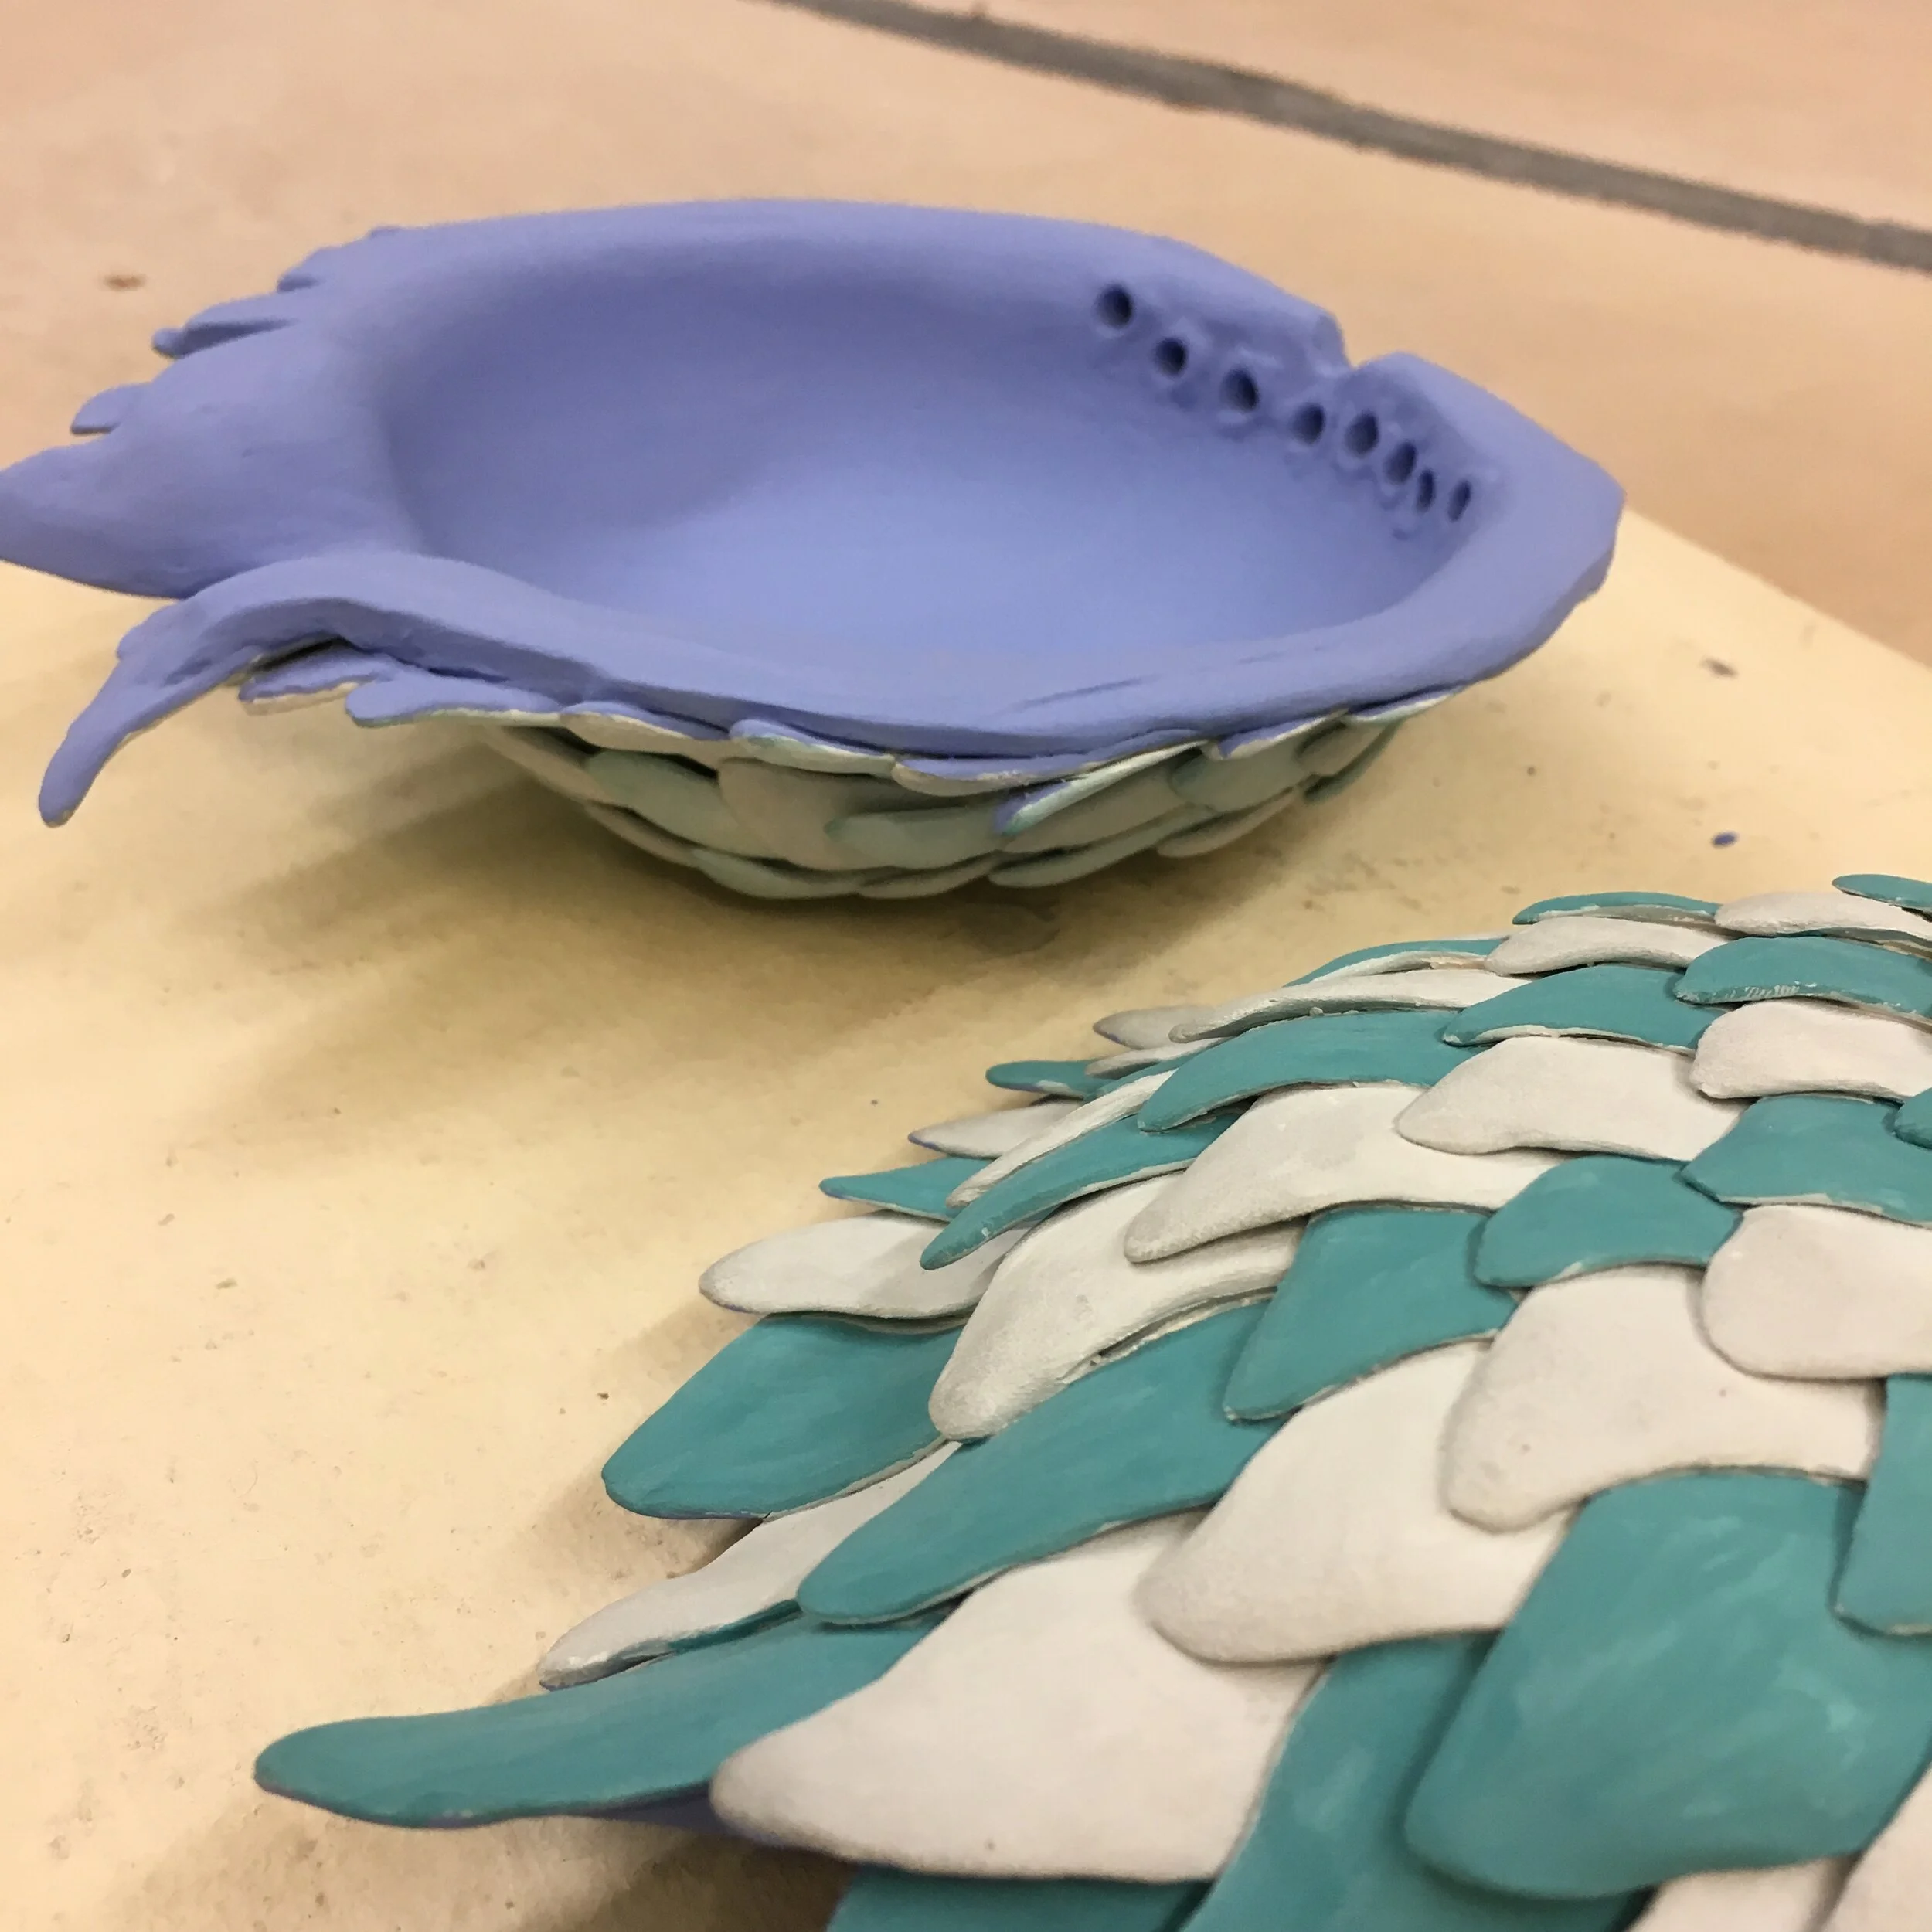
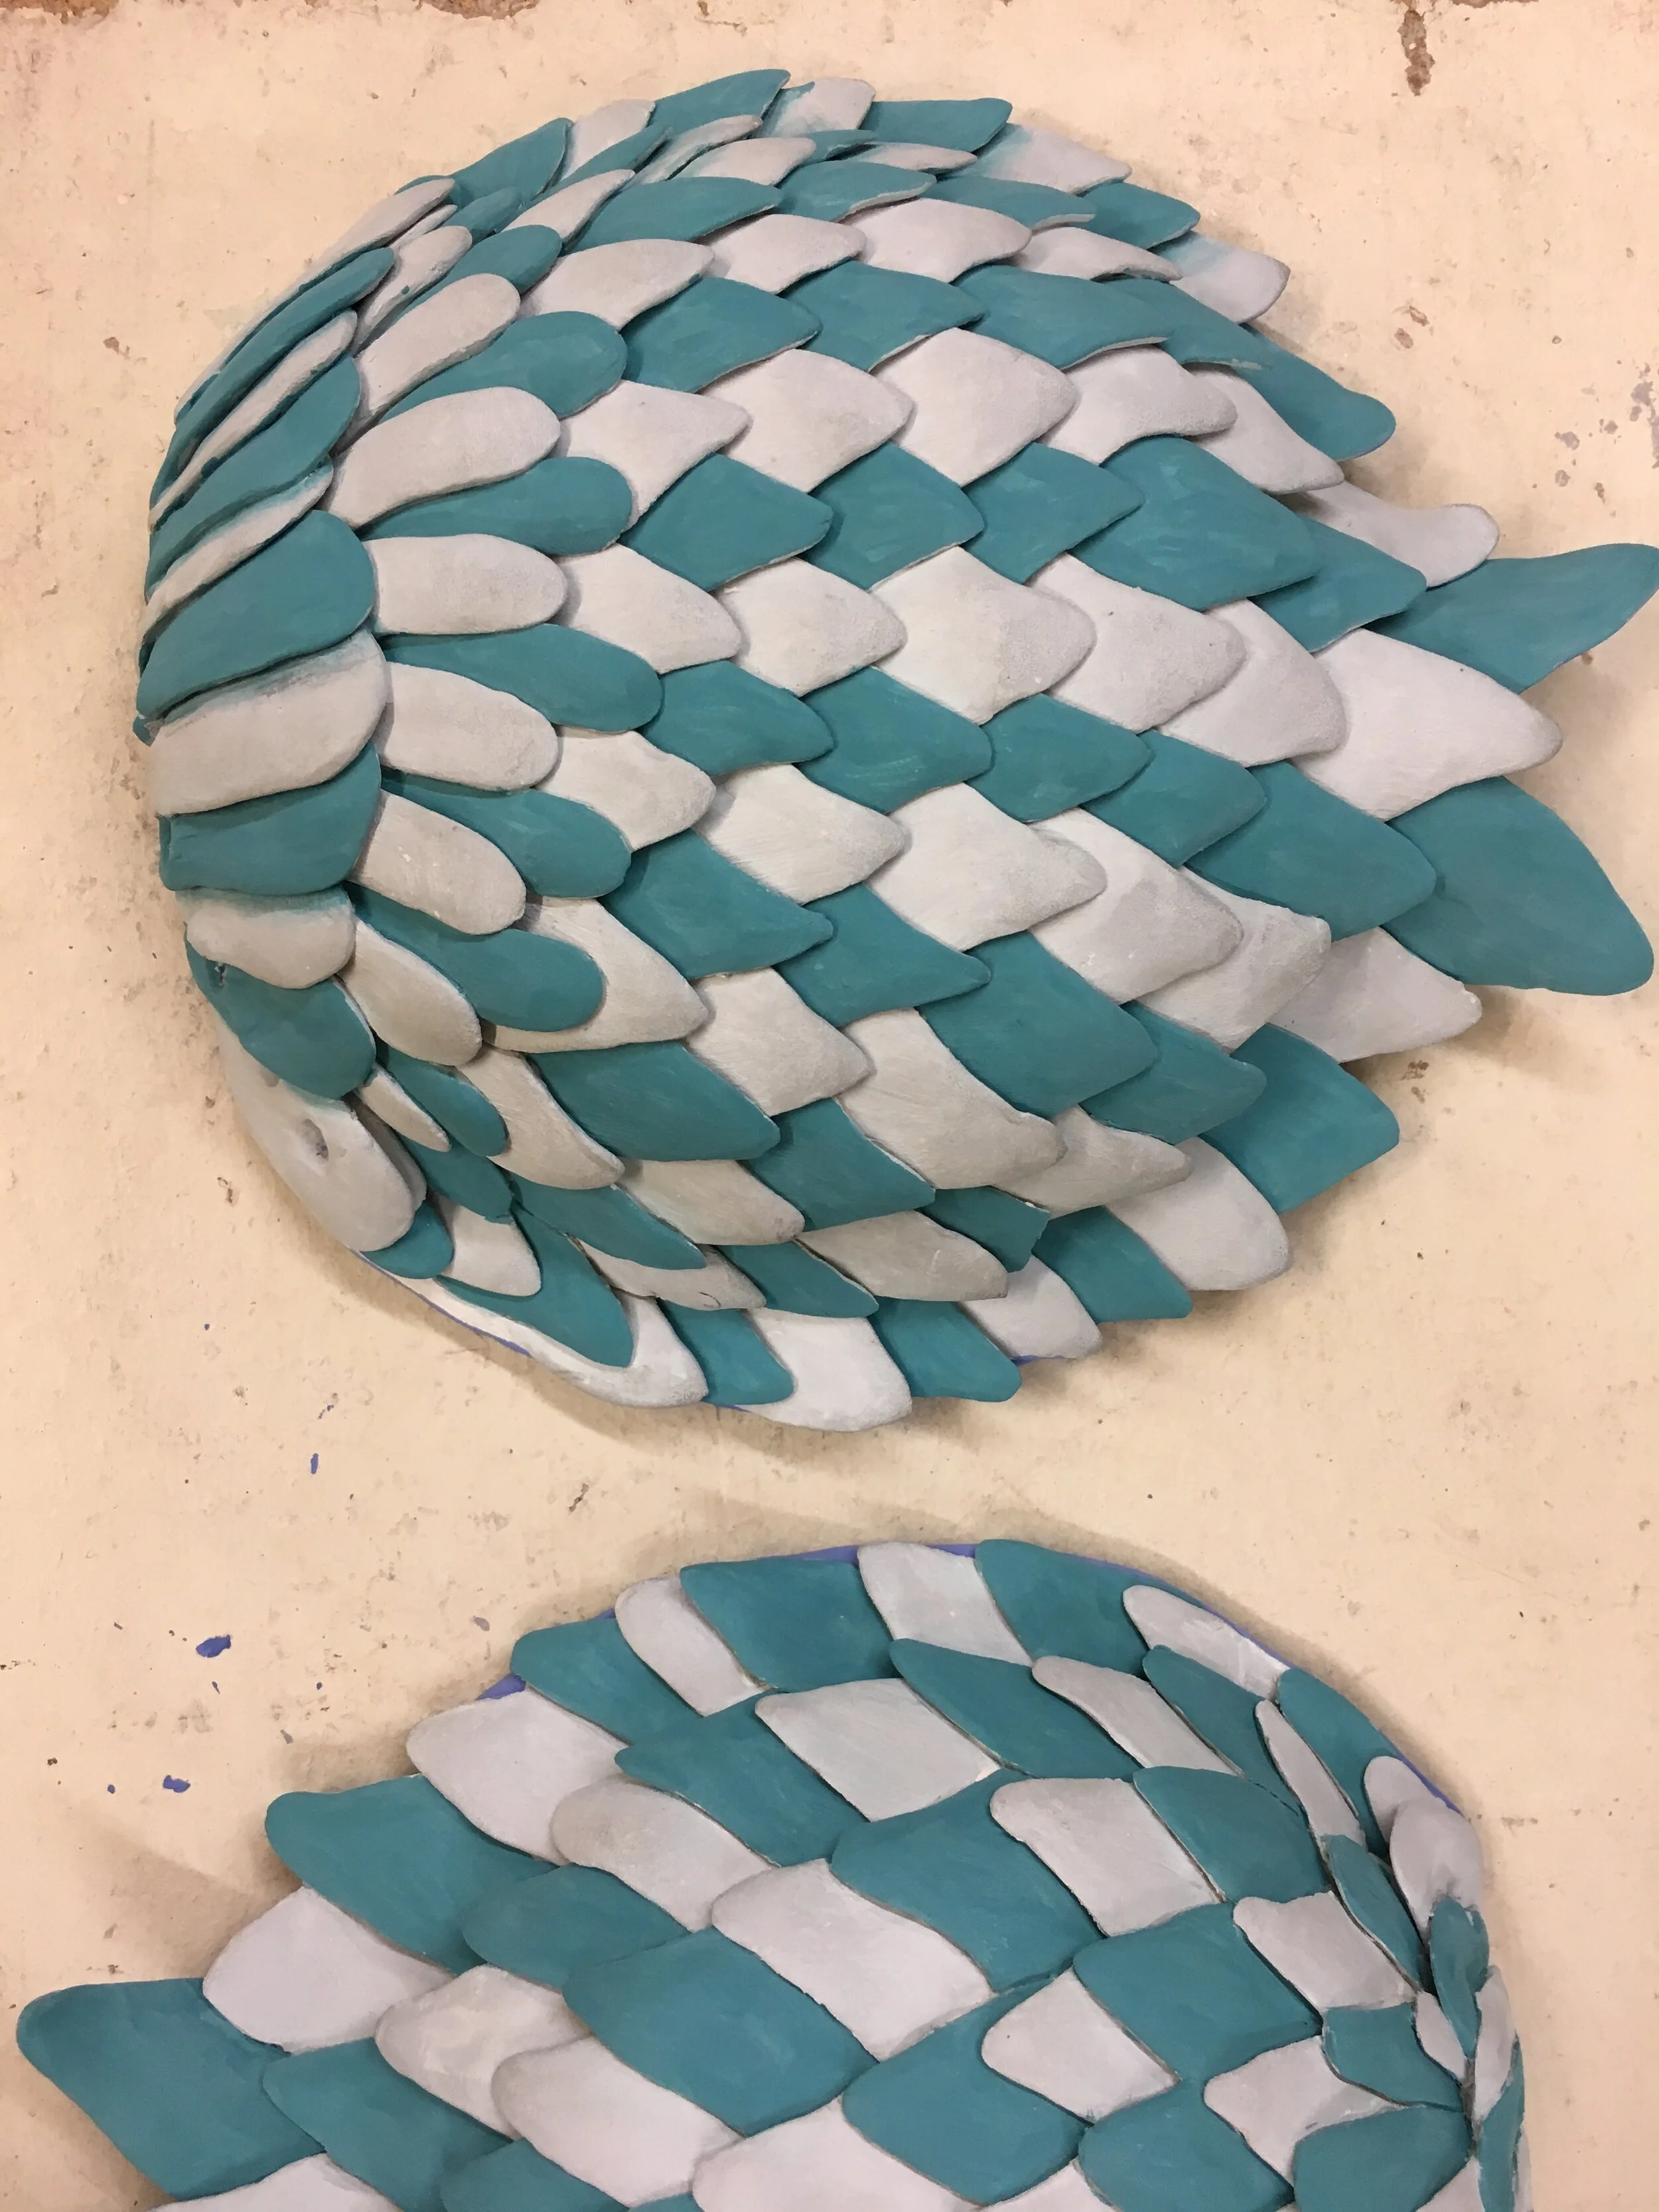
Below shows the partially-painted pieces with glaze (yet unfired), which turned a darker shade once it was fired. The sculpture was then glaze fired to temperatures around 2232 degrees F/1222 degrees C.
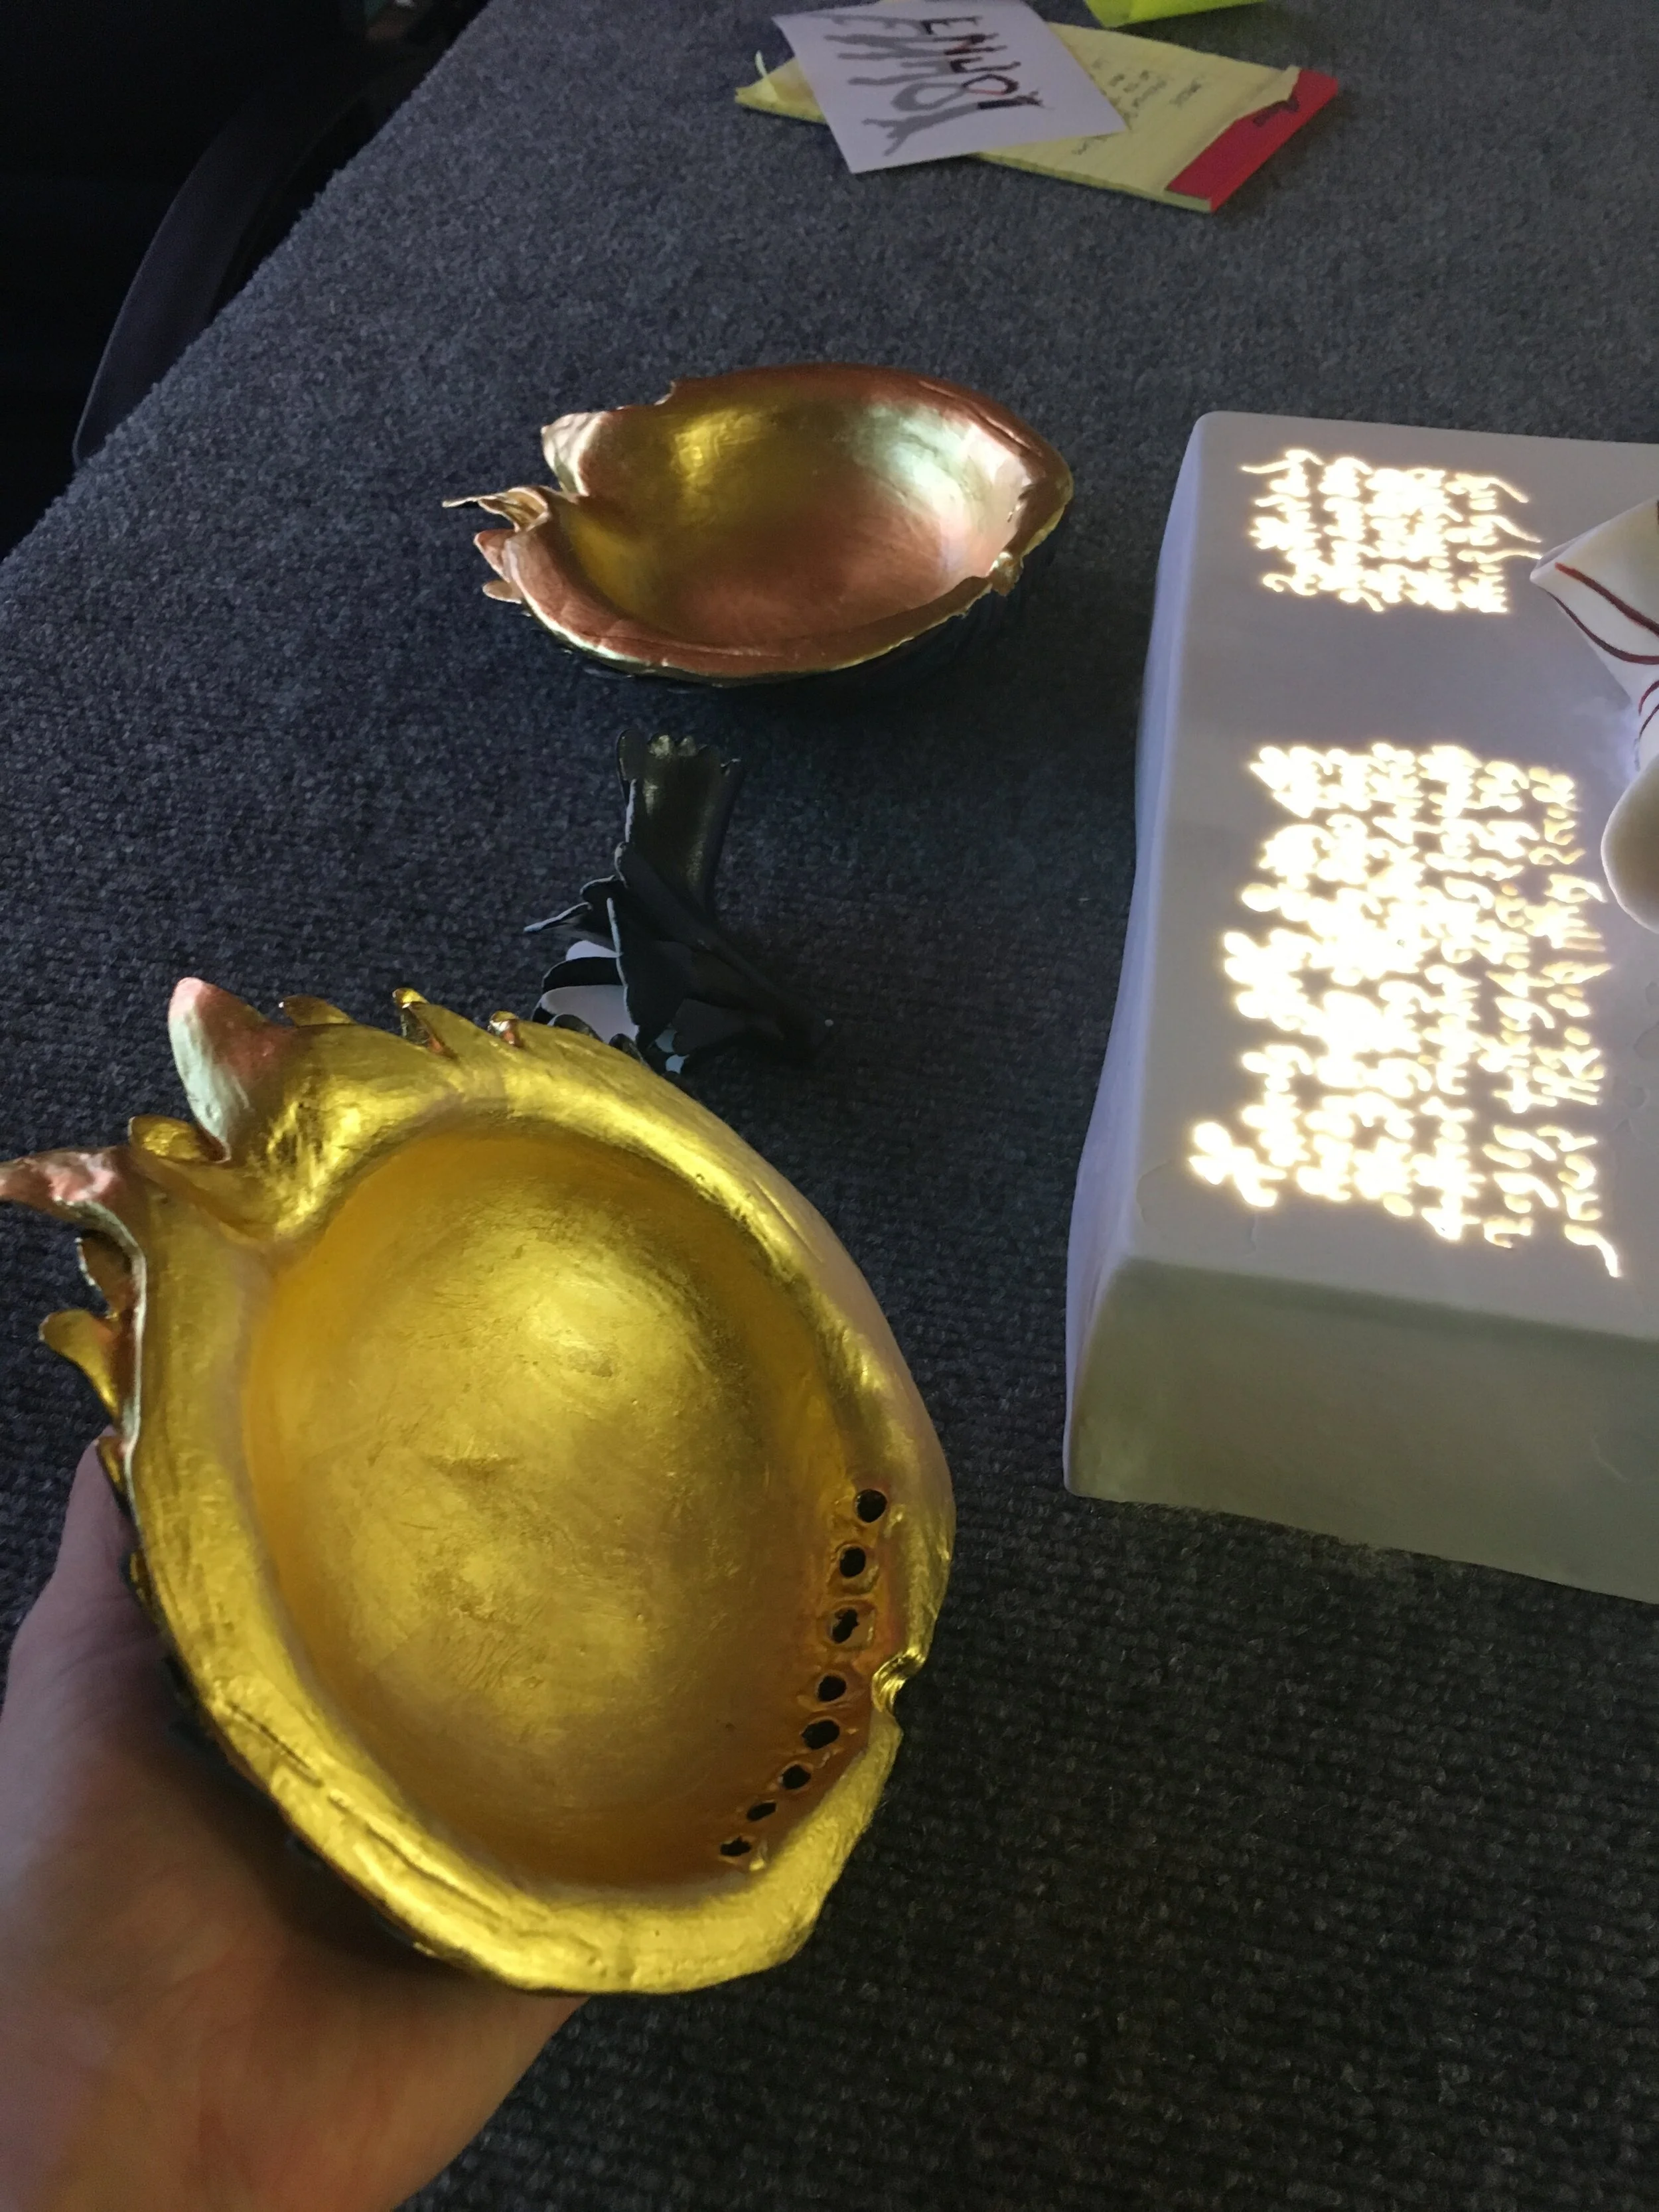
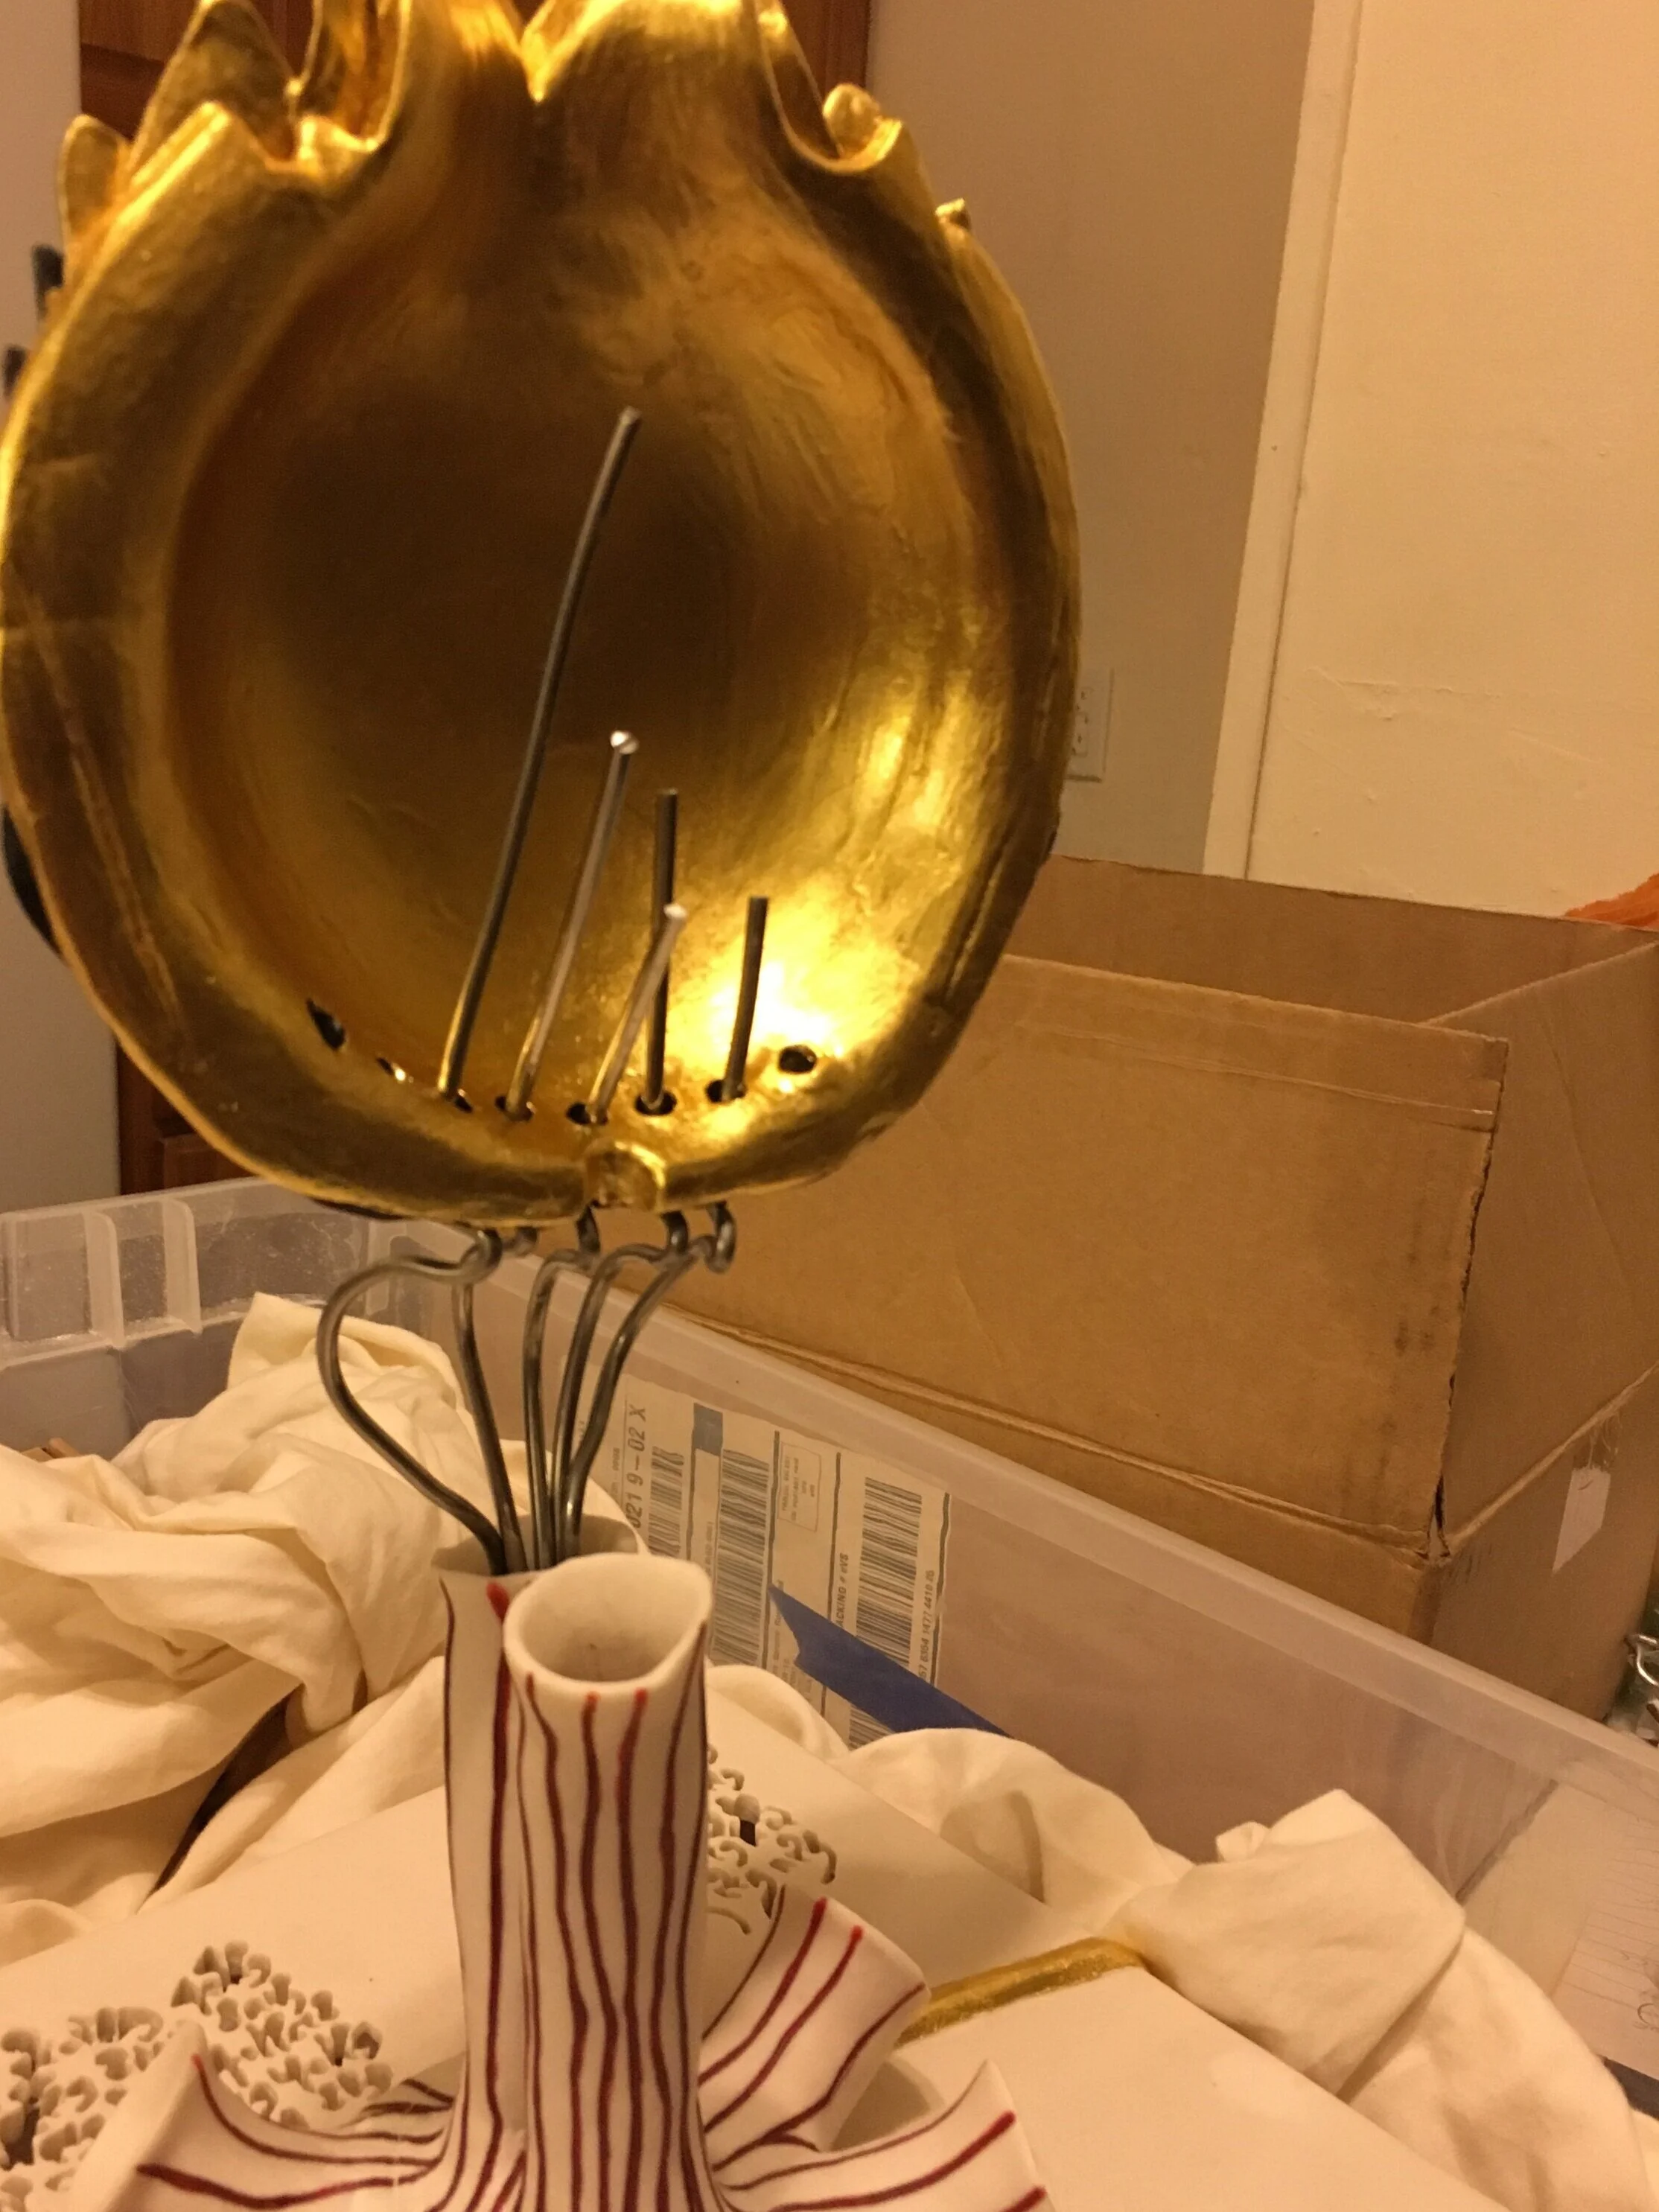
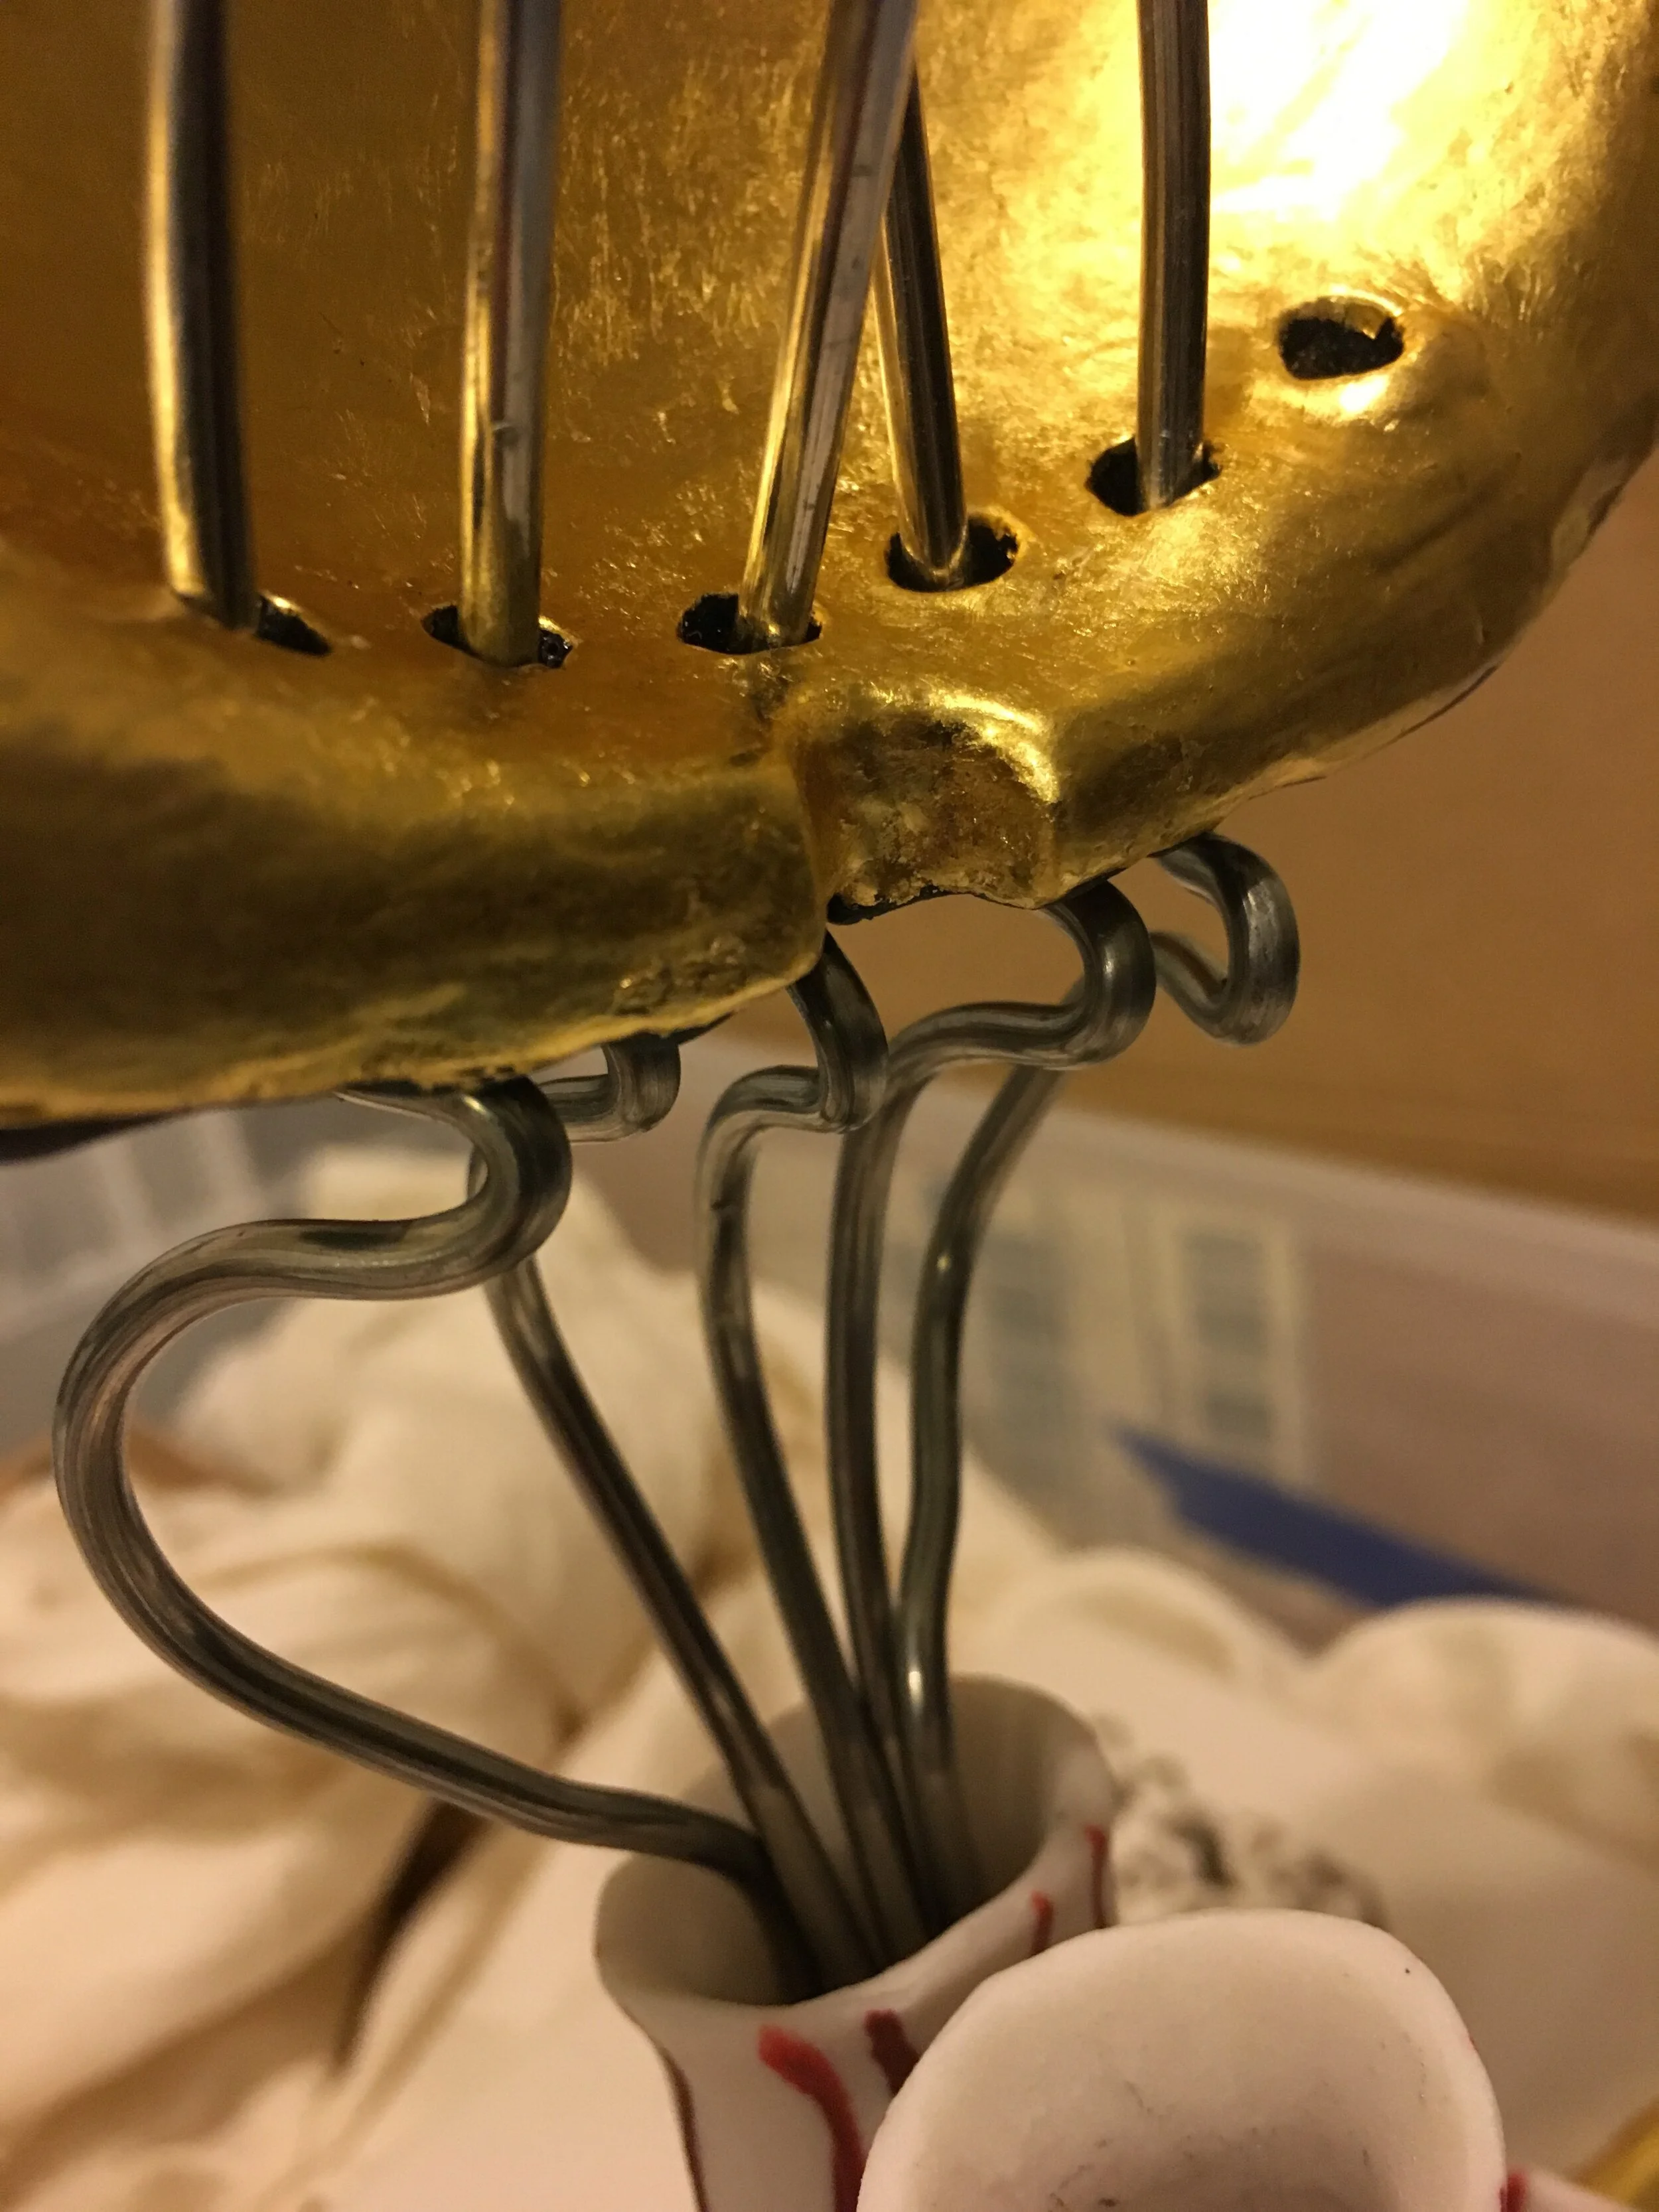
(I initially glazed the inside dark blue, the same color as the top flower, but then later I decided to completely cover it with gold leaf.) I learned how to do gilding which I had not done before this project.
The finished parts before they were all assembled, and testing out the illuminated base:
Shaping and positioning wires, which were later painted white:
In summary, this was a sculpture that came together over a long period of time in many different pieces. I had a general idea of what I wanted to do at the beginning, and this is what I pursued throughout the process, but I changed and modified my ideas along the way depending on how various stages of the process turned out.
The name “Cracks in the Code” is a reference to the unreadable Voynich Manuscript that inspired the sculpture. Though many attempts have been made, and are ongoing, there is no currently agreed on answer that “cracks” the long enduring mystery. (It is also not universally agreed upon that the text is in fact a code or cipher, but, for the name I took some artistic liberties.) Imagining the manuscript image in three dimensions led to the idea that there might be a “back” to the image that looks like another part of two halves. This interpretation was a way to make the image seem even stranger and even more unlike a real plant. I imagined it literally “cracking open” like some kind of shell, as though the inside might contain some hidden secret. Does it?


